Cloud (13)
With the advent of cloud-based document management tools, teams can now work together in real-time, enhancing efficiency and productivity. When collaboratively editing a document online, the ability to communicate directly within the document allows team members to instantly share or discuss ideas, ask questions, and provide feedback.
This article will guide you on how to chat with your co-editors in real-time in the Spire.Cloud.Office document editor.
Spire.Cloud.Office Document Editor
Spire.Cloud.Office is a feature-rich HTML-5 based document editor component that can be easily integrated into web applications. With the document editor component, your end-users can view, create, edit, and collaborate on diverse document types within a web browser.
To utilize the services offered by Spire.Cloud.Office, you will need to first install it on your system.
- Install Spire.Cloud.Office for .NET on Windows
- Install Spire.Cloud.Office for Linux on Ubuntu
- Install Spire.Cloud.Office for Linux on CentOS
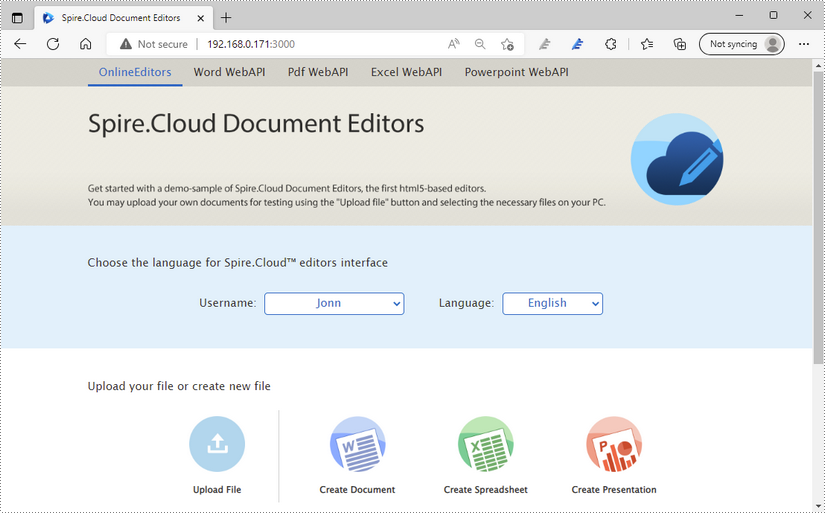
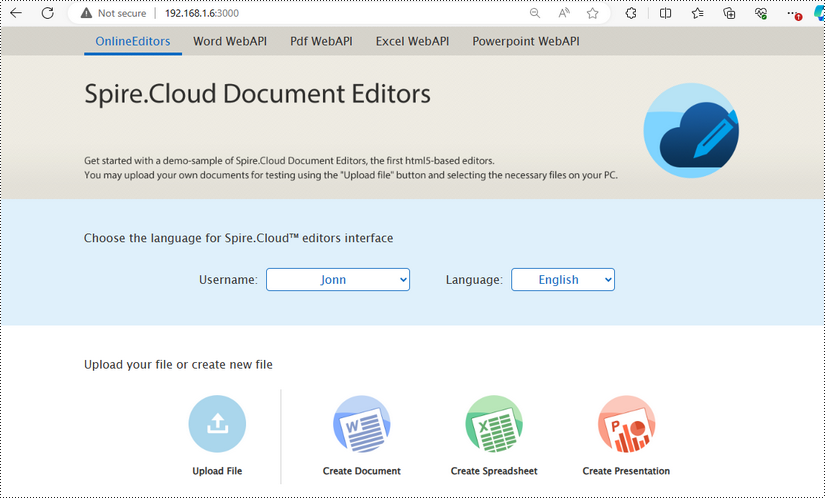
After the installation is complete, you can integrate Spire.Cloud.Office editor in your own web application or visit the example application hosted on port 3000 to explore the editor's functionalities.
The example page offers options to upload existing documents or create new ones. Spire.Office.Cloud supports loading DOC/DOCX, XLS/XLSX, and PPT/PPTX files, and exporting files to DOCX, XLSX, and PPTX formats.
Chat with Co-Editors Using the Editor Chat Feature
Spire.Cloud.Office allows co-editing a document with multiple users at the same time, and it also integrates the chat feature in the editor. To chat with your collaborators in real-time, follow the steps below:
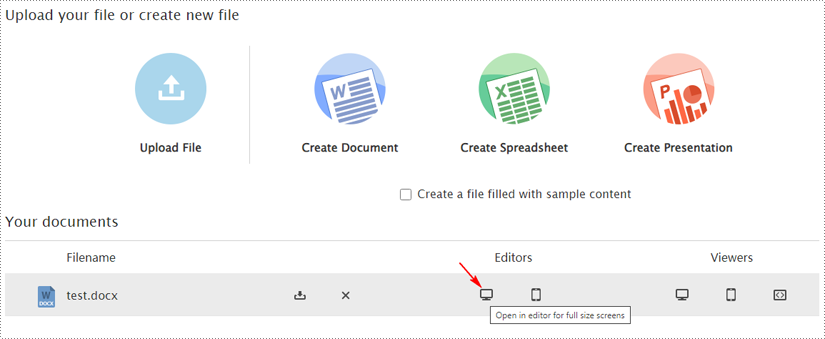
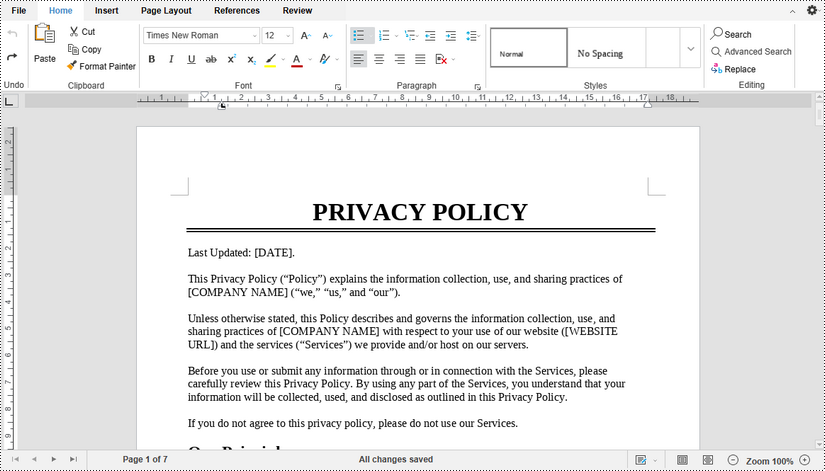
1. Open the document you're working on with your collaborators by clicking on the computer icon in the "Editor" section.
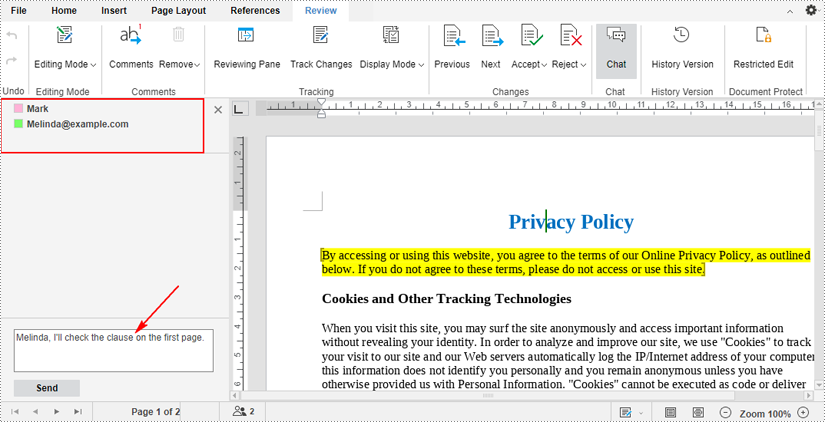
2. After opening in the editor, click the "Chat" button under the "Review" tab to initiate a chat with your coworkers.
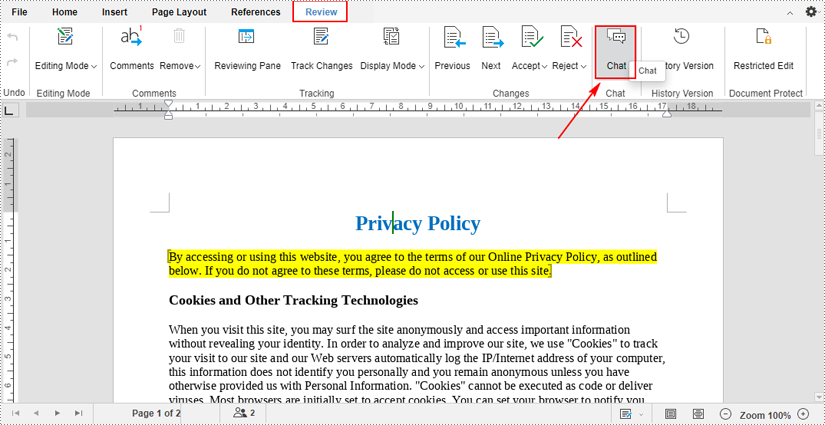
3. When you click the button, a chat sidebar will appear on the left side of the document. The users who are in the document at the moment will be displayed in the top area.
If you want to chat with them, type message in the text box and then press the "Send" button.
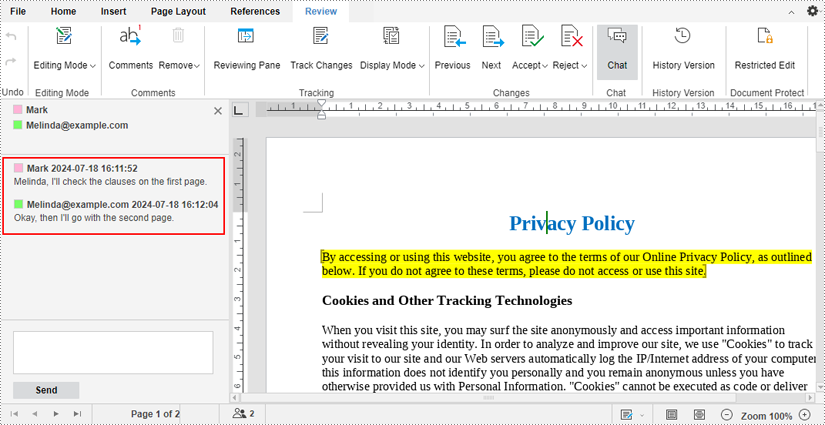
4. Your co-editors can also type messages in the same way to chat with you. All messages you send or receive will be displayed in the chat sidebar in real time.
Chat with Co-Editors Using the Comments Feature
Another way to communicate with your collaborators is to use the comments feature. With the ability to comment in real-time, team members can quickly respond to each other's suggestions or questions. The following are the steps to chat with your collaborators through comments:
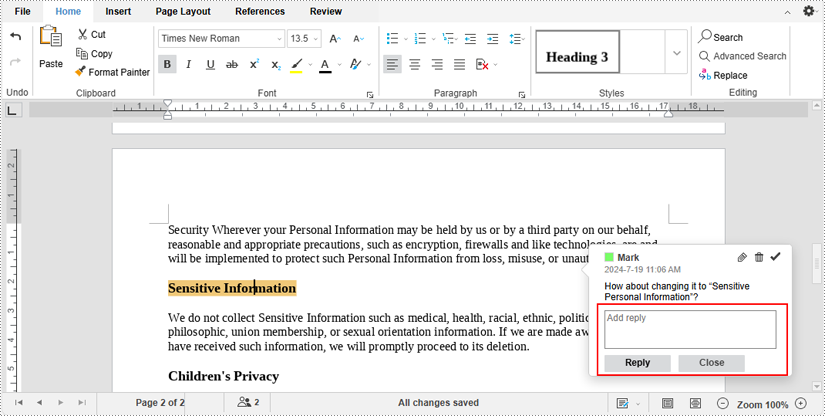
1. Select a specific part where you want add comments, and then click the "Comments" icon under the "Review" tab.
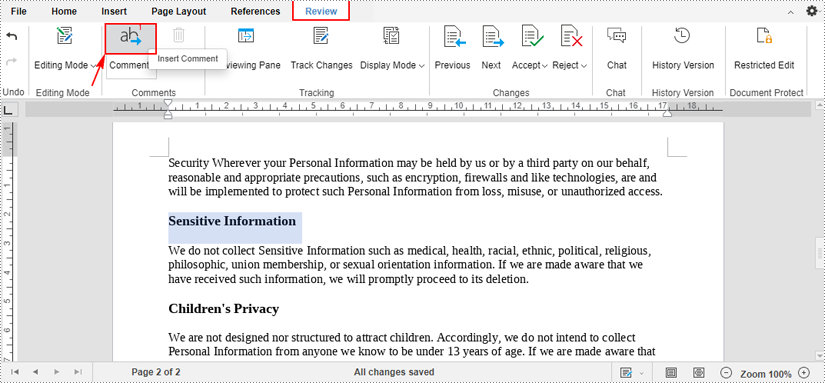
2. After clicking, a comment box will appear. Type your comment in the text box and click the "Add" button.

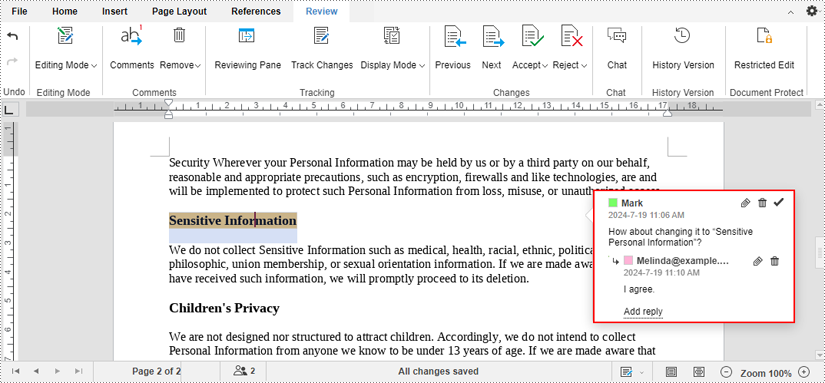
3. The part where you've attached a comment will be highlighted and when your collaborators click on the text, they will see the comment. To reply to the comment, first click the "Add reply".
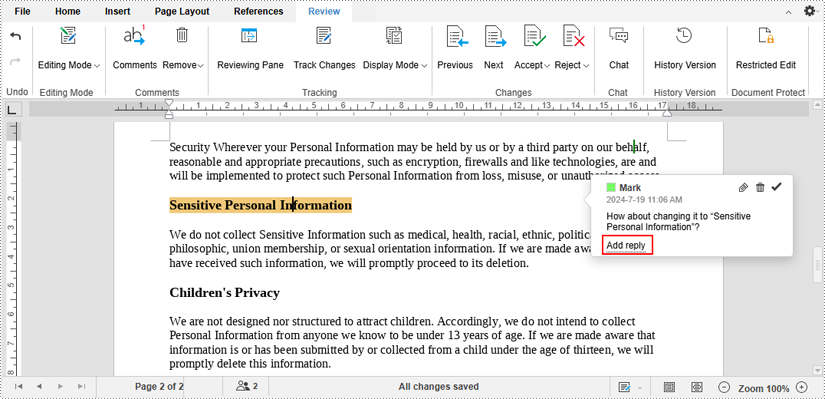
Then type replies in the text box and click the "Reply" button.
4. By inserting and replying to comments in real time, you and your co-editors can instantly communicate ideas, suggestions about the document.
Note: In the first example, the chat history won't be saved when you close the document. However, the comments in the second example can be saved with the document. Therefore, in addition to real-time comments, users will also be able to view and reply to comments at any time afterwards.
To view all comments in a document, click the "Comments" text under the "Review" tab.

The advantages of using an online document editor over a traditional desktop application include enhanced accessibility, seamless collaboration, automatic version control, cross-platform compatibility, and reduced hardware requirements. These features make online document editors a versatile and efficient choice for users who require the ability to access, edit, and share documents from anywhere.
This article demonstrates how to create and edit MS Word, Excel and PowerPoint documents online using the Spire.Cloud.Office document editor library.
- Spire.Cloud.Office Document Editor
- Create a New Document
- Edit an Existing Document
- Co-Edit a Document
Spire.Cloud.Office Document Editor
Spire.Cloud.Office is a feature-rich HTML-5 based document editor component that can be easily integrated into web applications. With the document editor component, your end-users can view, create, edit, and collaborate on diverse document types within a web browser.
To utilize the services offered by Spire.Cloud.Office, you will need to first install it on your system.
- Install Spire.Cloud.Office for .NET on Windows
- Install Spire.Cloud.Office for Linux on Ubuntu
- Install Spire.Cloud.Office for Linux on CentOS
After the installation is complete, you can integrate Spire.Cloud.Office editor in your own web application or visit the example application hosted on port 3000 to explore the editor’s functionality.
The example page offers options to upload existing documents or create new ones. Spire.Office.Cloud supports loading DOC/DOCX, XLS/XLSX, and PPT/PPTX files, and exporting files to DOCX, XLSX, and PPTX formats.

Create a New Document
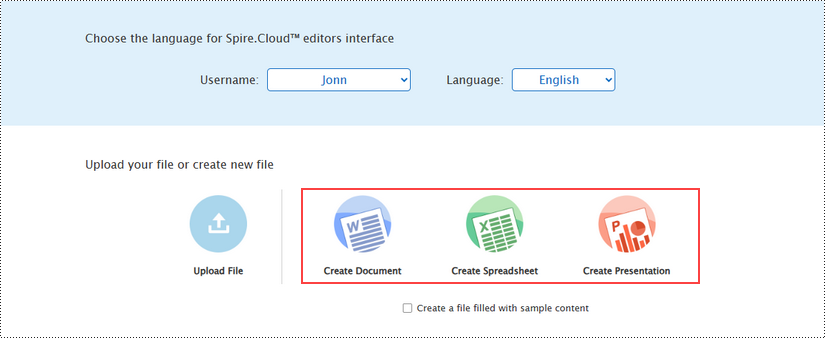
With the "Create Document", "Create Spreadsheet", and "Create Presentation" buttons on the example page, users can create a new Word document, a new Excel spreadsheet, and a new PowerPoint presentation, respectively.
Upon clicking "Create Document", a new Word document named "new.docx" will be generated, and the editor will launch with the blank document ready for editing.
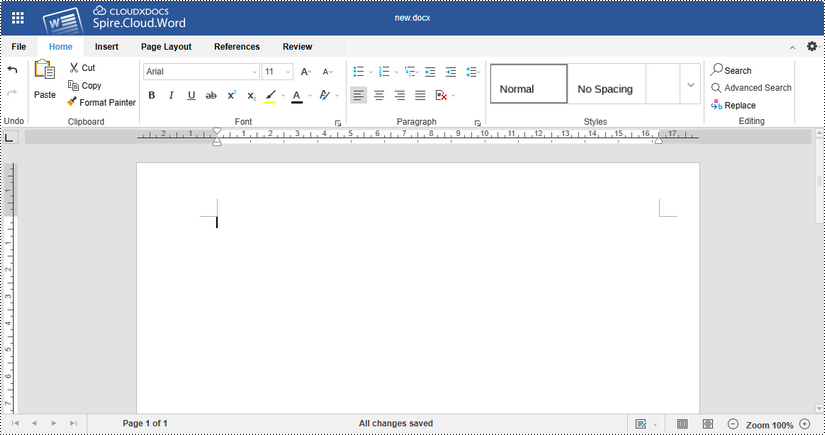
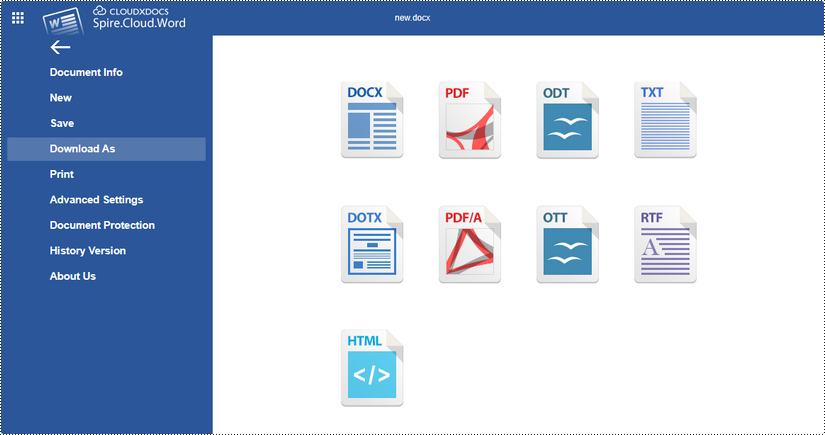
Once you've finished editing the document, click "File" on the menu and you'll get the options to download the file and save it to your local folder in the desired format.
Alternatively, you can click "Save" to preserve the changes made to the "new.docx" document, which can be found on the example page.
Edit an Existing Document
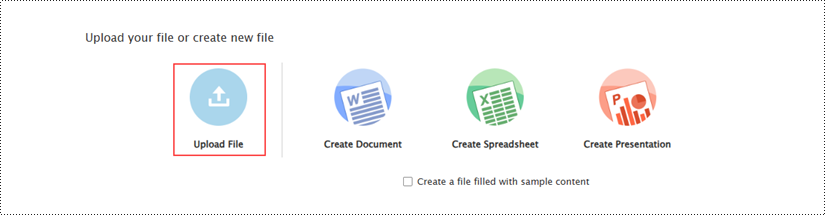
On the example page, click the "Upload File" button to load an existing document for editing.
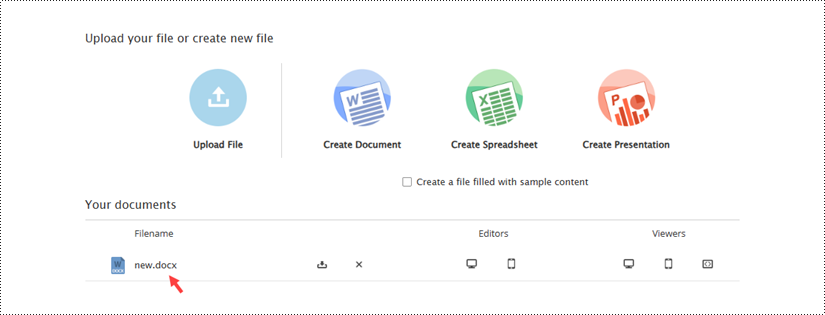
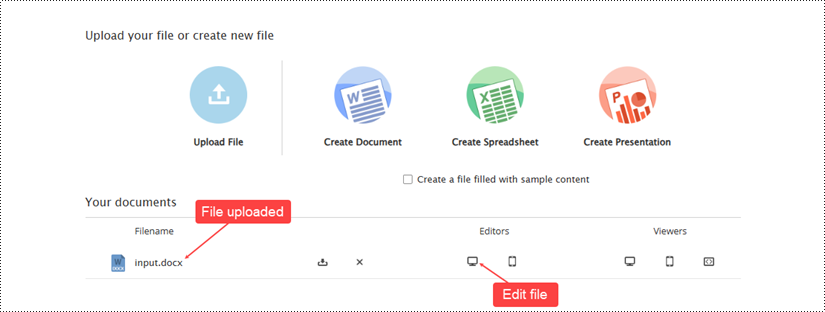
Once the file has been uploaded, it will appear on the example page. To open the document in the editor, click the computer icon in the "Editors" section.
Use the editing tools provided in the document editor to make any desired modifications to the file. Once you have finished making changes, save the updated document by clicking "File" and then selecting "Save".
Co-Edit a Document
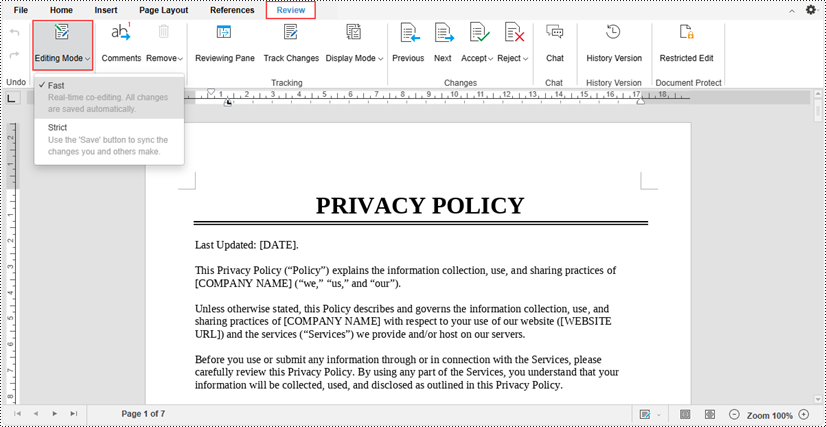
Spire.Cloud.Office's real-time collaboration features enable multiple users to work on the same document simultaneously. Two different collaborative editing modes are available under the "Review" tab - "Editing Mode".
- Fast Mode: All editors can see the changes made to the document in real-time as they are being typed or made.
- Strict Mode: Changes made by editors are protected and only become visible to other editors after the document has been explicitly saved.
By default, the Fast mode is enabled.
When a document is being collaboratively edited by multiple users, any changes made by one editor are instantly reflected in the document interface for all other editors in real-time.
Spire.Cloud.Office is a HTML5-based document editor that allows users to view and edit Word and Excel documents in a web browser. After installing it on your server, you'll be able to embed the editor in your own web application. This article will show you how to install Spire.Cloud.Office for Linux on CentOS 7 via Docker.
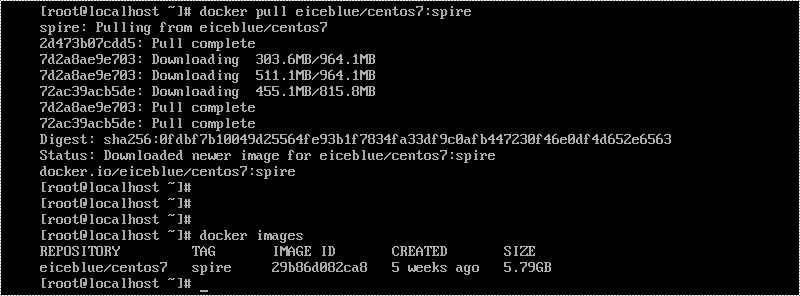
Step 1. Pull Spire.Cloud.Office Docker Image
Run the script docker pull eiceblue/centos7:spire to pull the image of Spire.Cloud.Office from the docker repository.
Step 2. Create a Docker Container
Create a docker container named "spirecloud" (or whatever name you like) by executing the script docker run -itd --privileged --name spirecloud -e IP_ADDR="xxx.xxx.xxx.xxx" -p 3000:3000 -p 8000:8000 -p 8050:8050 eiceblue/centos7:spire /usr/sbin/init. Don't forget to specify the IP address and the ports according to your usage scenario.

Step 3. Copy License to CentOS
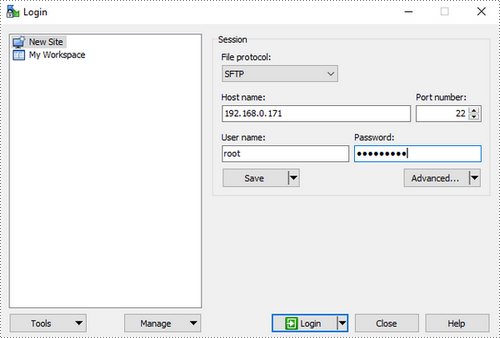
Here, we use WinSCP to copy files from Windows to the root of CentOS system.
1) Log in to WinSCP.
2) Copy the license file to the /root/license/ directory.

Step 4. Copy License from Root to Docker
Run the script docker cp /root/license/license.elic.xml spirecloud:/opt/spire/spire.cloud/service/ConverterService/bin/license to copy the license file from root to the docker container.

Step 5. Bind License
Execute the following commands successively to bind the license.
- docker exec -it spirecloud /bin/bash
- cd opt/spire
- sh binding_license.sh

Now that you've successfully installed Spire.Cloud.Office for Linux on CentOS, you can visit our example on port 3000, and embed the document editor in your HTML page using JavaScript.