
If you need to label your Word documents as “Confidential,” “Draft,” or apply custom branding, adding a watermark is one of the most effective solutions. It helps protect sensitive content, indicate document status, and reinforce brand identity - all while maintaining a clean, professional appearance. Whether you're working on business reports, internal memos, or marketing materials, watermarks can deter unauthorized sharing and clearly communicate your document’s purpose.
In this step-by-step guide, you’ll learn two practical ways to add watermarks to Word documents: manually using Microsoft Word’s built-in watermark tools, and programmatically through C# automation with the Spire.Doc for .NET library. No matter your workflow - manual or automated - you’ll discover efficient techniques for inserting text or image watermarks that enhance and secure your Word files.
What You Will Learn
- What is a Watermark in Microsoft Word?
- Benefits of Using Watermarks in Word Documents
- Part 1: How to Add Watermarks in Word Manually (Step-by-Step Guide)
- Part 2: How to Add Watermarks to Word Programmatically Using C# and Spire.Doc
- Final Thoughts on Adding Watermarks in Word
- Frequently Asked Questions (FAQs)
What is a Watermark in Microsoft Word?
A watermark in Word is a semi-transparent design, text, or image that appears behind the main content of a document page. It does not interfere with the content itself, but remains visible to readers.
Common watermark types include:
- Text Watermarks: "Confidential", "Draft", "Sample", etc.
- Image Watermarks: Company logos or background images
- Custom Watermarks: Branding elements or unique identifiers
Benefits of Using Watermarks in Word Documents
Watermarks serve several important purposes:
- Protect sensitive content by clearly marking documents as confidential
- Indicate document status, such as draft, review, or final
- Brand documents with logos or company names
- Discourage unauthorized distribution or misuse
Part 1: How to Add Watermarks in Word Manually (Step-by-Step Guide)
Microsoft Word makes it easy to add watermarks, whether you're using a built-in option or creating your own. You can choose from a set of predefined watermarks like “Confidential” or “Draft,” or create custom text and image watermarks to align with your document's purpose and branding.
Insert a Predefined Watermark in Word
Microsoft Word includes several ready-made watermark templates for common use cases, such as marking a document as confidential or as a draft.
Steps to Add a Predefined Watermark to Your Document
-
Open your document in Microsoft Word.
-
Go to the Design tab on the menu bar.
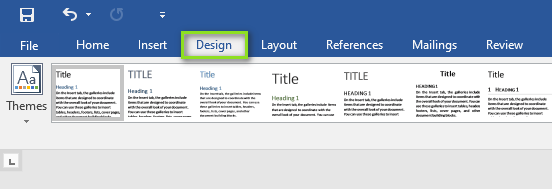
-
On the right side, click Watermark in the Page Background group.

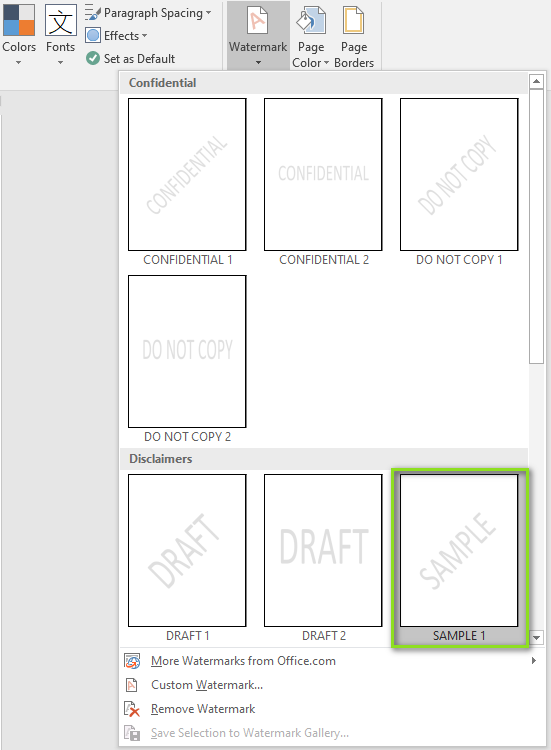
-
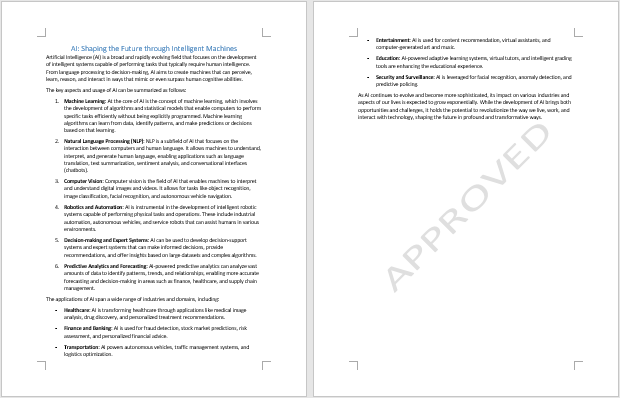
In the opened dialog, select a predefined watermark according to your requirement (e.g., "Confidential", "Do Not Copy", “Sample”).
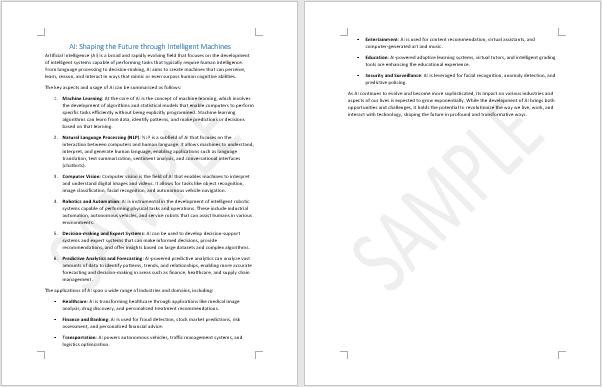
Result:
The selected watermark is automatically applied to all pages of the document.
Create a Custom Text or Image Watermark in Word
If you feel the predefined options don’t meet your needs, you can create a custom watermark using either text or an image.
Steps to Add a Custom Watermark to Your Document
-
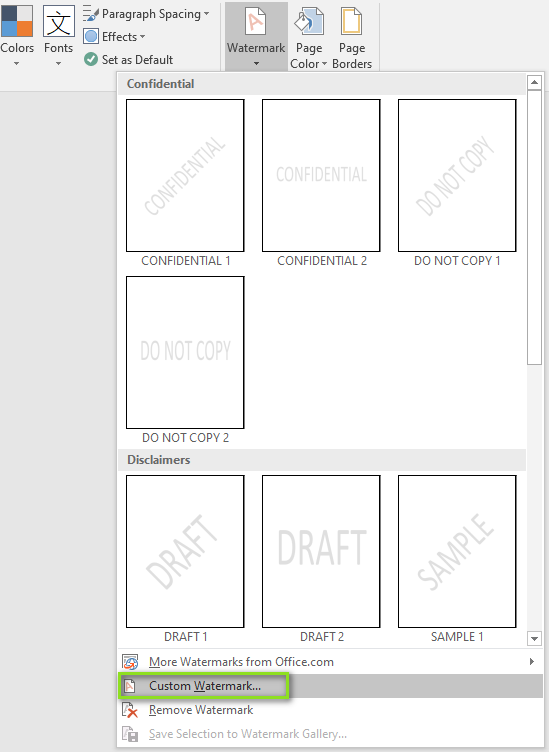
On the menu bar, click Design > Watermark > Custom Watermark.
-
In the opened Printed Watermark dialog:
- Select Text watermark:
-
Enter your text (e.g., "Internal Use Only")
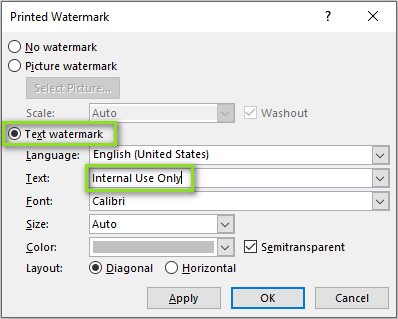
- Choose font, size, color, and layout (horizontal or diagonal)
-
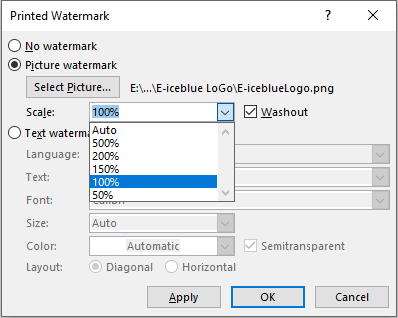
- Or select Picture watermark:
- Click Select Picture… to browse and insert an image (e.g., company logo).

- Set Scale and enable Washout for a transparent effect
- Click Select Picture… to browse and insert an image (e.g., company logo).
- Select Text watermark:
-
Click Apply, then OK.
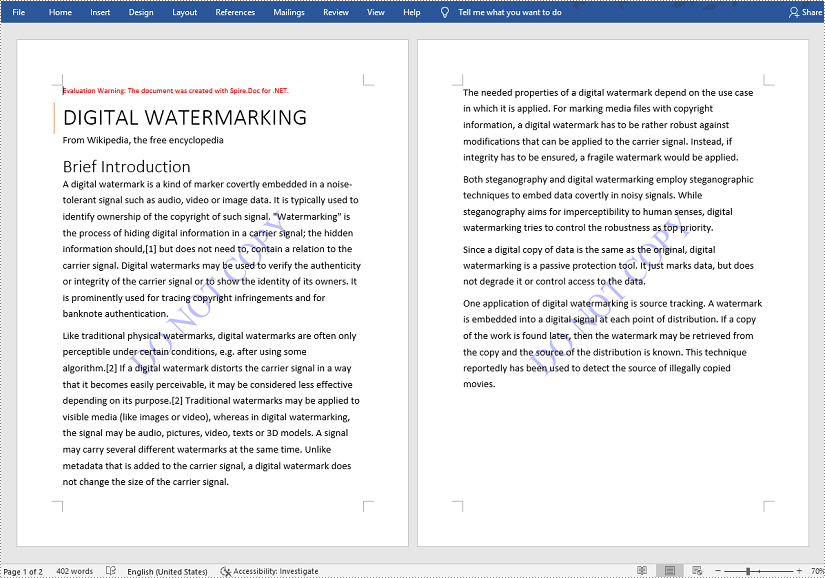
Result:
The image watermark is automatically added to all pages of the document.
Tip: Using a transparent watermark enhances the document without interfering with its readability.
Apply a Watermark to Only One Page in Word
By default, Word applies the watermark to the entire document. If you want to watermark only a particular page, follow the steps below.
Steps to Add a Watermark to Just One Page
-
Click on the page where you want to add the watermark.
-
On the menu bar, click Design > Watermark.
-
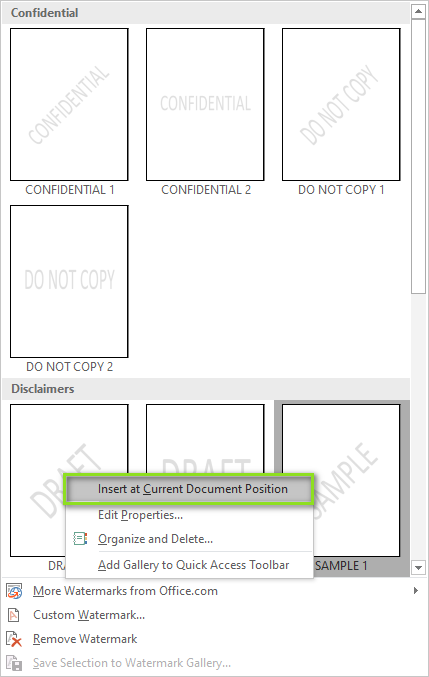
In the opened dialog, right-click on one of the predefined watermarks, and select Insert at Current Document Position.
-
The watermark will be inserted as a text box on the selected page. If the watermark content is not what you want, click the watermark to activate the text box.

-
Click the text in the text box and change it to your desired watermark content.

-
Click anywhere outside the text box to apply the change.
Result:
You now have a watermark that appears only on the selected page without affecting the rest of the document.
Part 2: How to Add Watermarks to Word Programmatically Using C# and Spire.Doc
When automating document generation or batch-processing Word files, Spire.Doc for .NET provides a simple way to add watermarks programmatically.
Getting Started with Spire.Doc
Spire.Doc for .NET is a developer-friendly library that streamlines the process of Word document generation and manipulation. It allows developers to programmatically add both text and image watermarks to .doc or .docx documents without requiring Microsoft Word to be installed.
Install Spire.Doc via NuGet
You can easily install the required library from NuGet by opening the Package Manager Console and running the following command:
Install-Package Spire.Doc
Once installed, you'll be ready to add watermarks to your documents seamlessly.
Add a Text Watermark to Word in C#
To add a text watermark to a Word document with C#, follow the steps below:
Step 1: Import Required Namespaces
Make sure to include the necessary namespaces for working with documents and formatting:
using Spire.Doc;
using Spire.Doc.Documents;
using System.Drawing;
Step 2: Load the Word Document
Create a Document object and load the Word file you want to watermark:
Document document = new Document();
document.LoadFromFile("input.docx");
Step 3: Create and Configure the Text Watermark
Create a TextWatermark instance and customize the watermark content and appearance:
TextWatermark watermark = new TextWatermark();
watermark.Text = "DO NOT COPY"; // Watermark text
watermark.FontSize = 50; // Text size
watermark.Color = Color.Blue; // Watermark color
watermark.Layout = WatermarkLayout.Diagonal; // Layout: Diagonal or Horizontal
Step 4: Apply the Watermark and Save the Document
Assign the watermark to the document and save it to a new file:
document.Watermark = watermark;
document.SaveToFile("output_with_text_watermark.docx", FileFormat.Docx);
Full Code: Insert Text Watermark in Word in C#
using Spire.Doc;
using Spire.Doc.Documents;
using System.Drawing;

namespace TextWatermarkExample
{
    class Program
    {
        static void Main(string[] args)
        {
            // Step 1: Load the Word document
            Document document = new Document();
            document.LoadFromFile("input.docx");

            // Step 2: Create and configure the text watermark
            TextWatermark watermark = new TextWatermark();
            watermark.Text = "DO NOT COPY";
            watermark.FontSize = 50;
            watermark.Color = Color.Blue;
            watermark.Layout = WatermarkLayout.Diagonal;

            // Step 3: Apply the watermark and save the document
            document.Watermark = watermark;
            document.SaveToFile("output_with_text_watermark.docx", FileFormat.Docx);
        }
    }
}
Add an Image Watermark to Word in C#
To insert an image watermark using C#, follow the steps below:
Step 1: Import Required Namespaces
Add these at the top of your C# file to enable document and image handling:
using Spire.Doc;
using System.Drawing;
Step 2: Load the Word Document
Create a Document object and load your source Word file:
Document document = new Document();
document.LoadFromFile("input.docx");
Step 3: Create and Configure the Image Watermark
Instantiate a PictureWatermark, load the image, set the scale, and enable washout:
PictureWatermark watermark = new PictureWatermark();
watermark.Picture = Image.FromFile("logo.png"); // Your watermark image
watermark.Scaling = 150; // Set image scaling (percentage)
watermark.IsWashout = true; // Enable washout
Step 4: Apply the Watermark and Save the File
Assign the watermark to the document and save it:
document.Watermark = watermark;
document.SaveToFile("output_with_image_watermark.docx", FileFormat.Docx);
Full Code: Insert Image Watermark in Word in C#
using Spire.Doc;
using System.Drawing;

namespace ImageWatermarkExample
{
    class Program
    {
        static void Main(string[] args)
        {
            // Step 1: Load the Word document
            Document document = new Document();
            document.LoadFromFile("input.docx");

            // Step 2: Create and configure the image watermark
            PictureWatermark watermark = new PictureWatermark();
            watermark.Picture = Image.FromFile("logo.png");
            watermark.Scaling = 150;
            watermark.IsWashout = true;

            // Step 3: Apply the watermark and save the document
            document.Watermark = watermark;
            document.SaveToFile("output_with_image_watermark.docx", FileFormat.Docx);
        }
    }
}
Final Thoughts on Adding Watermarks in Word
Adding watermarks to Word documents helps protect sensitive content, indicate document status, and enhance brand identity. Depending on your needs, you can choose between:
- Using Microsoft Word:
- Insert built-in or custom text/image watermarks
- Apply watermarks to all pages or specific sections manually
- Automating with C# and Spire.Doc for .NET:
- Programmatically add text or image watermarks to Word files
- Ideal for batch processing or automated document generation
Frequently Asked Questions (FAQs)
Q1: Can I remove the watermark from the document later?
A1: Yes. In Word, go to Design > Watermark > Remove Watermark. In C# and Spire.Doc, set document.Watermark = null;.
Q2: Will watermarks print with the document?
A2: Yes, watermarks appear both onscreen and in printouts.
Q3: What Word formats are supported by Spire.Doc?
A3: Spire.Doc supports a wide range of Word document formats, including Doc, Docx, Docm, Dot, Dotx, Dotm, and more.