
Text (5)
How to Count Word Frequency in a Word Document Using Python
2025-05-22 09:16:03 Written by AdministratorWant to count the frequency of words in a Word document? Whether you're analyzing content, generating reports, or building a document tool, Python makes it easy to find how often a specific word appears—across the entire document, within specific sections, or even in individual paragraphs. In this guide, you’ll learn how to use Python to count word occurrences accurately and efficiently, helping you extract meaningful insights from your Word files without manual effort.

- Count Frequency of Words in an Entire Word Document
- Count Word Frequency by Section
- Count Word Frequency by Paragraph
- To Wrap Up
- FAQ
In this tutorial, we’ll use Spire.Doc for Python, a powerful and easy-to-use library for Word document processing. It supports a wide range of features like reading, editing, and analyzing DOCX files programmatically—without requiring Microsoft Office.
You can install it via pip:
pip install spire.doc
Let’s see how it works in practice, starting with counting word frequency in an entire Word document.
How to Count Frequency of Words in an Entire Word Document
Let’s start by learning how to count how many times a specific word or phrase appears in an entire Word document. This is a common task—imagine you need to check how often the word "contract" appears in a 50-page file.
With the FindAllString() method from Spire.Doc for Python, you can quickly search through the entire document and get an exact count in just a few lines of code—saving you both time and effort.
Steps to count the frequency of a word in the entire Word document:
- Create an object of Document class and read a source Word document.
- Specify the keyword to find.
- Find all occurrences of the keyword in the document using Document.FindAllString() method.
- Count the number of matches and print it out.
The following code shows how to count the frequency of the keyword "AI-Generated Art" in the entire Word document:
from spire.doc import *
from spire.doc.common import *

# Create a Document object
document = Document()

# Load a Word document
document.LoadFromFile("E:/Administrator/Python1/input/AI-Generated Art.docx")

# Customize the keyword to find
keyword = "AI-Generated Art"

# Find all matches (False: distinguish case; True: full text search)
textSelections = document.FindAllString(keyword, False, True)

# Count the number of matches
count = len(textSelections)

# Print the result
print(f'"{keyword}" appears {count} times in the entire document.')

# Close the document
document.Close()

How to Count Word Frequency by Section in a Word Document Using Python
A Word document is typically divided into multiple sections, each containing its own paragraphs, tables, and other elements. Sometimes, instead of counting a word's frequency across the entire document, you may want to know how often it appears in each section. To achieve this, we’ll loop through all the document sections and search for the target word within each one. Let’s see how to count word frequency by section using Python.
Steps to count the frequency of a word by section in Word documents:
- Create a Document object and load the Word file.
- Define the target keyword to search.
- Loop through all sections in the document. Within each section, loop through all paragraphs.
- Use regular expressions to count keyword occurrences.
- Accumulate and print the count for each section and the total count.
This code demonstrates how to count how many times "AI-Generated Art" appears in each section of a Word document:
import re
from spire.doc import *
from spire.doc.common import *
# Create a Document object and load a Word file
document = Document()
document.LoadFromFile("E:/Administrator/Python1/input/AI.docx")
# Specify the keyword
keyword = "AI-Generated Art"
# The total count of the keyword
total_count = 0
# Get all sections
sections = document.Sections
# Loop through each section
for i in range(sections.Count):
section = sections.get_Item(i)
paragraphs = section.Paragraphs
section_count = 0
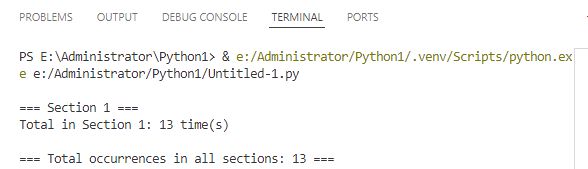
print(f"\n=== Section {i + 1} ===")
# Loop through each paragraph in the section
for j in range(paragraphs.Count):
paragraph = paragraphs.get_Item(j)
text = paragraph.Text
# Find all matches using regular expressions
count = len(re.findall(re.escape(keyword), text, flags=re.IGNORECASE))
section_count += count
total_count += count
print(f'Total in Section {i + 1}: {section_count} time(s)')
print(f'\n=== Total occurrences in all sections: {total_count} ===')
# Close the document
document.Close()
How to Count Word Frequency by Paragraph in a Word Document
When it comes to tasks like sensitive word detection or content auditing, it's crucial to perform a more granular analysis of word frequency. In this section, you’ll learn how to count word frequency by paragraph in a Word document, which gives you deeper insight into how specific terms are distributed across your content. Let’s walk through the steps and see a code example in action.
Steps to count the frequency of words by paragraph in Word files:
- Instantiate a Document object and load a Word document from files.
- Specify the keyword to search for.
- Loop through each section and each paragraph in the document.
- Find and count the occurrence of the keyword using regular expressions.
- Print out the count for each paragraph where the keyword appears and the total number of occurrences.
Use the following code to calculate the frequency of "AI-Generated Art" by paragraphs in a Word document:
import re
from spire.doc import *
from spire.doc.common import *
# Create a Document object
document = Document()
# Load a Word document
document.LoadFromFile("E:/Administrator/Python1/input/AI.docx")
# Customize the keyword to find
keyword = "AI-Generated Art"
# Initialize variables
total_count = 0
paragraph_index = 1
# Loop through sections and paragraphs
sections = document.Sections
for i in range(sections.Count):
section = sections.get_Item(i)
paragraphs = section.Paragraphs
for j in range(paragraphs.Count):
paragraph = paragraphs.get_Item(j)
text = paragraph.Text
# Find all occurrences of the keyword while ignoring case
count = len(re.findall(re.escape(keyword), text, flags=re.IGNORECASE))
# Print the result
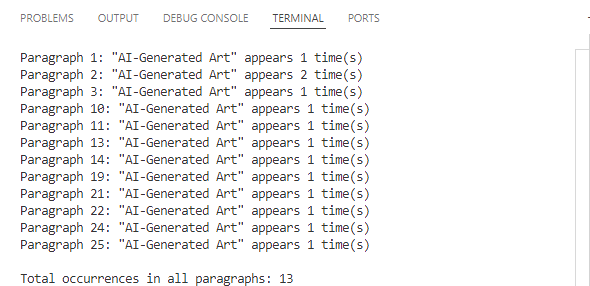
if count > 0:
print(f'Paragraph {paragraph_index}: "{keyword}" appears {count} time(s)')
total_count += count
paragraph_index += 1
# Print the total count
print(f'\nTotal occurrences in all paragraphs: {total_count}')
document.Close()
To Wrap Up
The guide demonstrates how to count the frequency of specific words across an entire Word document, by section, and by paragraph using Python. Whether you're analyzing long reports, filtering sensitive terms, or building smart document tools, automating the task with Spire.Doc for Python can save time and boost accuracy. Give them a try in your own projects and take full control of your Word document content.
FAQs about Counting the Frequency of Words
Q1: How to count the number of times a word appears in Word?
A: You can count word frequency in Word manually using the “Find” feature, or automatically using Python and libraries like Spire.Doc. This lets you scan the entire document or target specific sections or paragraphs.
Q2: Can I analyze word frequency across multiple Word files?
A: Yes. By combining a loop in Python to load multiple documents, you can apply the same word-count logic to each file and aggregate the results—ideal for batch processing or document audits.
Word documents often contain extensive text, and applying emphasis marks is an effective way to highlight key information. Whether you need to accentuate important terms or enhance text clarity with styled formatting, emphasis marks can make your content more readable and professional. Instead of manually adjusting formatting, this guide demonstrates how to use Spire.Doc for Python to efficiently apply emphasis to text in Word with Python, saving time while ensuring a polished document.
- Apply Emphasis Marks to First Matched Text
- Apply Emphasis Marks to All Matched Text
- Apply Emphasis Marks to Text with Regular Expression
Install Spire.Doc for Python
This scenario requires Spire.Doc for Python and plum-dispatch v1.7.4. They can be easily installed in your Windows through the following pip command.
pip install Spire.Doc
If you are unsure how to install, please refer to this tutorial: How to Install Spire.Doc for Python on Windows.
Apply Emphasis Marks to First Matched Text in Word Documents
When crafting a Word document, highlighting keywords or phrases can improve readability and draw attention to important information. With Spire.Doc's CharacterFormat.EmphasisMark property, you can easily apply emphasis marks to any text, ensuring clarity and consistency.
Steps to apply emphasis marks to the first matched text in a Word document:
- Create an object of the Document class.
- Load a source Word document from files using Document.LoadFromFile() method.
- Find the text that you want to emphasize with Document.FindString() method.
- Apply emphasis marks to the text through CharacterFormat.EmphasisMark property.
- Save the updated Word document using Document.SaveToFile() method.
Below is the code example showing how to emphasize the first matching text of "AI-Generated Art" in a Word document:
- Python
from spire.doc import *
from spire.doc.common import *
# Create a Document object
doc = Document()
doc.LoadFromFile("/AI-Generated Art.docx")
# Customize the text that you want to apply an emphasis mark to
matchingtext = doc.FindString("AI-Generated Art", True, True)
# Apply the emphasis mark to the matched text
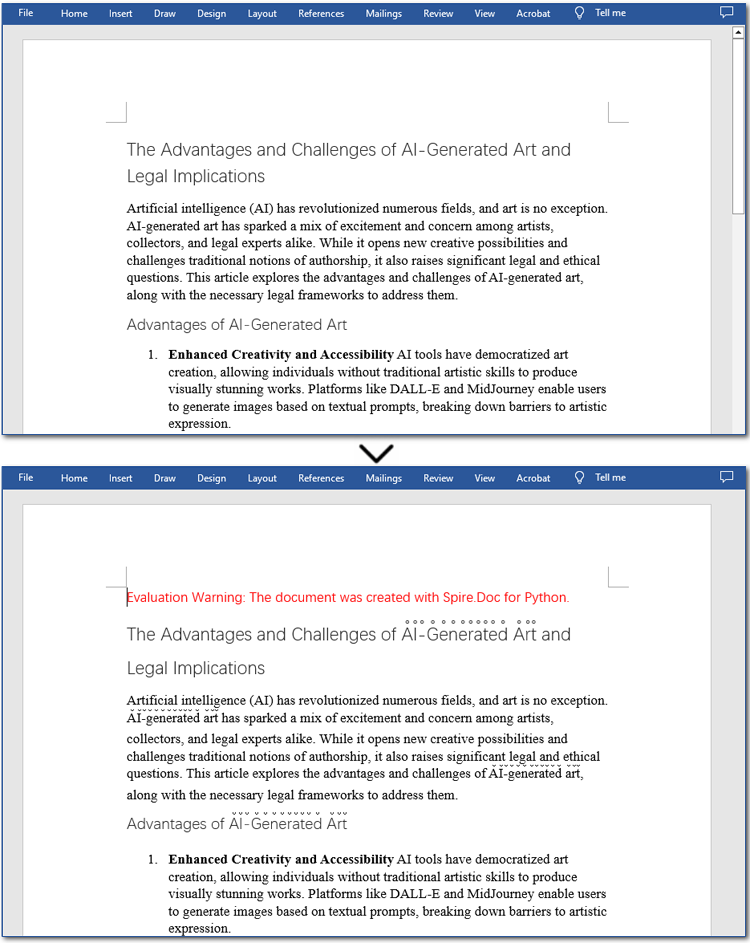
matchingtext.GetAsOneRange().CharacterFormat.EmphasisMark = Emphasis.CommaAbove
# Save the document as a new one
doc.SaveToFile("/ApplyEmphasisMark_FirstMatch.docx", FileFormat.Docx2013)
doc.Close()

Apply Emphasis Marks to All Matched Text in Word Files
In the previous section, we demonstrated how to add an emphasis mark to the first matched text. Now, let's take it a step further—how can we emphasize all occurrences of a specific text? The solution is simple: use the Document.FindAllString() method to locate all matches and then apply emphasis marks using the CharacterFormat.EmphasisMark property. Below, you'll find detailed steps and code examples to guide you through the process.
Steps to apply emphasis marks to all matched text:
- Create an instance of Document class.
- Read a Word file through Document.LoadFromFile() method.
- Find all the matching text using Document.FindAllString() method.
- Loop through all occurrences and apply the emphasis effect to the text through CharacterFormat.EmphasisMark property.
- Save the modified Word document through Document.SaveToFile() method.
The following code demonstrates how to apply emphasis to all occurrences of "AI-Generated Art" while ignoring case sensitivity:
- Python
from spire.doc import *
from spire.doc.common import *

# Create a Document object
doc = Document()
doc.LoadFromFile("/AI-Generated Art.docx")

# Customize the text that you want to apply an emphasis mark to
textselections = doc.FindAllString("AI-Generated Art", False, True)

# Loop through the text selections and apply the emphasis mark to the text
for textselection in textselections:
    textselection.GetAsOneRange().CharacterFormat.EmphasisMark = Emphasis.CircleAbove

# Save the document as a new one
doc.SaveToFile("/ApplyEmphasisMark_AllMatch.docx", FileFormat.Docx2013)
doc.Close()
Apply Emphasis Marks to Text in Word Documents with Regular Expression
Sometimes, the text you want to highlight may vary but follow a similar structure, such as email addresses, phone numbers, dates, or patterns like two to three words followed by special symbols (#, *, etc.). The best way to identify such text is by using regular expressions. Once located, you can apply emphasis marks using the same method. Let's go through the steps!
Steps to apply emphasis marks to text using regular expressions:
- Create a Document instance.
- Load a Word document from the local storage using Document.LoadFromFile() method.
- Find text that you want to emphasize with Document.FindAllPattern() method.
- Iterate through all occurrences and apply the emphasis effect to the text through CharacterFormat.EmphasisMark property.
- Save the resulting Word file through Document.SaveToFile() method.
The code example below shows how to emphasize "AI" and the word after it in a Word document:
- Python
from spire.doc import *
from spire.doc.common import *

# Create a Document object
doc = Document()
doc.LoadFromFile("/AI-Generated Art.docx")

# Match "AI" and the next word using regular expression
pattern = Regex(r"AI\s+\w+")

# Find all matching text
textSelections = doc.FindAllPattern(pattern)

# Loop through all the matched text and apply an emphasis mark
for selection in textSelections:
    selection.GetAsOneRange().CharacterFormat.EmphasisMark = Emphasis.DotBelow

# Save the document as a new one
doc.SaveToFile("/ApplyEmphasisMark_Regex.docx", FileFormat.Docx2013)
doc.Close()

Get a Free License
To fully experience the capabilities of Spire.Doc for Python without any evaluation limitations, you can request a free 30-day trial license.
The text highlighting feature in MS Word allows users to easily navigate and search for specific sections or content. By highlighting key paragraphs or keywords, users can quickly locate the desired information within the document. This feature is particularly useful when dealing with large documents, as it not only saves time but also minimizes the frustration associated with manual searching, enabling users to focus on the content that truly matters. In this article, we will demonstrate how to find and highlight text in a Word document in Python using Spire.Doc for Python.
- Find and Highlight All Instances of a Specified Text in Word in Python
- Find and Highlight the First Instance of a Specified Text in Word in Python
Install Spire.Doc for Python
This scenario requires Spire.Doc for Python and plum-dispatch v1.7.4. They can be easily installed in your Windows through the following pip command.
pip install Spire.Doc
If you are unsure how to install, please refer to this tutorial: How to Install Spire.Doc for Python on Windows
Find and Highlight All Instances of a Specified Text in Word in Python
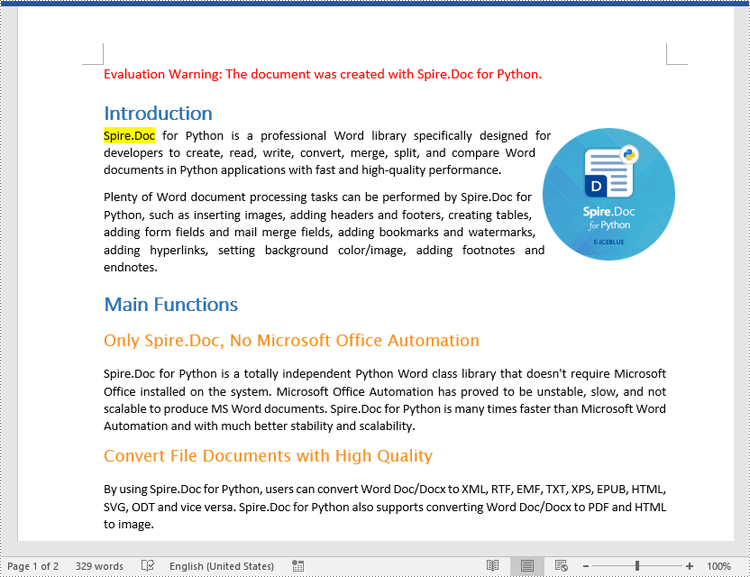
You can use the Document.FindAllString() method provided by Spire.Doc for Python to find all instances of a specified text in a Word document. Then you can loop through these instances and highlight each of them with a bright color using TextRange.CharacterFormat.HighlightColor property. The detailed steps are as follows.
- Create an object of the Document class.
- Load a Word document using Document.LoadFromFile() method.
- Find all instances of a specific text in the document using Document.FindAllString() method.
- Loop through each found instance, and get it as a single text range using TextSelection.GetAsOneRange() method, then highlight the text range with color using TextRange.CharacterFormat.HighlightColor property.
- Save the resulting document using Document.SaveToFile() method.
- Python
from spire.doc import *
from spire.doc.common import *
# Specify the input and output file paths
inputFile = "Sample.docx"
outputFile = "HighlightAllInstances.docx"
# Create an object of the Document class
document = Document()
# Load a Word document
document.LoadFromFile(inputFile)
# Find all instances of a specific text
textSelections = document.FindAllString("Spire.Doc", False, True)
# Loop through all the instances
for selection in textSelections:
# Get the current instance as a single text range
textRange = selection.GetAsOneRange()
# Highlight the text range with a color
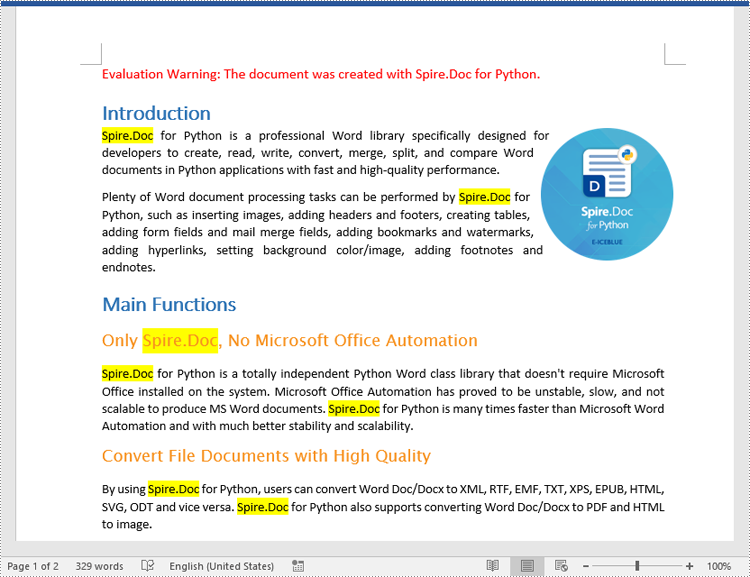
textRange.CharacterFormat.HighlightColor = Color.get_Yellow()
# Save the resulting document
document.SaveToFile(outputFile, FileFormat.Docx2016)
document.Close()
Find and Highlight the First Instance of a Specified Text in Word in Python
You can use the Document.FindString() method to find only the first instance of a specified text and then set a highlight color for it using TextRange.CharacterFormat.HighlightColor property. The detailed steps are as follows.
- Create an object of the Document class.
- Load a Word document using Document.LoadFromFile() method.
- Find the first instance of a specific text using Document.FindString() method.
- Get the instance as a single text range using TextSelection.GetAsOneRange() method, and then highlight the text range with color using TextRange.CharacterFormat.HighlightColor property.
- Save the result document using Document.SaveToFile() method.
- Python
from spire.doc import *
from spire.doc.common import *

# Specify the input and output file paths
inputFile = "Sample.docx"
outputFile = "HighlightTheFirstInstance.docx"

# Create an object of the Document class
document = Document()

# Load a Word document
document.LoadFromFile(inputFile)

# Find the first instance of a specific text
textSelection = document.FindString("Spire.Doc", False, True)

# Get the instance as a single text range
textRange = textSelection.GetAsOneRange()
# Highlight the text range with a color
textRange.CharacterFormat.HighlightColor = Color.get_Yellow()

# Save the resulting document
document.SaveToFile(outputFile, FileFormat.Docx2016)
document.Close()
Apply for a Temporary License
If you'd like to remove the evaluation message from the generated documents, or to get rid of the function limitations, please request a 30-day trial license for yourself.
The Find and Replace feature in Word offers a reliable and efficient solution for updating text within your documents. It eliminates the need for exhaustive manual searching and editing by automatically locating and replacing the desired text throughout the entire document. This not only saves time but also guarantees that every instance of the targeted text is updated consistently. In this article, we will demonstrate how to find and replace text in a Word document in Python using Spire.Doc for Python.
- Find Text and Replace All Its Instances with New Text
- Find Text and Replace Its First Instance with New Text
- Find and Replace Text Using a Regular Expression
- Find and Replace Text with an Image
Install Spire.Doc for Python
This scenario requires Spire.Doc for Python and plum-dispatch v1.7.4. They can be easily installed in your Windows through the following pip command.
pip install Spire.Doc
If you are unsure how to install, please refer to this tutorial: How to Install Spire.Doc for Python on Windows
Find Text and Replace All Its Instances with New Text
You can find a text and replace all its instances with another text easily using the Document.Replace() method. The detailed steps are as follows:
- Create a Document object.
- Load a Word document using Document.LoadFromFile() method.
- Find a specific text and replace all its instances with another text using Document.Replace() method.
- Save the resulting document using Document.SaveToFile() method.
- Python
from spire.doc import *
from spire.doc.common import *
# Create a Document object
document = Document()
# Load a Word document
document.LoadFromFile("Sample.docx")
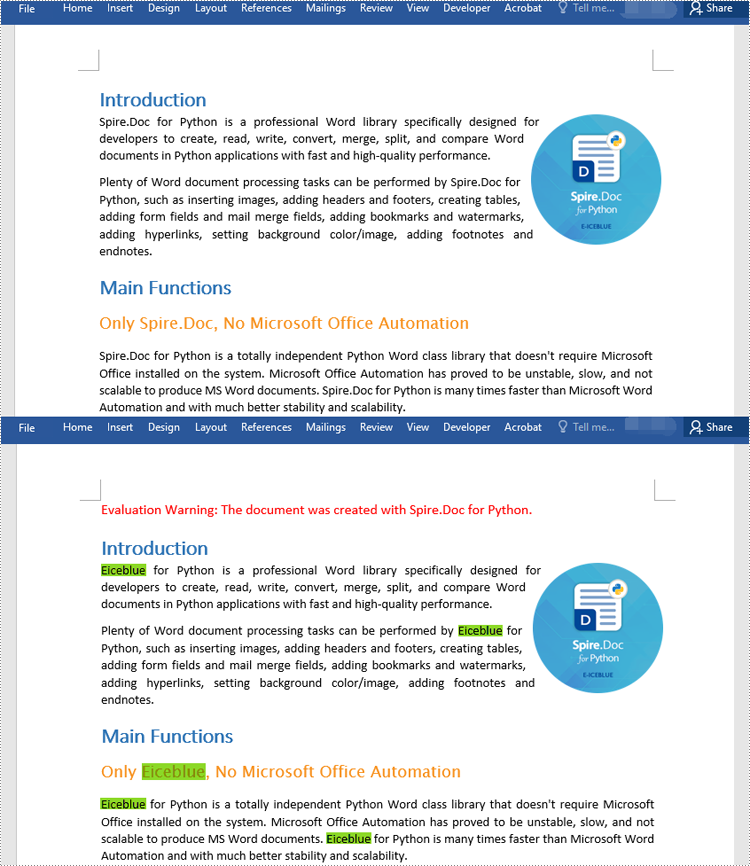
# Find a specific text and replace all its instances with another text
document.Replace("Spire.Doc", "Eiceblue", False, True)
# Save the resulting document
document.SaveToFile("ReplaceAllOccurrencesOfText.docx", FileFormat.Docx2016)
document.Close()
Find Text and Replace Its First Instance with New Text
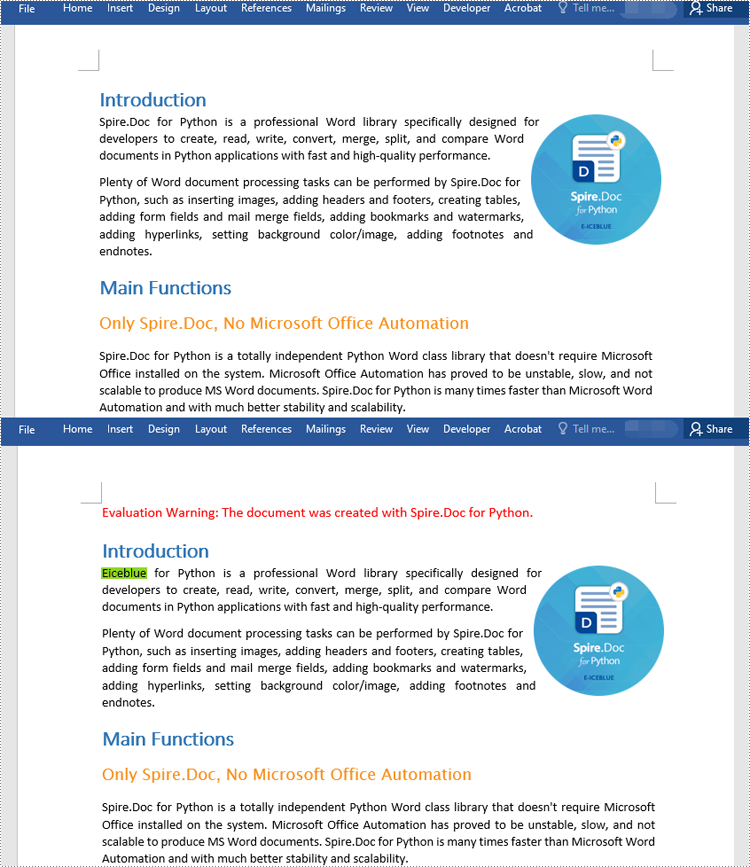
Spire.Doc for Python provides the Document.ReplaceFirst property which enables you to change the replacement mode from replacing all instances to replacing the first instance. The following steps explain how to find a text and replace its first instance in a Word document:
- Create a Document object.
- Load a Word document using Document.LoadFromFile() method.
- Change the replacement mode to replace the first instance by setting the Document.ReplaceFirst property as True.
- Replace the first instance of a text with another text using Document.Replace() method.
- Save the resulting document using Document.SaveToFile() method.
- Python
from spire.doc import *
from spire.doc.common import *

# Create a Document object
document = Document()
# Load a Word document
document.LoadFromFile("Sample.docx")

# Change the replacement mode to replace the first match
document.ReplaceFirst = True

# Replace the first instance of a text with another text
document.Replace("Spire.Doc", "Eiceblue", False, True)

# Save the resulting document
document.SaveToFile("ReplaceFirstOccurrenceOfText.docx", FileFormat.Docx2016)
document.Close()
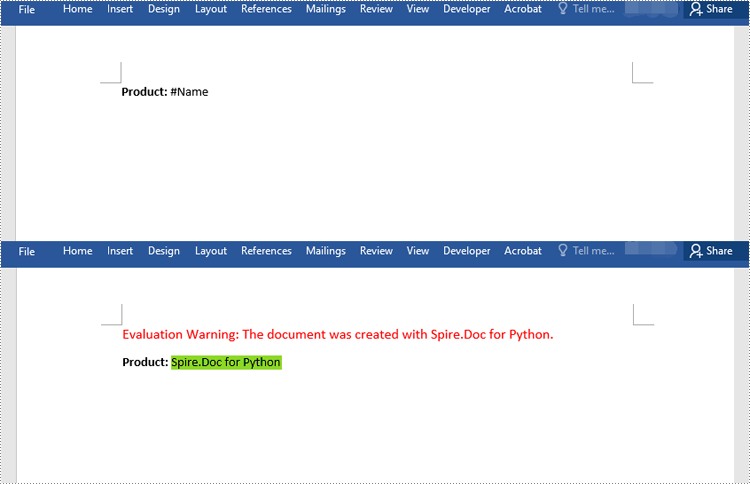
Find and Replace Text Using a Regular Expression
You can replace a text matching a regular expression with new text by passing a Regex object and the new text to the Document.Replace() method as parameters. The detailed steps are as follows:
- Create a Document object.
- Load a Word document using Document.LoadFromFile() method.
- Create a Regex object to match the specific text.
- Replace the text matching the regex with another text using Document.Replace() method.
- Save the resulting document using Document.SaveToFile() method.
- Python
from spire.doc import *
from spire.doc.common import *

# Create a Document object
document = Document()
# Load a Word document
document.LoadFromFile("Sample1.docx")

# Create a regex to match the text that starts with #
regex = Regex("""\\#\\w+\\b""")

# Find the text matching the regex and replace it with another text
document.Replace(regex, "Spire.Doc for Python")

#save the document
document.SaveToFile("ReplaceTextUsingRegex.docx", FileFormat.Docx2016)
document.Close()
Find and Replace Text with an Image
Spire.Doc for Python doesn't offer a direct method to replace text with image, but you can achieve this by inserting the image at the position of the text and then removing the text from the document. The detailed steps are as follows:
- Create a Document object.
- Load a Word document using Document.LoadFromFile() method.
- Find a specific text in the document using Document.FindAllString() method.
- Loop through the found results.
- Create a DocPicture object and load an image using DocPicture.LoadImage() method.
- Get the found text as a single text range and then get the index of the text range in its owner paragraph.
- Insert an image at the position of the text range and then remove the text range from the document.
- Save the resulting document using Document.SaveToFile() method.
- Python
from spire.doc import *
from spire.doc.common import *

# Create a Document object
document = Document()
# Load a Word document
document.LoadFromFile("Sample.docx")

# Find a specific text in the document
selections = document.FindAllString("Spire.Doc", True, True)
index = 0
testRange = None

# Loop through the found results
for selection in selections:
    # Load an image
    pic = DocPicture(document)
    pic.LoadImage("logo.png")
    # Get the found text as a single text range
    testRange = selection.GetAsOneRange()
    # Get the index of the text range in its owner paragraph
    index = testRange.OwnerParagraph.ChildObjects.IndexOf(testRange)
    # Insert an image at the index
    testRange.OwnerParagraph.ChildObjects.Insert(index, pic)
    # Remove the text range
    testRange.OwnerParagraph.ChildObjects.Remove(testRange)

# Save the resulting document
document.SaveToFile("ReplaceTextWithImage.docx", FileFormat.Docx2016)
document.Close()
Apply for a Temporary License
If you'd like to remove the evaluation message from the generated documents, or to get rid of the function limitations, please request a 30-day trial license for yourself.
By extracting text from Word documents, you can effortlessly obtain the written information contained within them. This allows for easier manipulation, analysis, and organization of textual content, enabling tasks such as text mining, sentiment analysis, and natural language processing. Extracting images, on the other hand, provides access to visual elements embedded within Word documents, which can be crucial for tasks like image recognition, content extraction, or creating image databases. In this article, you will learn how to extract text and images from a Word document in Python using Spire.Doc for Python.
- Extract Text from a Specific Paragraph in Python
- Extract Text from an Entire Word Document in Python
- Extract Images from an Entire Word Document in Python
Install Spire.Doc for Python
This scenario requires Spire.Doc for Python and plum-dispatch v1.7.4. They can be easily installed in your Windows through the following pip command.
pip install Spire.Doc
If you are unsure how to install, please refer to this tutorial: How to Install Spire.Doc for Python on Windows
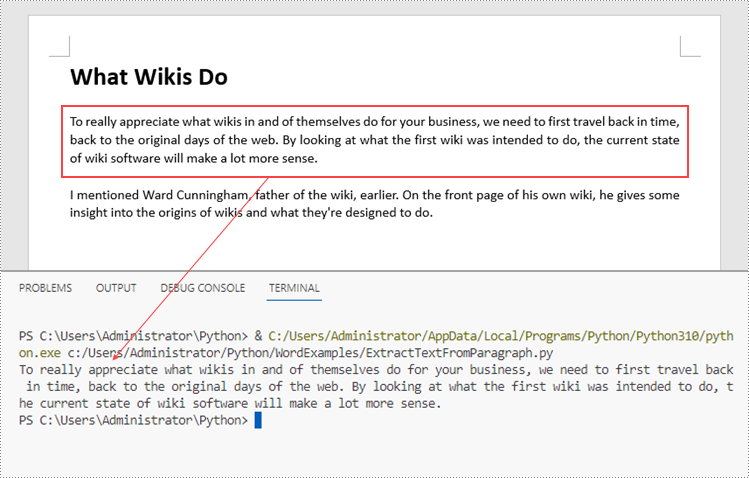
Extract Text from a Specific Paragraph in Python
To get a certain paragraph from a section, use Section.Paragraphs[index] property. Then, you can get the text of the paragraph through Paragraph.Text property. The detailed steps are as follows.
- Create a Document object.
- Load a Word file using Document.LoadFromFile() method.
- Get a specific section through Document.Sections[index] property.
- Get a specific paragraph through Section.Paragraphs[index] property.
- Get text from the paragraph through Paragraph.Text property.
- Python
from spire.doc import *
from spire.doc.common import *

# Create a Document object
doc = Document()

# Load a Word document
doc.LoadFromFile("C:\\Users\\Administrator\\Desktop\\input.docx")

# Get a specific section
section = doc.Sections.get_Item(0)

# Get a specific paragraph
paragraph = section.Paragraphs.get_Item(2)

# Get text from the paragraph
str = paragraph.Text

# Print result
print(str)
Extract Text from an Entire Word Document in Python
If you want to get text from a whole document, you can simply use Document.GetText() method. Below are the steps.
- Create a Document object.
- Load a Word file using Document.LoadFromFile() method.
- Get text from the document using Document.GetText() method.
- Python
from spire.doc import *
from spire.doc.common import *

# Create a Document object
doc = Document()

# Load a Word file
doc.LoadFromFile("C:\\Users\\Administrator\\Desktop\\input.docx")

# Get text from the entire document
str = doc.GetText()

# Print result
print(str)

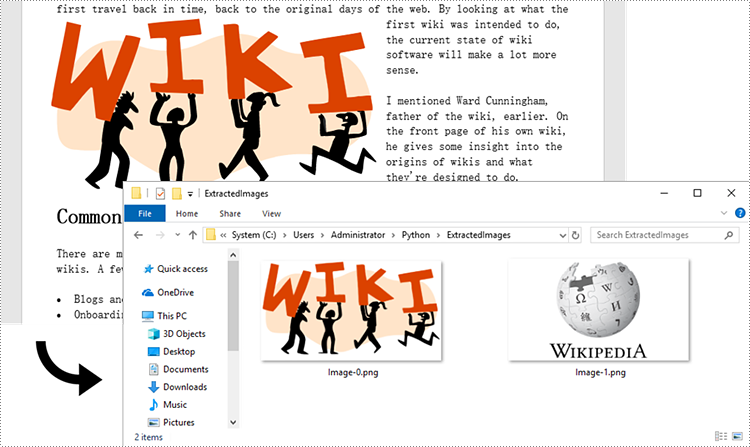
Extract Images from an Entire Word Document in Python
Spire.Doc for Python does not provide a straightforward method to get images from a Word document. You need to iterate through the child objects in the document, and determine if a certain a child object is a DocPicture. If yes, you get the image data using DocPicture.ImageBytes property and then save it as a popular image format file. The main steps are as follows.
- Create a Document object.
- Load a Word file using Document.LoadFromFile() method.
- Loop through the child objects in the document.
- Determine if a specific child object is a DocPicture. If yes, get the image data through DocPicture.ImageBytes property.
- Write the image data as a PNG file.
- Python
import queue
from spire.doc import *
from spire.doc.common import *

# Create a Document object
doc = Document()

# Load a Word file
doc.LoadFromFile("C:\\Users\\Administrator\\Desktop\\input.docx")

# Create a Queue object
nodes = queue.Queue()
nodes.put(doc)

# Create a list
images = []

while nodes.qsize() > 0:
    node = nodes.get()

    # Loop through the child objects in the document
    for i in range(node.ChildObjects.Count):
        child = node.ChildObjects.get_Item(i)

        # Determine if a child object is a picture
        if child.DocumentObjectType == DocumentObjectType.Picture:
            picture = child if isinstance(child, DocPicture) else None
            dataBytes = picture.ImageBytes

            # Add the image data to the list
            images.append(dataBytes)

        elif isinstance(child, ICompositeObject):
            nodes.put(child if isinstance(child, ICompositeObject) else None)

# Loop through the images in the list
for i, item in enumerate(images):
    fileName = "Image-{}.png".format(i)
    with open("ExtractedImages/"+fileName,'wb') as imageFile:

        # Write the image to a specified path
        imageFile.write(item)
doc.Close()
Apply for a Temporary License
If you'd like to remove the evaluation message from the generated documents, or to get rid of the function limitations, please request a 30-day trial license for yourself.
