Content Preview:
- Part 1. Adding Custom Fonts in Script-Based Deployment (Product Package)
- Part 2. Integrating Custom Fonts in Frontend Frameworks like React
- Common Troubleshooting for Font Integration
Custom fonts play a key role in enhancing visual presentation and improving the user experience in modern web-based editors. Whether you’re building an enterprise document platform or integrating an editor into your web application, font customization directly affects readability, branding, and overall usability.
Spire.OfficeJS is a powerful browser-based office solution that allows developers to embed document editing capabilities—such as Word, Excel, and PowerPoint—directly into web applications, without requiring local Office installations. It supports both direct deployments using the product package scripts and integration with frontend frameworks like React, Vue, or Angular.
In practice, while the editor comes with a set of default fonts, most projects require adding custom fonts to meet branding or multilingual needs. Therefore, this guide is divided into two parts: one focuses on adding fonts using the product package scripts, and the other covers how to integrate fonts within frontend frameworks for a complete and flexible setup.
Part 1. Adding Custom Fonts in Script-Based Deployment (Product Package)
If you are using the product package editor directly, the process of adding fonts will be much easier. This part will be divided into two parts to show you how to add fonts on your Windows system or Linux system.
Download the Spire.OfficeJS Package
To begin with, you should make sure that you have downloaded the Spire.OfficeJS product package on your computer. If not, you can go to the official download link and save it to run smoothly.
Windows Systems
For Windows-based deployment servers, follow these steps:
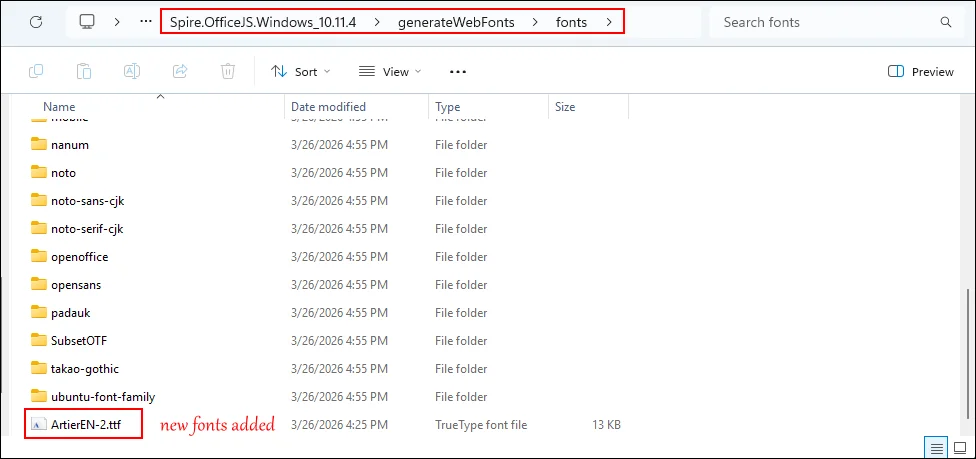
Step 1. Add Font Files
First, copy and save the font files into the "generateFonts\fonts" folder on your server.
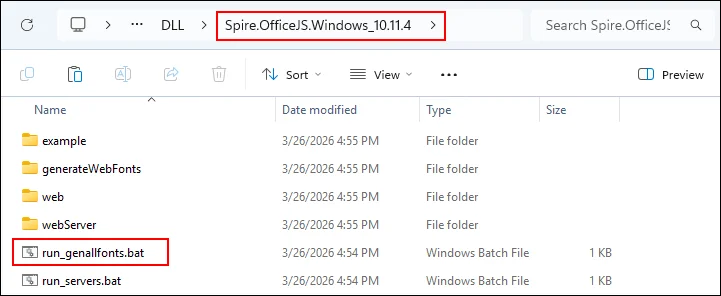
Step 2. Run the Font Generation Script
Go back to the OfficeJS product file folder and double-click the "run_genallfonts.bat" script. This will register the new fonts with the editor service. Wait for the script to run over.
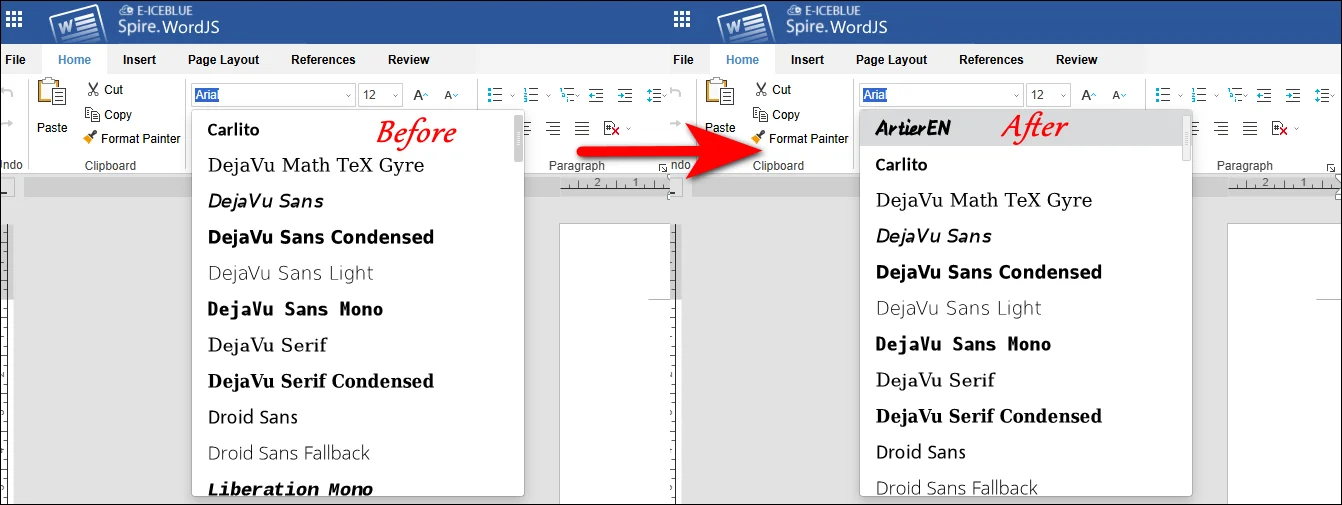
Step 3. Refresh the Editor
Wait for the script to run over and then open your editor in a browser and press "Ctrl + F5" to reload the page. Your new fonts should now be visible.
Linux (x86_64) Systems
Linux users need to ensure certain dependencies before running the font scripts:
Step 1. Install Required Libraries
Before running the font generation script, ensure that the required dependencies like libgdiplus and libicu are installed on your system.
Step 2. Add Font Files
Copy your custom font files (such as .ttf or .otf) into the following directory on your deployment server: generateFonts/fonts.
Step 3. Run the Font Generation Script
Execute the run_genallfonts.sh shell script to generate fonts in your Linux editor.
Step 4. Run or Refresh the Editor
After the script finishes, open or refresh the editor in your browser to see the newly added fonts.
Part 2. Integrating Custom Fonts in Frontend Frameworks like React
For developers using modern frontend frameworks like Vue, React, or Angular, you can integrate the newly generated fonts directly into your web application. The tutorial in this post takes React framework as an example.
Start building your React program with Spire.OfficeJS with this tutorial: [How to Integrate Spire.OfficeJS into a React Application.
Step-by-Step process to integrate fonts in React framework:
Step 1. Execute Font Generation Script
Use the Windows or Linux process described above to generate fonts.
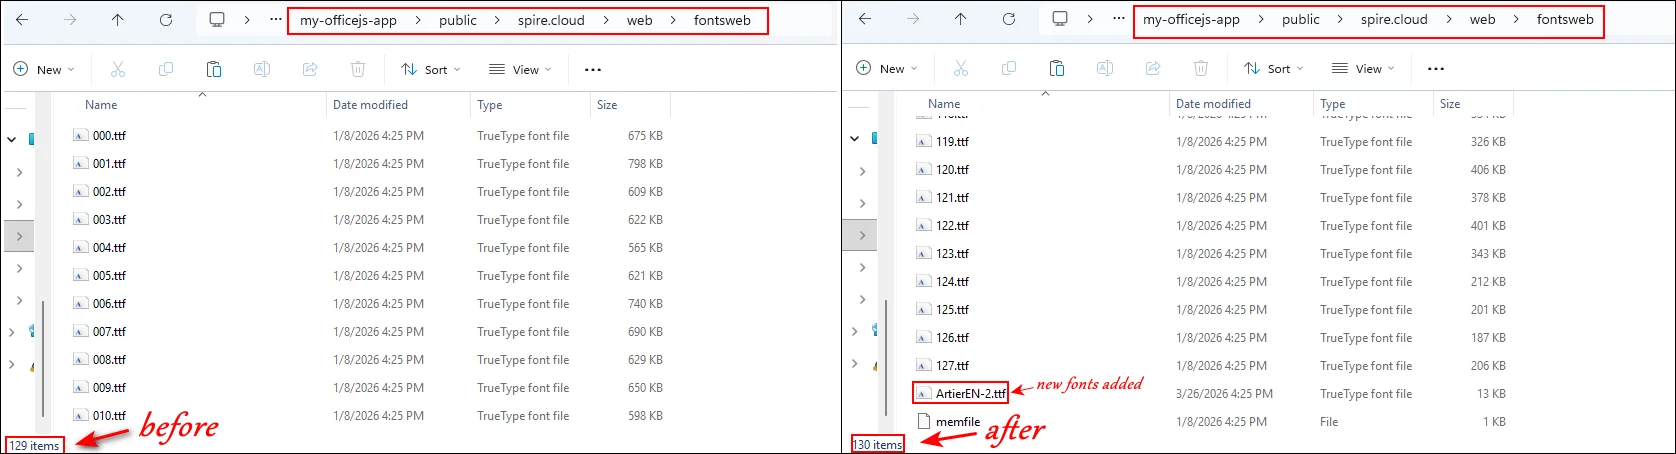
Step 2. Copy Fonts Folder
First, locate the web\fontsweb folder where the generated fonts are stored and delete the existing "fontsweb" folder in your frontend project. Then, copy the new "fontsweb" folder into your project directory.
Step 3. Update Script Files
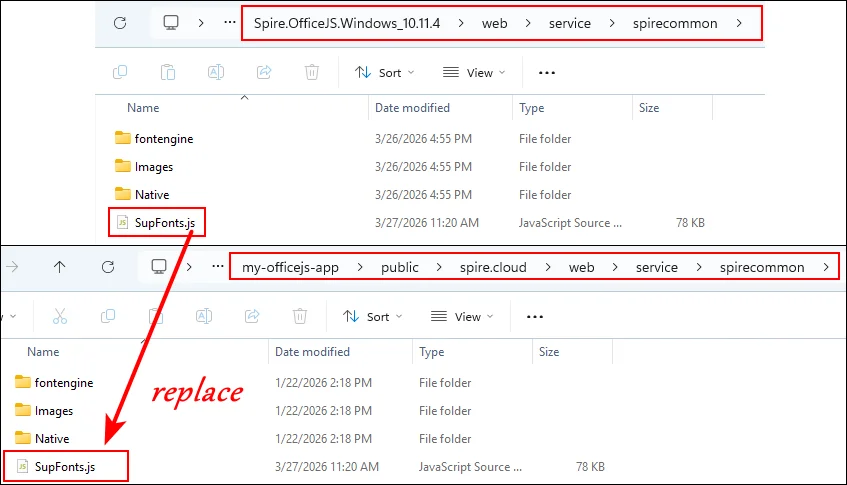
Run "genallfonts.bat" mentioned in Part 1. Copy the generated SupFonts.js from "web > service > spirecommon" folder into your project to ensure the editor recognizes the new fonts.
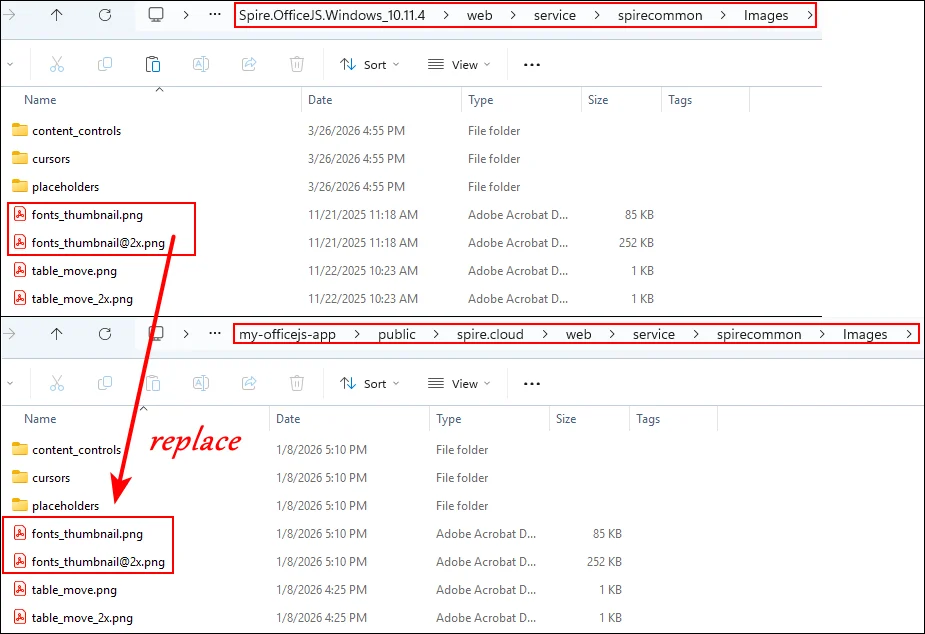
Step 4. Update Font Thumbnails Copy and paste fonts_thumbnail.png and fonts_thumbnail@2x.png into your project.
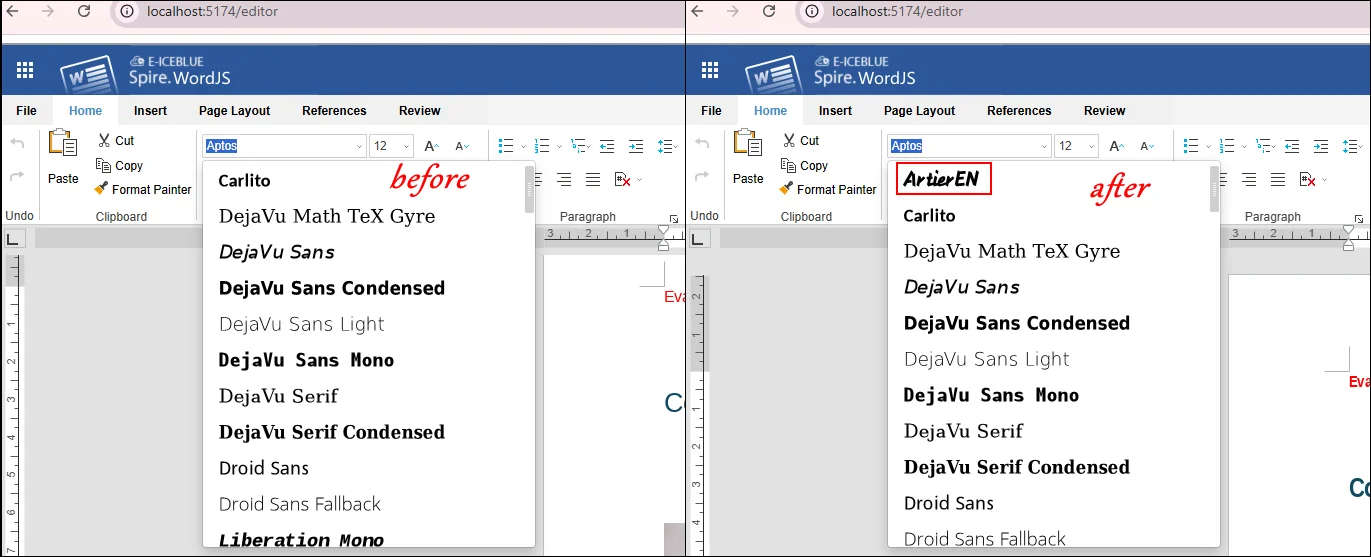
Step 5. Refresh Your Browser Open your web application and reload the page to confirm that the editor displays all new fonts.
Common Troubleshooting for Font Integration
After adding custom fonts to your editor, it’s important to follow best practices to ensure smooth management and consistent performance across both server and frontend environments. Proper organization and verification can save time and prevent unexpected issues when working with multiple fonts or deploying across different browsers.
Below are some common issues users may encounter and recommended solutions:
- Organize Font Files: Keep a clear folder structure for server scripts (generateFonts/fonts) and frontend projects (web/fontsweb) to avoid confusion or missing files.
- Version Control: Use versioning for font files to prevent accidental overwrites and maintain consistency across updates.
- Test Across Browsers: Fonts may display differently in Chrome, Firefox, Safari, and Edge. Always check their appearance in each browser.
- Document Dependencies: On Linux systems, ensure all required libraries (libgdiplus, libicu) are installed before running scripts to avoid failures.
- Check Font File Integrity: If issues persist, some font files may be corrupted or incompatible. In this case, add fonts in smaller batches to identify and remove problematic files.
Final Words
Adding custom fonts in Spire.OfficeJS is a simple yet powerful way to enhance the visual appeal and usability of your web-based editor. By following the steps above, users can create a consistent and professional editing experience whether they are using product package scripts on Windows or Linux, or frontend frameworks like React.
Proper organization, testing across browsers, and careful handling of font files will help prevent common issues and ensure smooth operation. Start adding your custom fonts today to give your editor a more flexible, branded, and user-friendly typography system.
Apply for License
To remove the evaluation message from generated documents or lift feature limitations, contact us to obtain a 30-day temporary license.
