
Removing a table in Excel is a simple yet essential task for simplifying your data. While tables are useful for organizing and managing information, there are times when you might want to remove them - whether to streamline formatting, export raw data, or stop using structured features.
In this guide, we'll explore various methods to remove a table in Excel, including converting it to a range, clearing its formatting, and deleting it completely. Additionally, we'll demonstrate how to automate the process using VBA and Python, helping you save time when working with multiple tables.
Contents Overview
- Understanding What Happens When You Remove a Table in Excel
- How to Remove a Table in Excel by Converting It to a Range
- How to Remove Table Formatting in Excel
- How to Remove a Table in Excel Completely
- How to Remove Tables in Excel at Once Using VBA
- How to Remove Tables in Excel using Python Automation
- Pro Tips for Removing a Table in Excel
- Conclusion
- FAQs: Remove Table in Excel
Understanding What Happens When You Remove a Table in Excel
Removing a table in Excel can have different outcomes depending on the method you choose:
- Convert to Range: Keeps all your data and any table-applied formatting as static cell formatting, but removes table features like filters and structured references.
- Clear Table Formatting: Keeps data but removes all table colors, borders, and styles.
- Delete Entire Table: Permanently removes both the table and its data.
Let's explore these options in detail and see how they affect your Excel data.
How to Remove a Table in Excel by Converting It to a Range?
The simplest and most reliable method for removing a table in Excel is to convert it to a regular range, which keeps your data and formatting intact. You can choose from two main options for this conversion: using the Excel ribbon or the Right-Click menu.
Option 1. Using the Excel Ribbon
Follow the steps below to convert a table to a range through the Excel ribbon:
-
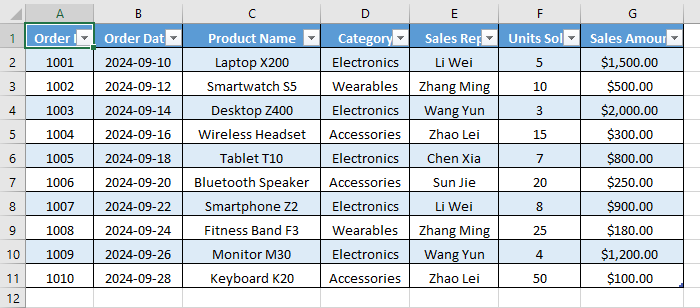
Select Any Cell Inside Your Table: Click on any cell (such as "A1") within the table you wish to remove. You don't need to select the entire table.
-
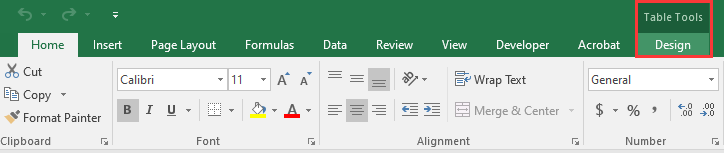
Navigate to the Design Tab: As soon as you select a table cell, the contextual Design tab will appear on the Excel ribbon, under Table Tools. Click on it.
-
Click "Convert to Range": In the Tools group on the far left, you will find the "Convert to Range" button. Click it.

-
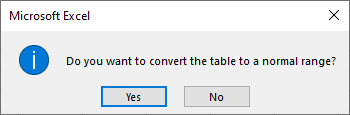
Confirm the Action: Excel will pop up a dialog box asking, "Do you want to convert the table to a normal range?" Click Yes.
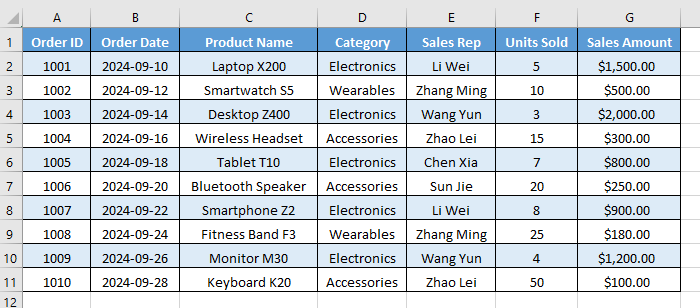
After conversion, the table structure is removed, and filters are no longer available. However, any table formatting (like banded rows and header styles) remains, but the range becomes static instead of dynamic.
Option 2. Using the Right-Click Menu
For those who prefer context menus, using the Right-Click menu is just as effective and a bit faster:
-
Select Any Cell Inside the Table: Just like in the first method, click anywhere inside your table's data.
-
Right-Click to Open the Context Menu: Right-click on the selected cell.
-
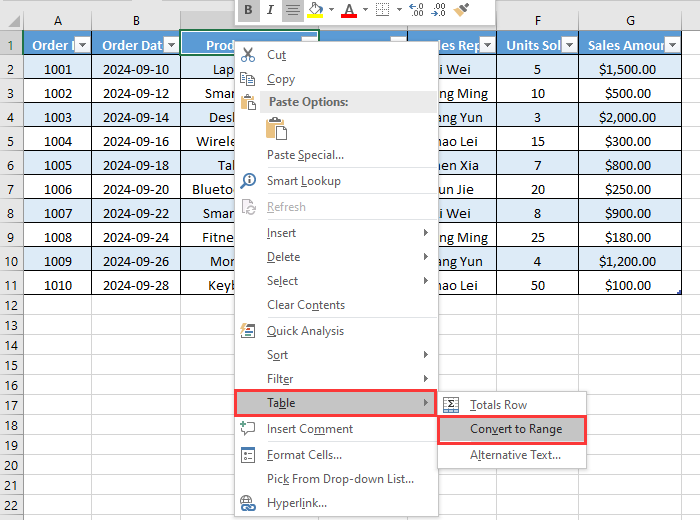
Navigate the Menu: In the right-click menu, hover over (or click) Table.
-
Select "Convert to Range": From the sub-menu that appears, select Convert to Range.
-
Confirm the Action: Click Yes in the confirmation dialog box.
This method produces the same result as using the ribbon but offers a quicker, mouse-driven approach.
How to Remove Table Formatting in Excel?
In some cases, you might want to remove the table formatting in Excel, including elements like filters, colors, and borders. Follow the steps below to clear the formatting and return your data to a simpler layout:
-
Convert the Table to a Range: First, convert the table to a normal range using either the Excel ribbon or the right-click menu described above.
-
Clear the Table Formatting
Now, the data is a simple range, you can remove the leftover formatting.-
Select the Entire Data Range: Click and drag to select all the cells that were part of the original table, including the header.
-
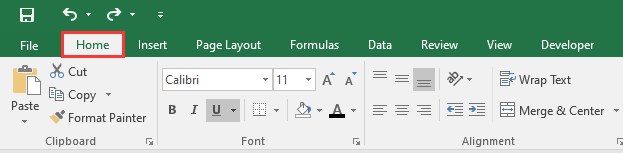
Go to the Home Tab: On the Excel ribbon, navigate to the Home tab.
-
Clear the Formats:
-
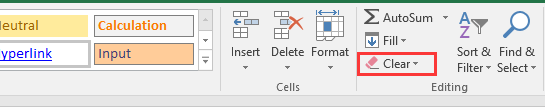
In the Editing group, click on the Clear button (it looks like a pink eraser).
-
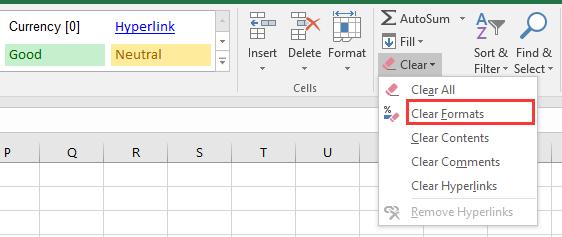
From the dropdown menu, select Clear Formats.
-
-
Now, all table-specific formatting is removed, but your data remains intact. The cells revert to Excel's default font, color, and borders, giving you a clean, unformatted block of data ready for new formatting or analysis.
How to Remove a Table in Excel Completely
If you need to remove both the table and all the data it contains, this method will help. Make sure you're certain you no longer need the information before proceeding. To completely delete a table, follow these steps:
-
Select the Entire Table: Click anywhere inside the table and press Ctrl + A (Windows) or Cmd + A (Mac) to select the entire table, including the header and total rows.
-
Clear All Data and Formatting: Go to the Home tab and find the Editing group. Click Clear, then select Clear All from the dropdown menu.
This action permanently removes all data, formatting, and the table structure. The cells will be cleared, leaving no trace of the original table.
How to Remove Tables in Excel at Once Using VBA
If your Excel file contains multiple tables, removing each one manually can be time-consuming. You can use VBA (Visual Basic for Applications) to automate the process.

Here's how to remove all tables in an Excel file while keeping the data using VBA Script:
-
Press Alt + F11 to open the VBA Editor.
-
Click Insert → Module.
-
Copy and paste the following VBA code:
Sub ConvertAllTablesToRanges() Dim ws As Worksheet Dim tbl As ListObject For Each ws In ActiveWorkbook.Worksheets For Each tbl In ws.ListObjects tbl.Unlist ' Convert table to range Next tbl Next ws End Sub -
Press F5 to run the macro.
This macro loops through every worksheet in the Excel file, finds all ListObjects (tables), and converts them into normal ranges - preserving the data but removing table functionality.
For more details on the Unlist method used in this VBA script, see the official Microsoft documentation: Excel ListObject.Unlist Method.
How to Remove Tables in Excel using Python Automation?
If you're working with Python for data processing, automated reporting, or backend applications, you can remove tables in Excel using a library like Spire.XLS for Python.
Spire.XLS for Python is a popular Excel library that enables developers to create, read, and manipulate Excel files directly through code without requiring Microsoft Excel. In addition to removing tables, it allows you to read and write cell values and formulas, apply or clear formatting, manage worksheets, insert charts or images, and even convert Excel files to PDF or other formats.
Here is how you can remove tables in Excel using Python with Spire.XLS for Python:
-
Install Spire.XLS for Python: Run the following command in your terminal to install it directly via PyPI:
pip install Spire.XLS -
Remove Tables with Python Code: Once the library is installed, add the following code to remove tables in your Excel file using Python:
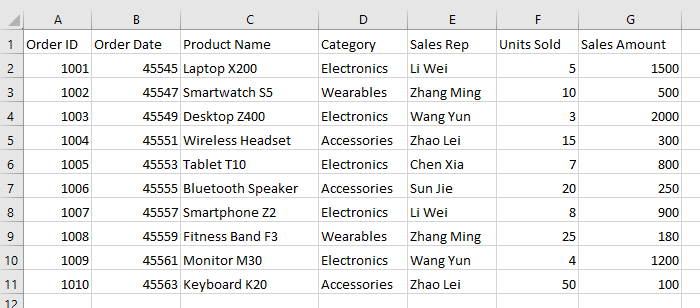
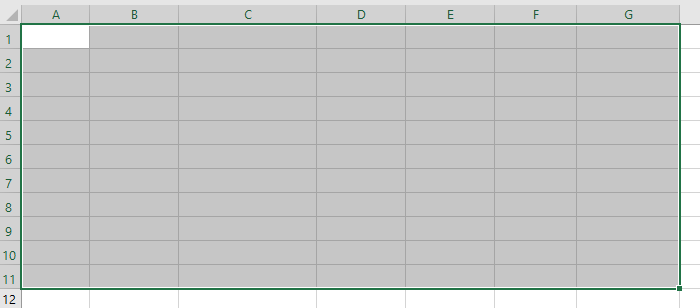
from spire.xls import *

# Load the workbook
workbook = Workbook()
workbook.LoadFromFile("CreateTable.xlsx")

# Loop through all worksheets by index
for ws_index in range(len(workbook.Worksheets)):
  sheet = workbook.Worksheets[ws_index]
  # Loop from last table to first to safely remove by index
  for tbl_index in range(len(sheet.ListObjects) - 1, -1, -1):
      sheet.ListObjects.RemoveAt(tbl_index)

# Save the workbook
workbook.SaveToFile("DeleteAllTables.xlsx", ExcelVersion.Version2016)
workbook.Dispose()
This code removes all tables in the Excel file, keeping your data intact and ready for further processing.
Read the full official guide: Add or Remove Tables in Excel in Python.
Pro Tips for Removing a Table in Excel
When removing a table in Excel, the following tips can help you avoid common issues and maintain data integrity:
- Always back up your workbook before running VBA or automation scripts.
- Double-check formulas for broken references after conversion.
- Reapply filters manually if needed after converting to a range.
- Keep a consistent format by applying custom cell styles after removing table formatting.
- Use named ranges instead of tables if you only need fixed references without structured behavior.
Conclusion
Removing a table in Excel doesn't have to be complicated. By following this guide on how to remove a table in Excel, you can safely keep your data and formatting intact. Whether you prefer manual steps, VBA automation, or Python scripting with Spire.XLS, these methods make table removal quick, reliable, and stress-free. Try them today to clean up your spreadsheets and streamline your workflow!
FAQs: Remove Table in Excel
Q1: How to convert a table to a normal range in Excel but keep the data?
A1: Select any cell in the table → Right-click Table → Convert to Range or go to Design → Convert to Range → Click Yes. Your data remains, but table features are removed.
Q2: How do I remove only the table formatting in Excel?
A2: First, convert the table to a normal range. Then select all the cells → go to Home → click Clear → Clear Formats.
Q3: Can I remove multiple tables in Excel at once?
A3: Yes. Use a VBA macro to convert all tables to ranges.
Q4: Can I remove a table in Excel using Python?
A4: Yes. You can utilize libraries like Spire.XLS for Python to remove tables in Excel with Python.