
Java (485)
Text and images are crucial elements that can enrich the content of a Word document. When users need to manipulate text or images separately of the document, programmatically extracting them from a Word document provides an optimal solution. Extracting text guarantees greater convenience and efficiency when dealing with large documents compared to manually copying text. Additionally, image extraction enables users to perform further editing on the images of the document or effortlessly share them with others. In this article, we will demonstrate how to extract text and images from Word in Java by using Spire.Doc for Java library.
Install Spire.Doc for Java
First of all, you're required to add the Spire.Doc.jar file as a dependency in your Java program. The JAR file can be downloaded from this link. If you use Maven, you can easily import the JAR file in your application by adding the following code to your project's pom.xml file.
<repositories>
    <repository>
        <id>com.e-iceblue</id>
        <name>e-iceblue</name>
        <url>https://repo.e-iceblue.com/nexus/content/groups/public/</url>
    </repository>
</repositories>
<dependencies>
    <dependency>
        <groupId>e-iceblue</groupId>
        <artifactId>spire.doc</artifactId>
        <version>14.7.0</version>
    </dependency>
</dependencies>
Extract Text from Word in Java
Spire.Doc for Java supports extracting text from Word documents and saving it as a text file format, which allows users to view text content without device restrictions. Below are detailed steps for extracting text from a Word document.
- Create a Document object.
- Load a word document using Document.loadFromFile method.
- Get text from document as string using Document.getText() method.
- Call writeStringToTxt() method to write string to a specified text file.
- Java
import com.spire.doc.Document;
import java.io.FileWriter;
import java.io.IOException;

public class ExtractText {

    public static void main(String[] args) throws IOException {

        //Create a Document object and load a Word document
        Document document = new Document();
        document.loadFromFile("sample1.docx");

        //Get text from document as string
        String text=document.getText();

        //Write string to a .txt file
        writeStringToTxt(text," ExtractedText.txt");
    }
    public static void writeStringToTxt(String content, String txtFileName) throws IOException{
        FileWriter fWriter= new FileWriter(txtFileName,true);
        try {
            fWriter.write(content);
        }catch(IOException ex){
            ex.printStackTrace();
        }finally{
            try{
                fWriter.flush();
                fWriter.close();
            } catch (IOException ex) {
                ex.printStackTrace();
            }
        }
    }
}
Extract Images from Word in Java
By extracting images, users are able to import image data into other applications for further processing without difficulty. Spire.Doc for Java allows users to extract images from Word documents and save them to the specified path. The following are detailed steps.
- Create a Document object.
- Load a Word document using Document.loadFromFile() method.
- Create a queue of composite objects.
- Add the root document element to the traversal queue using Queue<ICompositeObject>.add(ICompositeObject e) method.
- Create a ArrayList object to store extracted images.
- Traverse the document tree and check for composite or picture objects by iterating over the children node of each node.
- Check if the child element is a composite object. If so, add it to the queue for further processing.
- Check if the child element is a picture object. If so, extract its image data and add it to the extracted image list.
- Save images to the specific folder using ImageIO.write(RenderedImage im, String formatName, File output) method.
- Java
import com.spire.doc.*;
import com.spire.doc.documents.*;
import com.spire.doc.fields.*;
import com.spire.doc.interfaces.*;
import javax.imageio.ImageIO;
import java.awt.image.BufferedImage;
import java.io.*;
import java.util.*;

public class ExtractImage {
    public static void main(String[] args) throws IOException {

        //Create a Document object and load a Word document
        Document document = new Document();
        document.loadFromFile("sample2.docx");

        //Create a queue and add the root document element to it
        Queue<ICompositeObject> nodes = new LinkedList<>();
        nodes.add(document);

        //Create a ArrayList object to store extracted images
        List<BufferedImage> images = new ArrayList<>();

        //Traverse the document tree
        while (nodes.size() > 0) {
            ICompositeObject node = nodes.poll();
            for (int i = 0; i < node.getChildObjects().getCount(); i++)
            {
                IDocumentObject child = node.getChildObjects().get(i);
                if (child instanceof ICompositeObject)
                {
                    nodes.add((ICompositeObject) child);
                }
                else if (child.getDocumentObjectType() == DocumentObjectType.Picture)
                {
                    DocPicture picture = (DocPicture) child;
                    images.add(picture.getImage());
                }
            }
        }

        //Save images to the specific folder
        for (int i = 0; i < images.size(); i++) {
            File file = new File(String.format("output/extractImage-%d.png", i));
            ImageIO.write(images.get(i), "PNG", file);
        }
    }
}
Apply for a Temporary License
If you'd like to remove the evaluation message from the generated documents, or to get rid of the function limitations, please request a 30-day trial license for yourself.
Page margins are the blank spaces between the body content and the page edges. In Microsoft Word, the default margins of each page are set as 1 inch, but sometimes you may need to resize the margins to accordance with your requirements. In this article, you will learn how to set page margins for Word documents in Java using Spire.Doc for Java.
Install Spire.Doc for Java
First of all, you're required to add the Spire.Doc.jar file as a dependency in your Java program. The JAR file can be downloaded from this link. If you use Maven, you can easily import the JAR file in your application by adding the following code to your project's pom.xml file.
<repositories>
    <repository>
        <id>com.e-iceblue</id>
        <name>e-iceblue</name>
        <url>https://repo.e-iceblue.com/nexus/content/groups/public/</url>
    </repository>
</repositories>
<dependencies>
    <dependency>
        <groupId>e-iceblue</groupId>
        <artifactId>spire.doc</artifactId>
        <version>14.7.0</version>
    </dependency>
</dependencies>
Set Page Margins in Word in Java
The following are the steps to set page margins in a Word document:
- Initialize an instance of Document class.
- Load a Word document using Document.loadFromFile() method.
- Get the desired section through Document.getSections().get(sectionIndex) method.
- Set the top, bottom, left and right margins for the pages in the section through Section.getPageSetup().getMargins().setTop(), Section. getPageSetup().getMargins().setBottom(), Section. getPageSetup().getMargins().setLeft(), Section.getPageSetup().getMargins().setRight() methods.
- Save the result document using Document.saveToFile() method.
- Java
import com.spire.doc.Document;
import com.spire.doc.FileFormat;
import com.spire.doc.Section;

public class SetPageMargins {
    public static void main(String []args){
        //Create a Document instance
        Document document = new Document();
        //Load a Word document
        document.loadFromFile("Sample.docx");

        //Get the first section
        Section section = document.getSections().get(0);

        //Set top, bottom, left and right page margins for the section
        section.getPageSetup().getMargins().setTop(17.9f);
        section.getPageSetup().getMargins().setBottom(17.9f);
        section.getPageSetup().getMargins().setLeft(17.9f);
        section.getPageSetup().getMargins().setRight(17.9f);

        //Save the result document
        document.saveToFile("SetMargins.docx", FileFormat.Docx_2013);
    }
}
Apply for a Temporary License
If you'd like to remove the evaluation message from the generated documents, or to get rid of the function limitations, please request a 30-day trial license for yourself.
MS Word allows users to insert a lot of elements in Word documents, including text, images, charts, and files. Images are frequently used in Word documents to make them intuitive, to express ideas that are hard to express in words, or just to make them beautiful. This article provides you a convenient and efficient way to insert images to Word documents under the help of Spire.Doc for Java.
- Insert an Image to a Word Document with Specified Text Wrapping Style
- Insert an Image to a Word Document at a Specific Location
Install Spire.Doc for Java
First, you're required to add the Spire.Doc.jar file as a dependency in your Java program. The JAR file can be downloaded from this link. If you use Maven, you can easily import the JAR file in your application by adding the following code to your project's pom.xml file.
<repositories>
    <repository>
        <id>com.e-iceblue</id>
        <name>e-iceblue</name>
        <url>https://repo.e-iceblue.com/nexus/content/groups/public/</url>
    </repository>
</repositories>
<dependencies>
    <dependency>
        <groupId>e-iceblue</groupId>
        <artifactId>spire.doc</artifactId>
        <version>14.7.0</version>
    </dependency>
</dependencies>
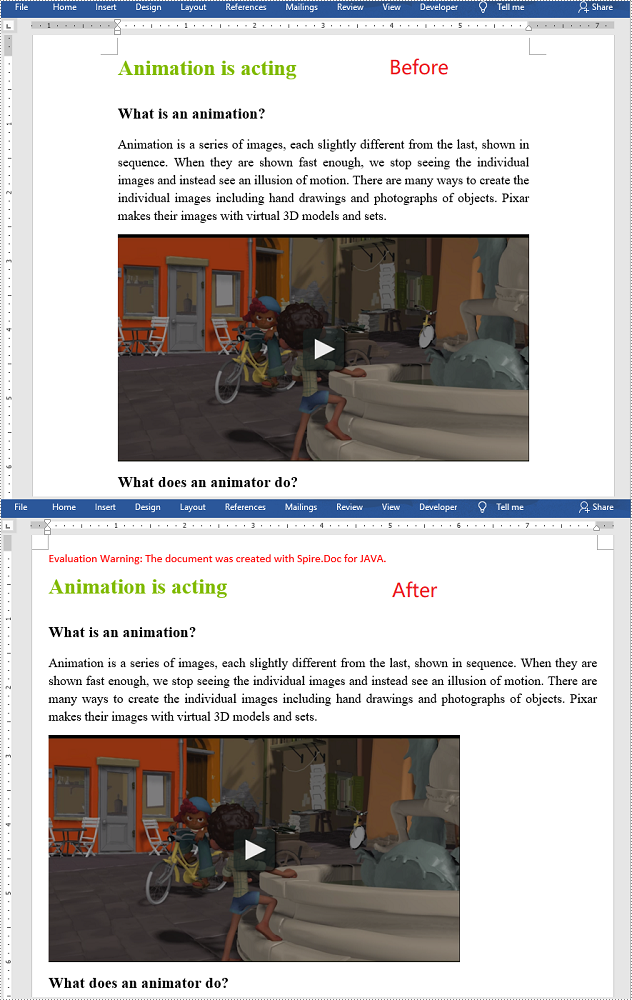
Insert an Image to a Word Document with Specified Text Wrapping Style
The detailed steps of inserting images with specified wrapping style are as follows:
- Create an object of Document class.
- Load a Word document from disk using Document.loadFromFile() method.
- Create an object of DocPicture class.
- Load an image from disk using DocPicture.loadImage() method.
- Set the size of the image using DocPicture.setWidth() and DocPicture.setHeight() method.
- Set the text wrapping style of the image as Square using DocPicture.setTextWrappingStyle() method.
- Insert the image at the start of the second paragraph using Paragraph.getChildObjects().insert() method.
- Save the document using Document.saveToFile method.
- Java
import com.spire.doc.*;
import com.spire.doc.documents.*;
import com.spire.doc.fields.*;

public class insertImage {
    public static void main(String[] args) throws Exception {
        //Create an object of Document class
        Document doc = new Document();

        //Load a Word document from disk
        doc.loadFromFile("D:/Samples/Sample.docx");

        //Create an object of DocPicture class
        DocPicture picture = new DocPicture(doc);

        //Load an image from disk
        picture.loadImage("D:/Samples/System.png");

        //Set the size of the image
        picture.setWidth(75);
        picture.setHeight(90);

        //Set the text wrapping style of the image as Square
        picture.setTextWrappingStyle( TextWrappingStyle.Square);

        //Insert the image at the start of the second paragraph
        doc.getSections().get(0).getParagraphs().get(1).getChildObjects().insert(0,picture);

        //Save the document
        doc.saveToFile("D:/javaOutput/insertImage.docx", FileFormat.Docx);
    }
}
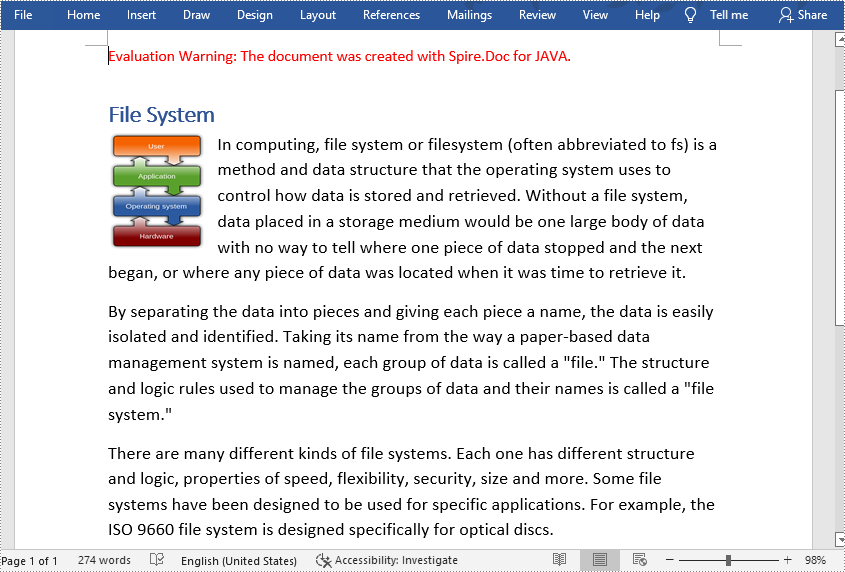
Insert an Image to a Word Document at a Specific Location
The detailed steps of inserting images at a specific location are as follows:
- Create an object of Document class.
- Load a Word document from disk using Document.loadFromFile() method.
- Create an object of DocPicture class.
- Load an image from disk using DocPicture.loadImage() method.
- Set the size of the image using DocPicture.setWidth() and DocPicture.setHeight() method.
- Set the text wrapping style of the image as Tight using DocPicture.setTextWrappingStyle() method.
- Insert the image into the third paragraph using Paragraph.getChildObjects().insert() method.
- Set the position of the image using DocPicture.setHorizontalPosition() and DocPicture.setVerticalPositon() method. The original location is at the start of the selected paragraph.
- Save the document using Document.saveToFile method.
- Java
import com.spire.doc.*;
import com.spire.doc.documents.*;
import com.spire.doc.fields.*;

public class insertImage {
    public static void main(String[] args) throws Exception {
        //Create an object of Document class
        Document doc = new Document();

        //Load a Word document from disk
        doc.loadFromFile("D:/Samples/Sample.docx");

        //Create an object of DocPicture class
        DocPicture picture = new DocPicture(doc);

        //Load an image from disk
        picture.loadImage("D:/Samples/PDF.png");

        //Set the size of the image
        picture.setWidth(75);
        picture.setHeight(90);

        //Set the text wrapping style of the image as Tight
        picture.setTextWrappingStyle( TextWrappingStyle.Tight);

        //Insert the image into the Third paragraph
        doc.getSections().get(0).getParagraphs().get(2).getChildObjects().insert(0,picture);

        //Set the position of the image
        picture.setHorizontalPosition(370.0F);
        picture.setVerticalPosition(10.0F);

        //Save the document
        doc.saveToFile("D:/javaOutput/insertImage.docx", FileFormat.Docx);
    }
}
Apply for a Temporary License
If you'd like to remove the evaluation message from the generated documents, or to get rid of the function limitations, please request a 30-day trial license for yourself.
