.NET (1327)
Children categories
Spire.Doc for .NET is a professional Word .NET library specifically designed for developers to create, read, write, convert, compare and print Word documents on any .NET platform (Target .NET Framework, .NET Core, .NET Standard, .NET 5.0, .NET 6.0, Xamarin & Mono Android) with fast and high quality performance.
As an independent Word .NET API, Spire.Doc for .NET doesn't need Microsoft Word to be installed on neither the development nor target systems. However, it can incorporate Microsoft Word document creation capabilities into any developers' .NET applications.
No matter what users want to do on Word document, they should open it. This guide demonstrates several solutions to open Word in C# and VB.NET via Spire.Doc for .NET.
Open Existing Word
Spire.Doc for .NET provides a Document(String) constructor to enable users to initialize a new instance of Document class from the specified existing document.
Document document = new Document(@"E:\Work\Documents\Spire.Doc for .NET.docx");
Dim document As New Document("E:\Work\Documents\Spire.Doc for .NET.docx")
Spire.Doc for .NET also provides Document.LoadFromFile(String) method of Document class to open a Word document. The Word document can be .doc(Word 97-2003), .docx(Word 2007 and 2010) and .docm(Word with macro).
  Document document = new Document();
            document.LoadFromFile(@"E:\Work\Documents\Spire.Doc for .NET.docx");
 Dim document As New Document()
            document.LoadFromFile("E:\Work\Documents\Spire.Doc for .NET.docx")
Open Word in Read Mode
Spire.Doc for .NET provides Document.LoadFromFileInReadMode(String, FileFormat) method of Document class to load Word in Read-Only mode.
            Document document = new Document();
            document.LoadFromFileInReadMode(@"E:\Work\Documents\Spire.Doc for .NET.docx",FileFormat.Docx);
            Dim document As New Document()
            document.LoadFromFileInReadMode("E:\Work\Documents\Spire.Doc for .NET.docx", FileFormat.Docx)
Load Word from Stream
Spire.Doc for .NET provides the constructor Document(Stream) to initialize a new instance of Document class from specified data stream and the method Document.LoadFromStream(Stream, FileFormat) to open document from Stream in XML or Microsoft Word document.
            Stream stream = File.OpenRead(@"E:\Work\Documents\Spire.Doc for .NET.docx");
            Document document = new Document(stream);
            Stream stream = File.OpenRead(@"E:\Work\Documents\Spire.Doc for .NET.docx");
            Document document = new Document();
            document.LoadFromStream(stream, FileFormat.Docx);
            Dim stream As Stream = File.OpenRead("E:\Work\Documents\Spire.Doc for .NET.docx")
            Dim document As New Document(stream)
            Dim stream As Stream = File.OpenRead("E:\Work\Documents\Spire.Doc for .NET.docx")
            Dim document As New Document()
            document.LoadFromStream(stream, FileFormat.Docx)
Spire.Doc, an easy-to-use component to operate Word document, allows developers to fast generate, write, edit and save Word (Word 97-2003, Word 2007, Word 2010) in C# and VB.NET for .NET, Silverlight and WPF.
The sample demonstrates how to work with Word page setup.
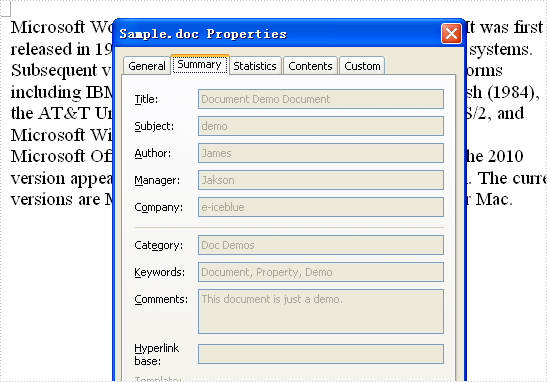
The sample demonstrates how to set document properties.
The sample demonstrates how to handle merge event.

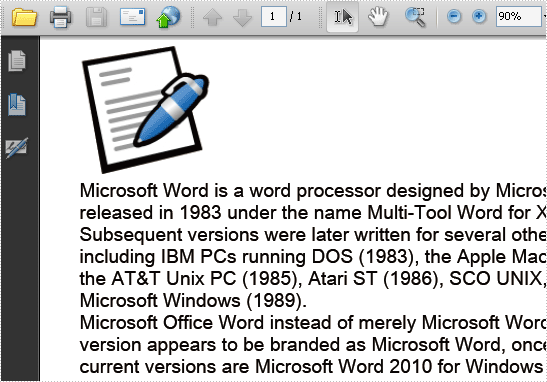
The sample demonstrates how to export doc document to PDF file.
The sample demonstrates how to export doc document to XML file.
The sample demonstrates how to export doc document to TIFF image.
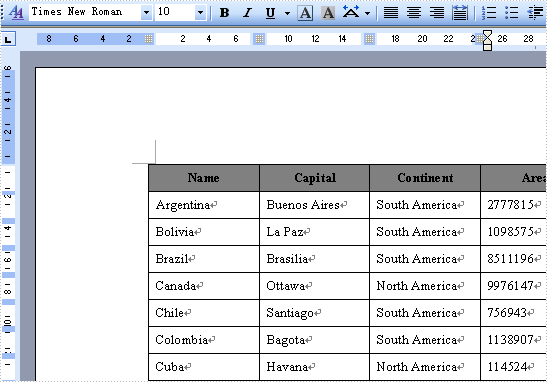
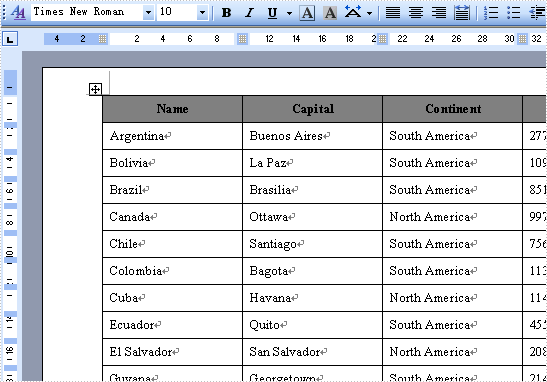
The sample demonstrates how to create table in word document.
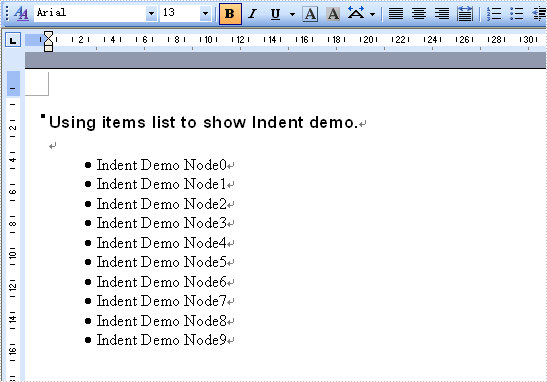
The sample demonstrates how to indent paragraph.