In office automation workflows, you often need to batch-extract product images from Excel reports, replace outdated logos, or export a specific image individually. Spire.XLS for JavaScript handles all of these image operations directly in the browser via WebAssembly, using a virtual file system (VFS) to manage input and output files — no backend server is required.
This article covers three core features:
- Extract All Images from a Worksheet
- Extract a Specific Image
- Replace an Existing Image in a Worksheet
For installation and project setup, refer to Integrating Spire.XLS for JavaScript in a React Project. The examples below assume Spire.XLS is installed and the WebAssembly module is initialized.
Extract All Images from a Worksheet
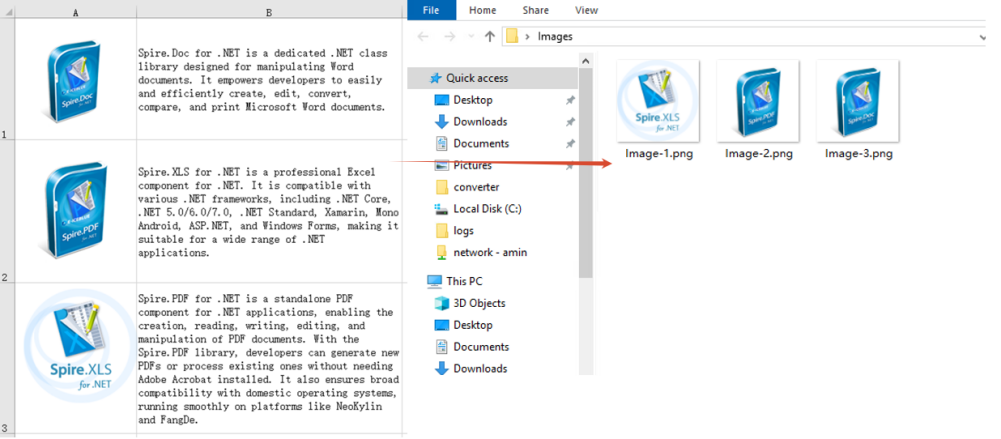
Batch-extracting all images from a worksheet is useful for backing up embedded images in reports, migrating product materials, and similar scenarios. The process consists of three steps: iterate over the Worksheet.Pictures collection, call the Picture.Save method on each image to save it to the VFS, then read each file and trigger a browser download.
function App() {
  const extractAllImages = async () => {
    // Get the Spire.XLS WASM module
    const xlsModule = window.wasmModule?.spirexls;

    // Check if the module is ready
    if (!xlsModule) {
      alert('Spire.Xls is not ready yet');
      return;
    }

    // Load the Excel file into VFS
    const inputFileName = 'ReadImages.xlsx';
    await window.spire.FetchFileToVFS(inputFileName, '', `${process.env.PUBLIC_URL}data/`);

    // Load the workbook and get the first worksheet
    const workbook = new xlsModule.Workbook();
    workbook.LoadFromFile({ fileName: inputFileName });
    const sheet = workbook.Worksheets.get(0);

    // Iterate through all pictures in the worksheet and export each one
    for (let i = 0; i < sheet.Pictures.Count; i++) {
      const pic = sheet.Pictures.get(i);
      const outputFileName = `Image-${i + 1}.png`;
      pic.Picture.Save(outputFileName);

      // Read the exported image file from VFS and trigger download
      const fileArray = window.dotnetRuntime.Module.FS.readFile(outputFileName);
      const blob = new Blob([fileArray], { type: "image/png" });
      const url = URL.createObjectURL(blob);
      const a = document.createElement('a');
      a.href = url;
      a.download = outputFileName;
      a.click();
      URL.revokeObjectURL(url);
    }

    // Release resources
    workbook.Dispose();
  };

  return (
    <div style={{ textAlign: 'center', height: '300px' }}>
      <h1>Extract All Images from Worksheet</h1>
      <button onClick={extractAllImages}>
        Extract All Images
      </button>
    </div>
  );
}

export default App;
Image files extracted and downloaded from the worksheet in batch
Extract a Specific Image
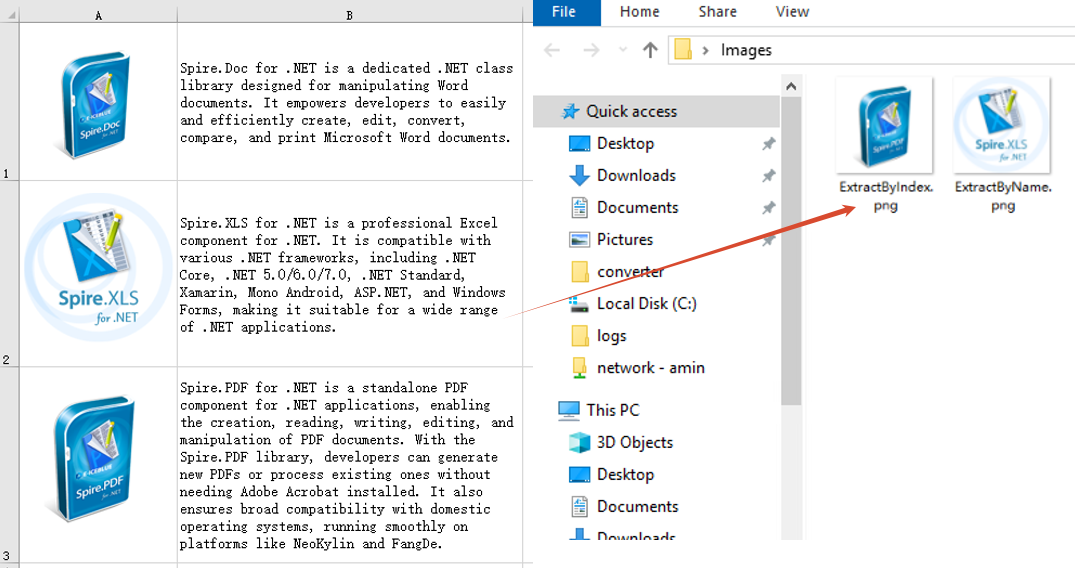
There are two common ways to extract a specific image from a worksheet: retrieve it directly by index, or iterate through pictures by name to find a match. The index approach suits scenarios where the picture position is known (for example, the first picture), while the name approach is better when you know the picture identifier in advance. The process consists of two steps: first locate the target image by index or name, then export it as a local file.
function App() {
  const extractImage = async () => {
    // Get the Spire.XLS WASM module
    const xlsModule = window.wasmModule?.spirexls;

    if (!xlsModule) {
      alert('Spire.Xls is not ready yet');
      return;
    }

    // Load the Excel file into VFS
    const inputFileName = 'ReadImages.xlsx';
    await window.spire.FetchFileToVFS(inputFileName, '', `${process.env.PUBLIC_URL}data/`);

    // Load the workbook and get the first worksheet
    const workbook = new xlsModule.Workbook();
    workbook.LoadFromFile({ fileName: inputFileName });
    const sheet = workbook.Worksheets.get(0);

    // Method 1: Extract by index (e.g., extract the second picture)
    const pic = sheet.Pictures.get(1);
    const outputFileName = 'ExtractByIndex.png';

    // // Method 2: Iterate through pictures by name to find a match
    // let pic = null;
    // const targetName = 'SpireXLS';
    // for (let i = 0; i < sheet.Pictures.Count; i++) {
    //   if (sheet.Pictures.get(i).Name === targetName) {
    //     pic = sheet.Pictures.get(i);
    //     break;
    //   }
    // }
    // const outputFileName = 'ExtractByName.png';

    // Save the picture to VFS and trigger download
    pic.Picture.Save(outputFileName);
    const fileArray = window.dotnetRuntime.Module.FS.readFile(outputFileName);
    const blob = new Blob([fileArray], { type: "image/png" });
    const url = URL.createObjectURL(blob);
    const a = document.createElement('a');
    a.href = url;
    a.download = outputFileName;
    a.click();
    URL.revokeObjectURL(url);

    workbook.Dispose();
  };

  return (
    <div style={{ textAlign: 'center', height: '300px' }}>
      <h1>Extract a Specific Image</h1>
      <button onClick={extractImage}>
        Extract Image
      </button>
    </div>
  );
}

export default App;
Specific image extracted and downloaded by index or name
Replace an Existing Image in a Worksheet
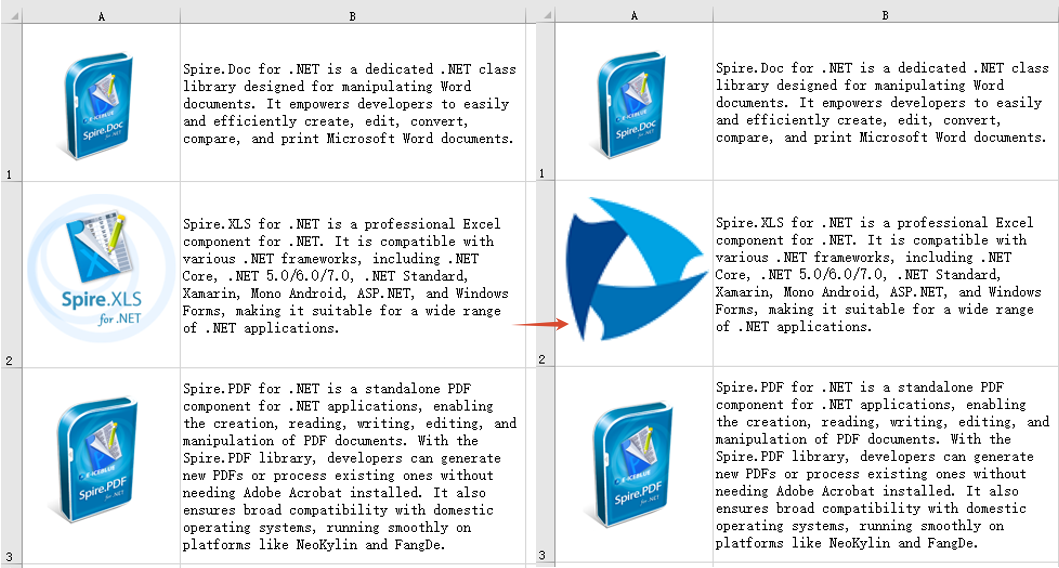
Replacing an existing image in a worksheet is a common requirement when updating report logos, changing product display images, and in similar scenarios. The approach is to first retrieve the position and size information of the target image, then delete it via XlsShape.Convert, and finally insert a new image at the same position, setting the new image's size and offsets to match the original.
function App() {
  const replaceImage = async () => {
    // Get the Spire.XLS WASM module
    const xlsModule = window.wasmModule?.spirexls;

    // Check if the module is ready
    if (!xlsModule) {
      alert('Spire.Xls is not ready yet');
      return;
    }

    // Load the Excel file and the new image into VFS
    const inputFileName = 'ReadImages.xlsx';
    await window.spire.FetchFileToVFS(inputFileName, '', `${process.env.PUBLIC_URL}data/`);
    const newImageFile = 'Logo.png';
    await window.spire.FetchFileToVFS(newImageFile, '', `${process.env.PUBLIC_URL}data/`);

    // Load the workbook and get the first worksheet
    const workbook = new xlsModule.Workbook();
    workbook.LoadFromFile({ fileName: inputFileName });
    const sheet = workbook.Worksheets.get(0);

    // Get the first picture and its position and size information
    const oldPic = sheet.Pictures.get(0);
    const topRow = oldPic.TopRow;
    const leftColumn = oldPic.LeftColumn;
    const leftColumnOffset = oldPic.LeftColumnOffset;
    const topRowOffset = oldPic.TopRowOffset;
    const width = oldPic.Width;
    const height = oldPic.Height;

    // Delete the original picture
    xlsModule.XlsShape.Convert(oldPic).Remove();

    // Insert the new picture at the same position
    let picture = sheet.Pictures.Add({ topRow: topRow, leftColumn: leftColumn, fileName: newImageFile });

    // Set the new picture's size and offsets to match the original
    picture.Width = width;
    picture.Height = height;
    picture.LeftColumnOffset = leftColumnOffset;
    picture.TopRowOffset = topRowOffset;

    const outputFileName = 'ReplaceImage-out.xlsx';
    // Save the modified workbook
    workbook.SaveToFile({ fileName: outputFileName, version: xlsModule.ExcelVersion.Version2010 });
    // Release resources
    workbook.Dispose();

    // Read the generated file from VFS and trigger download
    const fileArray = window.dotnetRuntime.Module.FS.readFile(outputFileName);
    const blob = new Blob([fileArray], { type: "application/vnd.openxmlformats-officedocument.spreadsheetml.sheet" });
    const url = URL.createObjectURL(blob);
    const a = document.createElement('a');
    a.href = url;
    a.download = outputFileName;
    a.click();
    URL.revokeObjectURL(url);
  };

  return (
    <div style={{ textAlign: 'center', height: '300px' }}>
      <h1>Replace Image in Worksheet</h1>
      <button onClick={replaceImage}>
        Replace Image
      </button>
    </div>
  );
}

export default App;
The Excel worksheet after the image is replaced
FAQ
Extracted images cannot be opened or the format is incorrect
Cause: The correct file extension was not specified when saving the image, or the MIME type does not match the image format.
Solution: Make sure the file extension used in the Picture.Save method matches the actual image format. If the image is in PNG format, the file extension should be .png; if it is in JPEG format, use .jpg. The Blob type used for the download should be set accordingly:
// PNG format
const blob = new Blob([fileArray], { type: "image/png" });

// JPEG format
const blob = new Blob([fileArray], { type: "image/jpeg" });
The position or size of the image changes after replacement
Cause: The position and size properties of the original image were not recorded before deletion, so the new image cannot be precisely aligned to the original position or retain its original size.
Solution: Save the position properties such as TopRow, LeftColumn, LeftColumnOffset, TopRowOffset and the size properties Width, Height before deleting the image. After inserting the new image, set these properties on the new picture so it matches the original:
// Insert the new picture (specify the row and column position)
let picture = sheet.Pictures.Add({ topRow: topRow, leftColumn: leftColumn, fileName: newImageFile });

// Set size and offsets to match the original
picture.Width = width;
picture.Height = height;
picture.LeftColumnOffset = leftColumnOffset;
picture.TopRowOffset = topRowOffset;
Get a Free License
Spire.XLS for JavaScript offers a 30-day full-featured free trial license with no functional limitations. Apply here to evaluate before purchasing.
