Knowledgebase (2370)
Children categories
C#/VB.NET: Convert PowerPoint to Images (PNG, JPG, TIFF, EMF, SVG)
2022-10-19 06:53:00 Written by AdministratorYou may need to convert PowerPoint documents to images for various purposes, such as preventing other users from editing the contents of the PowerPoint documents, generating thumbnails for the PowerPoint documents, or sharing the PowerPoint documents on social media. In this article, you will learn how to convert PowerPoint documents to various image formats in C# and VB.NET using Spire.Presentation for .NET.
- Convert PowerPoint Documents to JPG or PNG Images
- Convert PowerPoint Documents to TIFF Images
- Convert PowerPoint Documents to EMF Images
- Convert PowerPoint Documents to SVG Images
Install Spire.Presentation for .NET
To begin with, you need to add the DLL files included in the Spire.Presentation for.NET package as references in your .NET project. The DLL files can be either downloaded from this link or installed via NuGet.
PM> Install-Package Spire.Presentation
Convert PowerPoint Documents to JPG or PNG Images in C# and VB.NET
The following are the main steps to convert a PowerPoint document to JPG or PNG image:
- Initialize an instance of Presentation class.
- Load a PowerPoint document using Presentation.LoadFromFile() method.
- Iterate through all slides in the PowerPoint document.
- Save each slide as System.Drawing.Image object using ISlide.SaveAsImage() method.
- Save the image object to PNG or JPG file using Image.Save() method.
- C#
- VB.NET
using Spire.Presentation;
using System.Drawing;

namespace ConvertPowerPointToJpgOrPngImage
{
    class Program
    {
        static void Main(string[] args)
        {
            //Create a Presentation instance
            Presentation presentation = new Presentation();
            //Load a PowerPoint document
            presentation.LoadFromFile(@"Sample.pptx");

            int i = 0;
            //Iterate through all slides in the PowerPoint document
            foreach(ISlide slide in presentation.Slides)
            {
                //Save each slide as PNG image
                Image image = slide.SaveAsImage();
                string fileName = string.Format("ToImage-img-{0}.png", i);
                image.Save(fileName, System.Drawing.Imaging.ImageFormat.Png);
                i++;
            }
        }
    }
}

Convert PowerPoint Documents to TIFF Images in C# and VB.NET
The following are the steps to convert a PowerPoint document to TIFF image:
- Initialize an instance of Presentation class.
- Load a PowerPoint document using Presentation.LoadFromFile() method.
- Convert the PowerPoint document to TIFF image using Presentation.SaveToFile(string, FileFormat) method.
- C#
- VB.NET
using Spire.Presentation;

namespace ConvertPowerPointToTiffImage
{
    class Program
    {
        static void Main(string[] args)
        {
            //Create a Presentation instance
            Presentation presentation = new Presentation();
            //Load a PowerPoint document
            presentation.LoadFromFile(@"Sample.pptx");

            //Convert the PowerPoint document to TIFF image
            presentation.SaveToFile("toTIFF.tiff", FileFormat.Tiff);
        }
    }
}

Convert PowerPoint Documents to EMF Images in C# and VB.NET
The following are the steps to convert a PowerPoint document to EMF image:
- Initialize an instance of Presentation class.
- Load a PowerPoint document using Presentation.LoadFromFile() method.
- Iterate through all slides in the PowerPoint document.
- Save each slide to EMF image using ISlide.SaveAsEMF() method.
- C#
- VB.NET
using Spire.Presentation;

namespace ConvertPowerPointToEmfImage
{
    class Program
    {
        static void Main(string[] args)
        {
            //Create a Presentation instance
            Presentation presentation = new Presentation();
            //Load a PowerPoint document
            presentation.LoadFromFile(@"Sample.pptx");

            int i = 0;
            //Iterate through all slides in the PowerPoint document
            foreach (ISlide slide in presentation.Slides)
            {
                string fileName = string.Format("ToEmf-{0}.emf", i);
                //Save each slide to EMF image
                slide.SaveAsEMF(fileName);
                //Save each slide to EMF image with specified width and height
                //slide.SaveAsEMF(fileName, 1075, 710);
                i++;
            }
        }
    }
}

Convert PowerPoint Documents to SVG Images in C# and VB.NET
The following are the steps to convert a PowerPoint document to SVG images:
- Initialize an instance of Presentation class.
- Load a PowerPoint document using Presentation.LoadFromFile() method.
- Convert the PowerPoint document to SVG and save the results into a queue of byte arrays using Presentation.SaveToSVG() method.
- Iterate through the byte arrays in the queue.
- At each iteration, remove and return the byte array at the beginning of the queue using Queue.Dequeue() method.
- Initialize an instance of FileStream class and save the byte array to an SVG file using FileStream.Write() method.
- C#
- VB.NET
using Spire.Presentation;
using System.Collections.Generic;
using System.IO;

namespace ConvertPowerPointToSvgImage
{
    class Program
    {
        static void Main(string[] args)
        {
            //Create a Presentation instance
            Presentation presentation = new Presentation();
            //Load a PowerPoint document
            presentation.LoadFromFile(@"Sample.pptx");

            //Convert the PowerPoint document to SVG and save the results into a queue of byte arrays
            Queue<byte[]> svgBytes = presentation.SaveToSVG();
            int count = svgBytes.Count;
            //Iterate through the byte arrays in the queue
            for (int i = 0; i < count; i++)
            {
                //Remove and return the byte array at the beginning of the queue
                byte[] bt = svgBytes.Dequeue();
                //Specify the output file name
                string fileName = string.Format("ToSVG-{0}.svg", i);
                //Create a FileStream instance
                FileStream fs = new FileStream(fileName, FileMode.Create);
                //Save the byte array to a SVG file
                fs.Write(bt, 0, bt.Length);
            }
        }
    }
}

Apply for a Temporary License
If you'd like to remove the evaluation message from the generated documents, or to get rid of the function limitations, please request a 30-day trial license for yourself.
In this document, I will introduce you how to add Spire.PDFViewer controls to Toolbox for WPF application.
How To
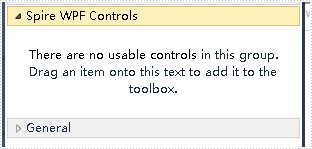
Right-click on the blank part of the Toolbox - "Add Tab" - name the new Tab "Spire WPF Controls":
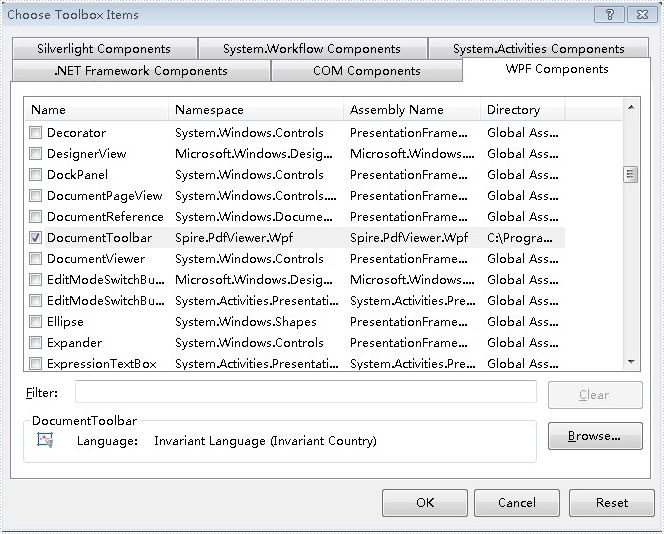
Right-click on the blank part below "Spire WPF Controls" - "Choose Items" - "WPF Components" - "Browse" to the "Bin" folder - find the file "Spire.PdfViewer.Wpf.dll" - "Open".
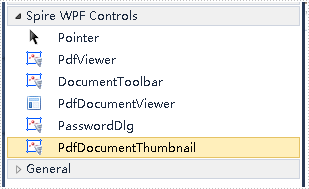
Click "OK". Then you have added controls to Toolbox successfully.
There are three ways to add Spire.PDFViewer controls to Toolbox for Windows Forms application.
In this document, these ways are introduced.
The First Solution
Set the CheckBox below to the CheckState "Checked" during installing Spire.PDFViewer.
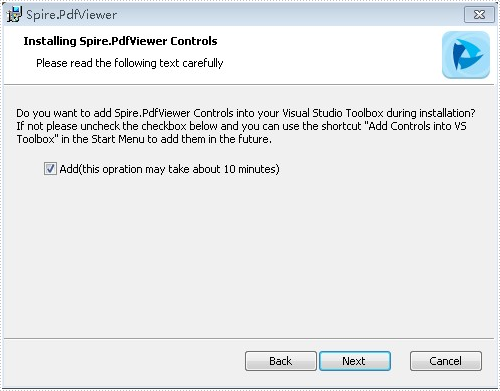
After installment is completed, controls will be added to the Toolbox.
The Second Solution
If you have already installed Spire.PDFViewer, you can also add controls this way:
"Start" -"Programs" -"e-iceblue" -"Spire.PDFViewer" : Click "Add Controls into VS Toolbox".
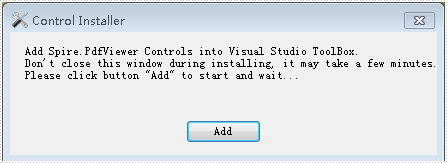
Click "Add" to add controls.

The Third Solution
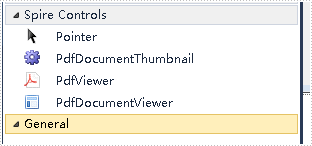
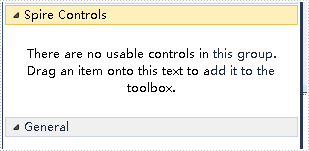
Right-click on the blank part of the Toolbox - "Add Tab" - name the new Tab "Spire Controls" :
Right-click on the blank part below "Spire Controls" - "Choose Items" - ".NET Framework Components" - "Browse" to the "Bin" folder – find the file "Spire.PdfViewer.Forms.dll"- "Open".
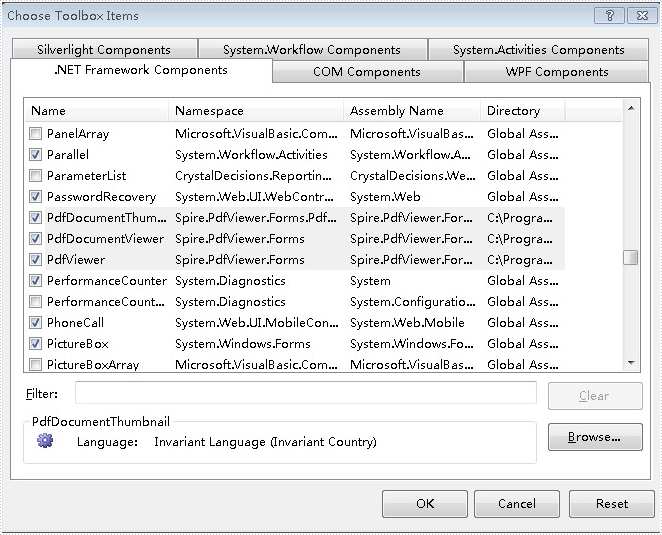
Click “OK”. Then you have added controls to Toolbox successfully.