Knowledgebase (2370)
Children categories
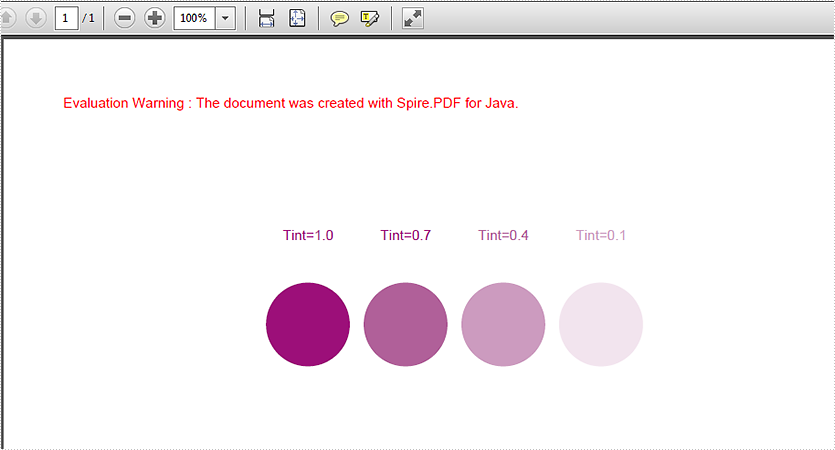
This article will demonstrate how to create spot color to PDF file using Spire.PDF in Java.
import com.spire.pdf.*;
import com.spire.pdf.colorspace.*;
import com.spire.pdf.graphics.*;
import java.awt.*;
import java.awt.geom.Point2D;


public class SpotColor {

    public static void main(String[] args) {

        //Create a PdfDocument instance
        PdfDocument pdf = new PdfDocument();

        //Add a page
        PdfPageBase page = pdf.getPages().add();

        //Define the spot color "MySpotColor" from the built-in color.
        PdfRGBColor pdfRGBColor = new PdfRGBColor(new Color(148,0,211));
        PdfSeparationColorSpace cs = new PdfSeparationColorSpace("MySpotColor",pdfRGBColor);

        //Apply the spot color while drawing content on the page.
        PdfSeparationColor color = new PdfSeparationColor(cs, 1f);
        PdfSolidBrush brush = new PdfSolidBrush(color);
        page.getCanvas().drawString("Tint=1.0", new PdfFont(PdfFontFamily.Helvetica, 10f), brush, new Point2D.Float(160, 160));

        //Draw pie with spot color(DarkViolet)
        page.getCanvas().drawPie(brush, 148, 200, 60, 60, 360, 360);

        page.getCanvas().drawString("Tint=0.7", new PdfFont(PdfFontFamily.Helvetica, 10f), brush, new Point2D.Float(230, 160));
        color = new PdfSeparationColor(cs, 0.7f);
        brush = new PdfSolidBrush(color);
        page.getCanvas().drawPie(brush, 218, 200, 60, 60, 360, 360);

        page.getCanvas().drawString("Tint=0.4", new PdfFont(PdfFontFamily.Helvetica, 10f), brush, new Point2D.Float(300, 160));
        color = new PdfSeparationColor(cs, 0.4f);
        brush = new PdfSolidBrush(color);
        page.getCanvas().drawPie(brush, 288, 200, 60, 60, 360, 360);

        page.getCanvas().drawString("Tint=0.1", new PdfFont(PdfFontFamily.Helvetica, 10f), brush, new Point2D.Float(370, 160));
        color = new PdfSeparationColor(cs, 0.1f);
        brush = new PdfSolidBrush(color);
        page.getCanvas().drawPie(brush, 358, 200, 60, 60, 360, 360);


        //Save the document
        pdf.saveToFile("output/drawContentWithSpotColor.pdf");

    }
}
Effective screenshot after adding spot color in PDF in Java application:
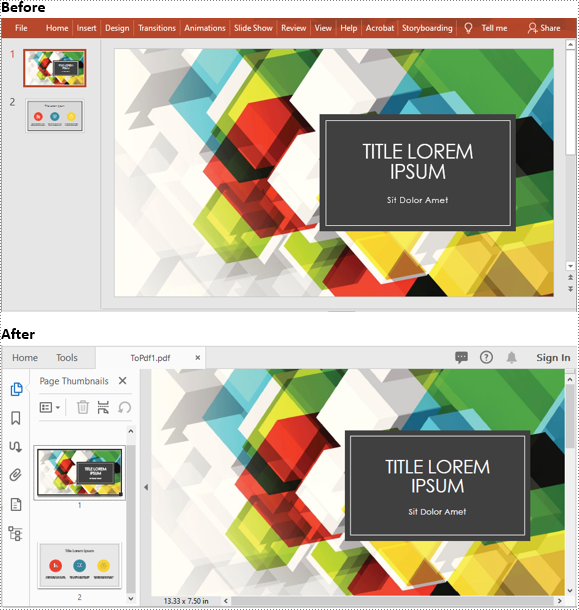
When a PowerPoint presentation is converted to PDF, its document layout and formatting are fixed. Recipients can view the converted document without having Microsoft PowerPoint to be installed, but they can not modify it easily. In this article, we will demonstrate how to convert PowerPoint presentations to PDF in Java using Spire.Presentation for Java library.
- Convert a Whole PowerPoint Presentation to PDF
- Convert Specific Slide of a PowerPoint Presentation to PDF
Install Spire.Presentation for Java
First of all, you're required to add the Spire.Presentation.jar file as a dependency in your Java program. The JAR file can be downloaded from this link. If you use Maven, you can easily import the JAR file in your application by adding the following code to your project's pom.xml file.
<repositories>
    <repository>
        <id>com.e-iceblue</id>
        <name>e-iceblue</name>
        <url>https://repo.e-iceblue.com/nexus/content/groups/public/</url>
    </repository>
</repositories>
<dependencies>
    <dependency>
        <groupId>e-iceblue</groupId>
        <artifactId>spire.presentation</artifactId>
        <version>11.7.2</version>
    </dependency>
</dependencies>
Convert a Whole PowerPoint Presentation to PDF in Java
The following steps show you how to convert a whole PowerPoint presentation to PDF:
- Initialize an instance of Presentation class.
- Load the PowerPoint presentation using Presentation.loadFromFile() method.
- Save it to PDF using Presentation.saveToFile(filePath, FileFormat.PDF) method.
- Java
import com.spire.presentation.FileFormat;
import com.spire.presentation.ISlide;
import com.spire.presentation.Presentation;

public class ConvertPowerPointToPDF {
    public static void main(String []args) throws Exception {
        //Create a Presentation instance
        Presentation ppt = new Presentation();
        //Load a PowerPoint presentation
        ppt.loadFromFile("Sample.pptx");

        //Save it as PDF
        ppt.saveToFile("ToPdf1.pdf", FileFormat.PDF);
    }
}
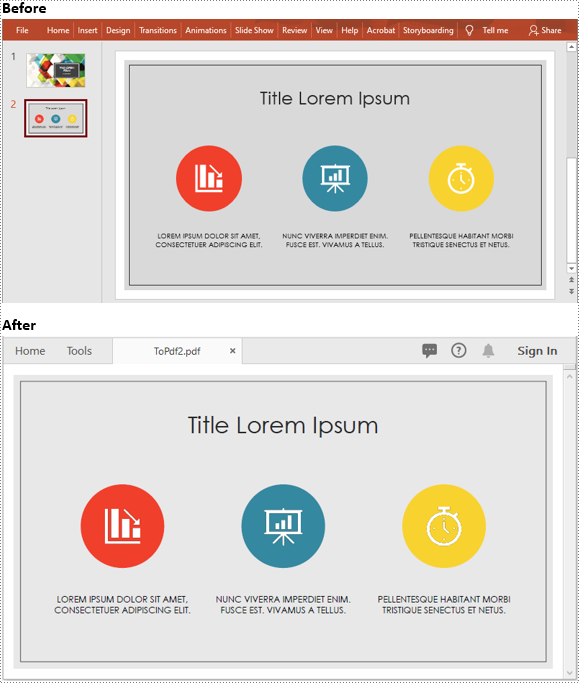
Convert Specific Slide of a PowerPoint Presentation to PDF in Java
The following steps show you how to convert a specific slide of a PowerPoint presentation to PDF:
- Initialize an instance of Presentation class.
- Load the PowerPoint presentation using Presentation.loadFromFile() method.
- Get the desired slide by its index using Presentation.getSlides().get(slideIndex) method.
- Save it to PDF using ISlide.saveToFile(filePath, FileFormat.PDF) method.
- Java
import com.spire.presentation.FileFormat;
import com.spire.presentation.ISlide;
import com.spire.presentation.Presentation;

public class ConvertSlidesToPDF {
    public static void main(String []args) throws Exception {
        //Create a Presentation instance
        Presentation ppt = new Presentation();
        //Load a PowerPoint presentation
        ppt.loadFromFile("Sample.pptx");

        //Get the second slide
        ISlide slide= ppt.getSlides().get(1);

        //Save the slide to PDF
        slide.saveToFile("ToPdf2.pdf", FileFormat.PDF);
    }
}
Apply for a Temporary License
If you'd like to remove the evaluation message from the generated documents, or to get rid of the function limitations, please request a 30-day trial license for yourself.
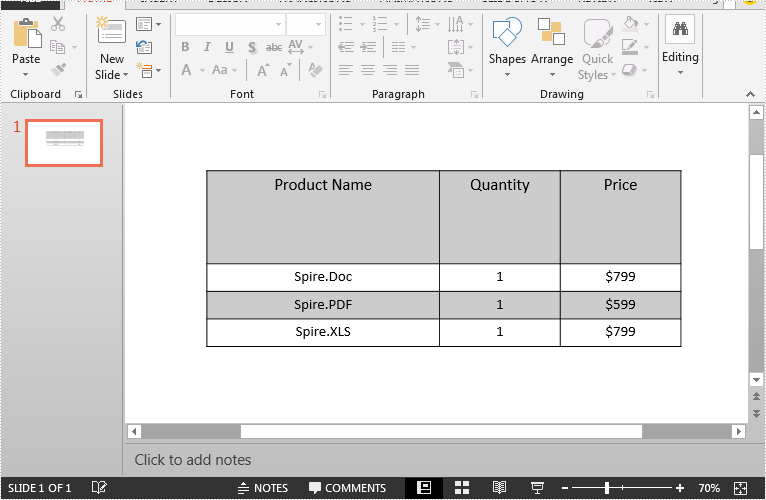
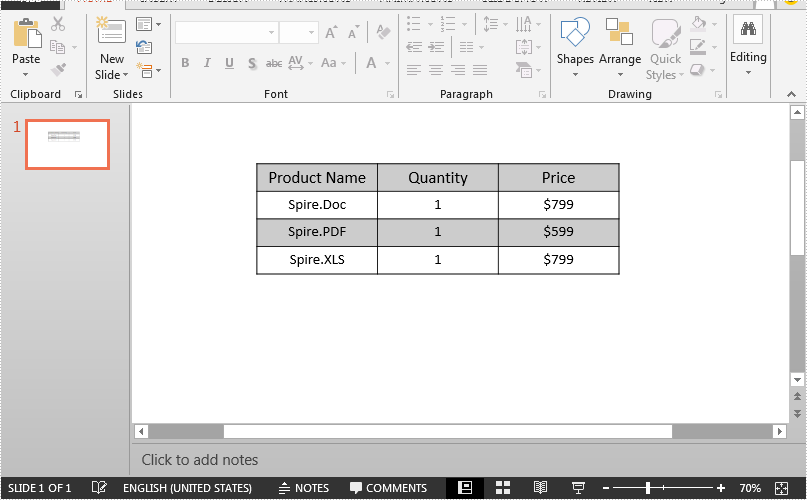
This article demonstrates how to set the row height and column width of an existing table in a PowerPoint document using Spire.Presentation for Java.
Below is the screenshot of the input PowerPoint document:
import com.spire.presentation.FileFormat;
import com.spire.presentation.ISlide;
import com.spire.presentation.ITable;
import com.spire.presentation.Presentation;

public class Table_Row_Height_and_Column_Width {
    public static void main(String[] args) throws Exception {
        //Load the PowerPoint document
        Presentation ppt = new Presentation();
        ppt.loadFromFile("Table.pptx");

        //Get the first slide
        ISlide slide = ppt.getSlides().get(0);

        //Get the first table in the slide
        ITable table = (ITable) slide.getShapes().get(0);

        //Change the height of the first table row and the width of the first table column
        table.getTableRows().get(0).setHeight(100);
        table.getColumnsList().get(0).setWidth(250);

        //Save the document
        ppt.saveToFile("Output.pptx", FileFormat.PPTX_2013);
        ppt.dispose();
    }
}
Output: