
Knowledgebase (2370)
Children categories
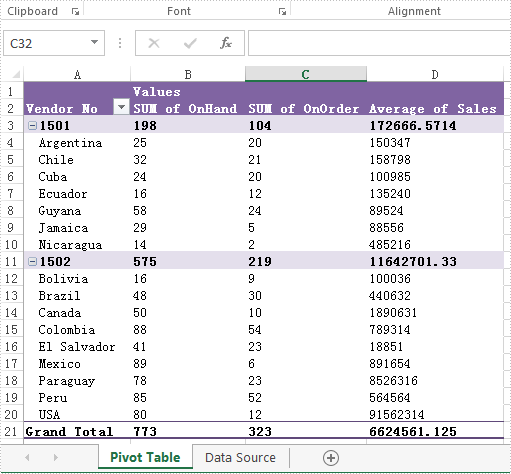
We have already demonstrated how to create the excel pivot table with Spire.XLS for .NET. It enables developers to set the property of PivotFieldFormatType to set format for the Data fields on pivot table. The following code sample will show you how to set display formats for data fields in C#.
Note: Before Start, please download the latest version of Spire.XLS and add Spire.Xls.dll in the bin folder as the reference of Visual Studio.
Firstly please check the original DataField format on PivotTable:
Step 1: Create a new Excel workbook and load from file.
Workbook workbook = new Workbook();
workbook.LoadFromFile("Sample.xlsx");
Step 2: Get the first worksheet from the workbook.
Worksheet sheet = workbook.Worksheets[0];
Step 3: Accessing the first Pivot table from the first worksheet.
XlsPivotTable pt = sheet.PivotTables[0] as XlsPivotTable;
Step 4: Accessing the Data Field.
PivotDataField pivotDataField = pt.DataFields[0];
Step 5: Setting data display format by setting the property of PivotFieldFormatType as PercentageOfColumn.
pivotDataField.ShowDataAs = PivotFieldFormatType.PercentageOfColumn;
Step 6: Save the document to file.
workbook.SaveToFile("Result.xlsx", ExcelVersion.Version2010);
The effective screenshot after setting the Datafield format in PivotTable:

Full codes of how to set the Datafields type in Excel Pivot Table.
using Spire.Xls;
using Spire.Xls.Core.Spreadsheet.PivotTables;
namespace SetDataFieldsformat
{
    class Program
    {
     static void Main(string[] args)
{

    Workbook workbook = new Workbook();
    workbook.LoadFromFile("Sample.xlsx");

    Worksheet sheet = workbook.Worksheets[0];

    XlsPivotTable pt = sheet.PivotTables[0] as XlsPivotTable;

    PivotDataField pivotDataField = pt.DataFields[0];

    pivotDataField.ShowDataAs = PivotFieldFormatType.PercentageOfColumn;

    workbook.SaveToFile("Result.xlsx", ExcelVersion.Version2010);
}


            }
        }
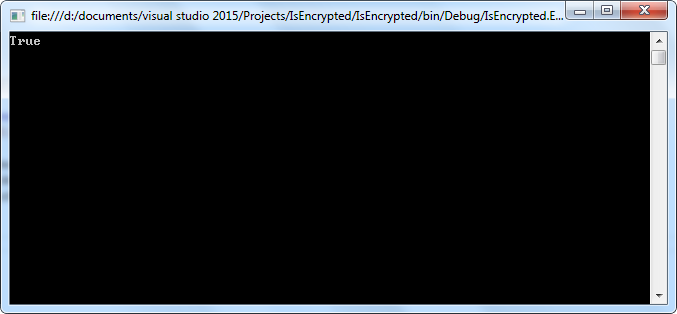
A PDF document encrypted with a user password legally cannot be opened without the password. We’d better detect if a document is password protected or not before we try to open it. This article presents how to determine if a PDF document is encrypted with password using Spire.PDF in C#, VB.NET.
Code Snippet:
Step 1: Initialize an instance of PdfDocument class.
PdfDocument doc = new PdfDocument();
Step 2: Load a sample PDF document.
doc.LoadFromFile(@"C:\Users\Administrator\Desktop\Encrypted.pdf");
Step 3: Detect whether the document is encrypted with password or not.
bool isEncrypted = doc.IsEncrypted;
Console.WriteLine(isEncrypted);
Result:
Full Code:
using Spire.Pdf;
using System;


namespace Detect
{
    class Program
    {
        static void Main(string[] args)
        {
            PdfDocument doc = new PdfDocument();
            doc.LoadFromFile(@"C:\Users\Administrator\Desktop\Encrypted.pdf");

            bool isEncrypted = doc.IsEncrypted;
            Console.WriteLine(isEncrypted);
            Console.Read();
        }
    }
}
Imports Spire.Pdf

Namespace Detect
	Class Program
		Private Shared Sub Main(args As String())
			Dim doc As New PdfDocument()
doc.LoadFromFile("C:\Users\Administrator\Desktop\Encrypted.pdf")

Dim isEncrypted As Boolean = doc.IsEncrypted
Console.WriteLine(isEncrypted)
Console.Read()
		End Sub
	End Class
End Namespace
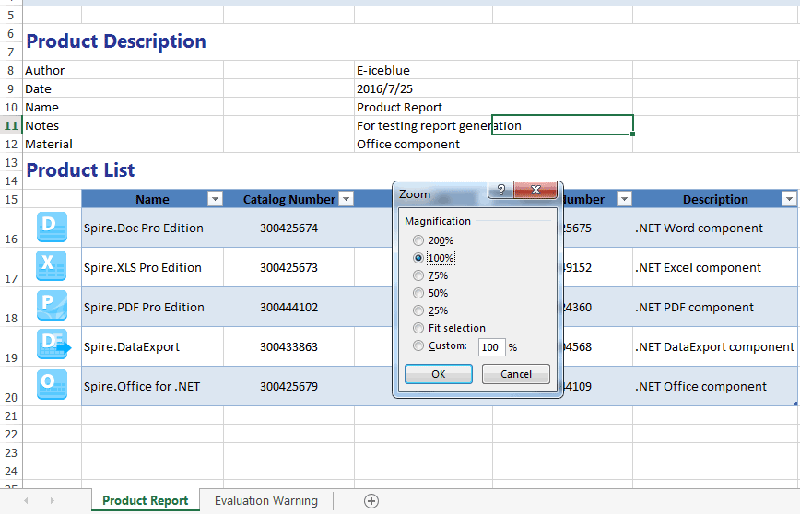
Sometimes, we may need to change the zoom factor when displaying the data on the excel worksheet to fulfil our requirements. In this article, we will demonstrate how to set the zoom factor on Excel work sheet in C# with the help of Spire.XLS.
Firstly, please view the screenshot of how Microsoft Excel to set the zoom factor after click View--Zoom on the top toolbox:

Spire.XLS enables developers to set the value of worksheet’s zoom property to the specific zoom factor via sheet.Zoom. Here comes to the steps of how to control the zoom factor by Spire.XLS.
Step 1: Create a new Excel workbook and load from file.
Workbook wb = new Workbook();
wb.LoadFromFile("Sample.xlsx");
Step 2: Get the first worksheet from the Excel workbook.
Worksheet sheet = wb.Worksheets[0];
Step 3: Set the value of worksheet's zoom property to the specific zoom factor.
sheet.Zoom = 100;
Step 4: Save the document to file.
wb.SaveToFile("result.xlsx", ExcelVersion.Version2010);
Effective screenshot after setting the zoom factor:
Full codes:
using Spire.Xls;
namespace Zoom
{
    class Program
    {

        static void Main(string[] args)
        {

            Workbook wb = new Workbook();
            wb.LoadFromFile("Sample.xlsx");

            Worksheet sheet = wb.Worksheets[0];
            sheet.Zoom = 100;

            wb.SaveToFile("result.xlsx", ExcelVersion.Version2010);
        }
    }
}
