
Knowledgebase (2370)
Children categories
Superscript and subscript are formatting options that allow you to raise or lower characters in relation to the main text. Superscript is typically used for mathematical expressions, footnotes, ordinal indicators (such as "1st" or "2nd"), and chemical formulas. Subscript is commonly employed in chemical equations, mathematical notation, and certain linguistic elements. By adding superscripts and subscripts, you can enhance the readability and professionalism of your documents, especially in scientific, mathematical, and technical writing. In this article, we will demonstrate how to add superscripts and subscripts to Word documents in Python using Spire.Doc for Python.
- Add Superscript and Subscript Text to Word in Python
- Apply Superscript and Subscript Formatting to Existing Text in Word in Python
Install Spire.Doc for Python
This scenario requires Spire.Doc for Python and plum-dispatch v1.7.4. They can be easily installed in your Windows through the following pip command.
pip install Spire.Doc
If you are unsure how to install, please refer to this tutorial: How to Install Spire.Doc for Python on Windows
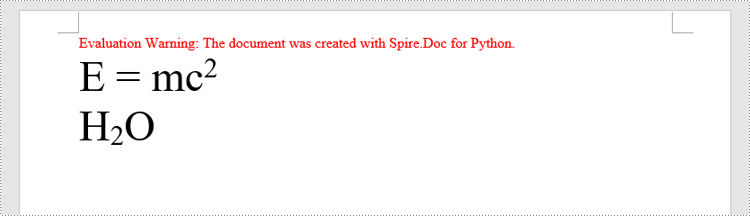
Add Superscript and Subscript Text to Word in Python
You can add text to a paragraph using the Paragraph.AppentText() method. After that, you can apply superscript or subscript formatting to the text through the TextRange.CharacterFormat.SubSuperScript property. The detailed steps are as follows.
- Create an object of the Document class.
- Add a section to the document using Document.AddSection() method.
- Add a paragraph to the section using Section.AddParagraph() method.
- Add normal text to the paragraph using Paragraph.AppendText() method.
- Add superscript or subscript text to the paragraph using Paragraph.AppendText() method.
- Apply superscript or subscript formatting to the superscript or subscript text using TextRange.CharacterFormat.SubSuperScript property.
- Save the resulting document using Document.SaveToFile() method.
- Python
from spire.doc import *
from spire.doc.common import *

# Create a Document instance
document = Document()
# Add a section to the document
section = document.AddSection()

# Add a paragraph to the section
paragraph = section.AddParagraph()

# Add normal text to the paragraph
paragraph.AppendText("E = mc")
# Add superscript text to the paragraph
superscript_text = paragraph.AppendText("2")
# Apply superscript formatting to the superscript text
superscript_text.CharacterFormat.SubSuperScript = SubSuperScript.SuperScript

# Start a new line
paragraph.AppendBreak(BreakType.LineBreak)

# Add normal text to the paragraph
paragraph.AppendText("H")
# Add subscript text to the paragraph
subscript_text = paragraph.AppendText("2")
# Apply subscript formatting to the subscript text
subscript_text.CharacterFormat.SubSuperScript = SubSuperScript.SubScript
# Add normal text to the paragraph
paragraph.AppendText("O")

# Set the font size for the text in the paragraph
for i in range(paragraph.Items.Count):
    item = paragraph.Items[i]
    if isinstance(item, TextRange):
        text_range = item
        text_range.CharacterFormat.FontSize = 36

# Save the resulting document
document.SaveToFile("AddSuperscriptAndSubscriptText.docx", FileFormat.Docx2013)
document.Close()
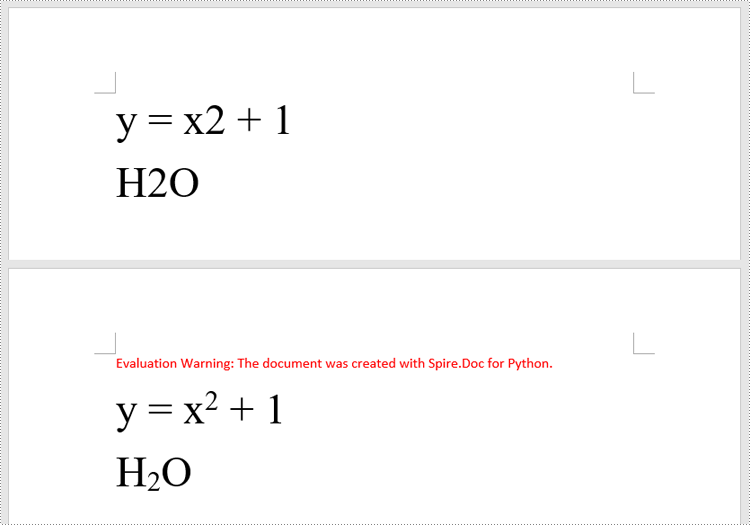
Apply Superscript and Subscript Formatting to Existing Text in Word in Python
To apply superscript or subscript formatting to a specific text, you need to search for the text using the Document.FindAllString() method, then apply superscript or subscript formatting to the instances of that text through the TextRange.CharacterFormat.SubSuperScript property. The detailed steps are as follows.
- Create an object of the Document class.
- Load a Word document using Document.LoadFromFile() method.
- Find a specific text in the document using Document.FindAllString() method. This method will return a list of TextSelection objects, each representing an instance of the text in the document.
- Get the first instance of the text as a single text range using TextSelection.GetAsOneRange() method, then apply superscript formatting to the text range by setting the TextRange.CharacterFormat.SubSuperScript property to SubSuperScript.SuperScript.
- Get the second instance of the text as a single text range using TextSelection.GetAsOneRange() method, then apply subscript formatting to the text range by setting the TextRange.CharacterFormat.SubSuperScript property to SubSuperScript.SubScript.
- Save the resulting document using Document.SaveToFile() method.
- Python
from spire.doc import *
from spire.doc.common import *

# Create a Document instance
document = Document()
# Load a Word document
document.LoadFromFile("Sample.docx")

# Find a specific number in the document
text_selections = document.FindAllString("2", False, False)

# Apply superscript formatting to the first instance of the number
superscript_text = text_selections[0].GetAsOneRange()
superscript_text.CharacterFormat.SubSuperScript = SubSuperScript.SuperScript

# Apply subscript formatting to the second instance of the number
subscript_text = text_selections[1].GetAsOneRange()
subscript_text.CharacterFormat.SubSuperScript = SubSuperScript.SubScript

# Save the resulting document
document.SaveToFile("ApplySuperscriptAndSubscriptFormatting.docx", FileFormat.Docx2013)
document.Close()
Apply for a Temporary License
If you'd like to remove the evaluation message from the generated documents, or to get rid of the function limitations, please request a 30-day trial license for yourself.
Python: Insert, Rotate, Resize, Reposition, and Reorder Shapes in PowerPoint
2024-08-15 00:52:47 Written by KoohjiShapes are the fundamental building blocks that bring your PowerPoint slides to life. From simple geometric forms to complex icons and illustrations, these versatile visual elements enable you to add interest, highlight key information, and craft visually striking layouts. Whether you are creating professional-looking slides from scratch or enhancing existing ones, knowing how to insert and manipulate shapes is an essential skill. In this guide, we'll cover how to insert, rotate, resize, reposition, and reorder shapes in PowerPoint presentations in Python using Spire.Presentation for Python.
- Insert Shapes in PowerPoint in Python
- Rotate Shapes in PowerPoint in Python
- Resize and Reposition Shapes in PowerPoint in Python
- Reorder Shapes in PowerPoint in Python
Install Spire.Presentation for Python
This scenario requires Spire.Presentation for Python and plum-dispatch v1.7.4. They can be easily installed in your Windows through the following pip command.
pip install Spire.Presentation
If you are unsure how to install, please refer to this tutorial: How to Install Spire.Presentation for Python on Windows
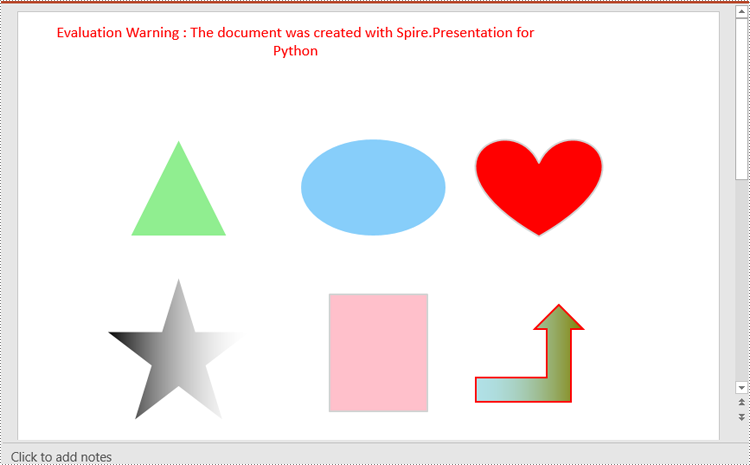
Insert Shapes in PowerPoint in Python
Spire.Presentation for Python enables you to add various types of shapes such as rectangles, circles, triangles, arrows, and eclipses to a PowerPoint slide by using the ISlide.Shapes.AppendShape() method.
Here are the steps to insert shapes in PowerPoint using Spire.Presentation for Python:
- Create an object of the Presentation class.
- Load a PowerPoint presentation using Presentation.LoadFromFile() method.
- Get a specific slide in the presentation using Presentation.Slides[index] property.
- Add various types of shapes to the slide using ISlide.Shapes.AppendShape() method and then set styles for the shapes.
- Save the resulting presentation using Presentation.SaveToFile() method.
- Python
from spire.presentation import *

# Create an object of the Presentation class
ppt = Presentation()

# Get the first slide
slide = ppt.Slides[0]

# Add a triangle shape to the slide
shape = slide.Shapes.AppendShape(ShapeType.Triangle, RectangleF.FromLTRB (115, 130, 215, 230))
shape.Fill.FillType = FillFormatType.Solid
shape.Fill.SolidColor.Color = Color.get_LightGreen()
shape.ShapeStyle.LineColor.Color = Color.get_White()

# Add an ellipse shape to the slide
shape = slide.Shapes.AppendShape(ShapeType.Ellipse, RectangleF.FromLTRB (290, 130, 440, 230))
shape.Fill.FillType = FillFormatType.Solid
shape.Fill.SolidColor.Color = Color.get_LightSkyBlue()
shape.ShapeStyle.LineColor.Color = Color.get_White()

# Add a heart shape to the slide
shape = slide.Shapes.AppendShape(ShapeType.Heart, RectangleF.FromLTRB (470, 130, 600, 230))
shape.Fill.FillType = FillFormatType.Solid
shape.Fill.SolidColor.Color = Color.get_Red()
shape.ShapeStyle.LineColor.Color = Color.get_LightGray()

# Add a five-pointed star shape to the slide
shape = slide.Shapes.AppendShape(ShapeType.FivePointedStar, RectangleF.FromLTRB (90, 270, 240, 420))
shape.Fill.FillType = FillFormatType.Gradient
shape.Fill.SolidColor.Color = Color.get_Black()
shape.ShapeStyle.LineColor.Color = Color.get_White()

# Add a rectangle shape to the slide
shape = slide.Shapes.AppendShape(ShapeType.Rectangle, RectangleF.FromLTRB (320, 290, 420, 410))
shape.Fill.FillType = FillFormatType.Solid
shape.Fill.SolidColor.Color = Color.get_Pink()
shape.ShapeStyle.LineColor.Color = Color.get_LightGray()

# Add an arrow shape to the slide
shape = slide.Shapes.AppendShape(ShapeType.BentUpArrow, RectangleF.FromLTRB (470, 300, 580, 400))
shape.Fill.FillType = FillFormatType.Gradient
shape.Fill.Gradient.GradientStops.AppendByKnownColors(1, KnownColors.Olive)
shape.Fill.Gradient.GradientStops.AppendByKnownColors(0, KnownColors.PowderBlue)
shape.ShapeStyle.LineColor.Color = Color.get_Red()

# Save the resulting presentation to a new file
ppt.SaveToFile("InsertShapes.pptx", FileFormat.Pptx2010)
ppt.Dispose()
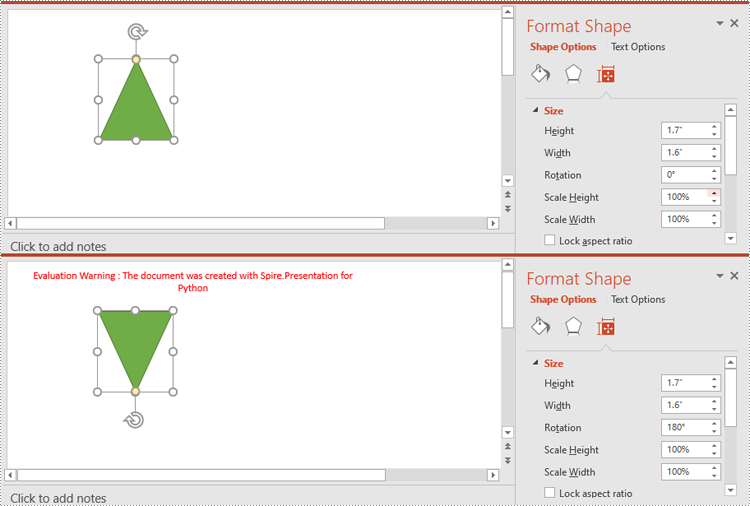
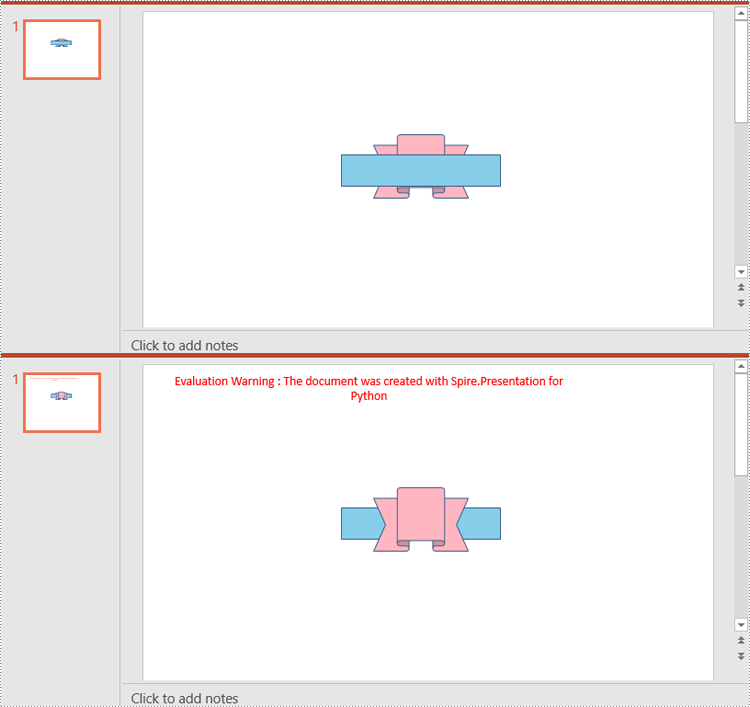
Rotate Shapes in PowerPoint in Python
The IShape.Rotation property in Spire.Presentation for Python is used to rotate a shape on a PowerPoint slide. Setting this property to a positive value will rotate the shape clockwise, while setting it to a negative value will rotate the shape counterclockwise.
Here are the steps to rotate a shape in PowerPoint using Spire.Presentation for Python:
- Create an object of the Presentation class.
- Load a PowerPoint presentation using Presentation.LoadFromFile() method.
- Get a specific slide in the presentation using Presentation.Slides[index] property.
- Get a specific shape on the slide using ISlide.Shapes[index] property.
- Rotate the shape by specific degrees using IShape.Rotation property.
- Save the resulting presentation using Presentation.SaveToFile() method.
- Python
from spire.presentation import *

# Create an object of the Presentation class
ppt = Presentation()
# Load a PowerPoint presentation
ppt.LoadFromFile("ShapeTemplate1.pptx")

# Get the first slide
slide = ppt.Slides[0]

# Get the first shape on the slide
shape = slide.Shapes[0] if isinstance(slide.Shapes[0], IAutoShape) else None

# Rotate the shape 180 degrees clockwise
shape.Rotation = 180

# Save the resulting presentation to a new file
ppt.SaveToFile("RotateShape.pptx", FileFormat.Pptx2016)
ppt.Dispose()
Resize and Reposition Shapes in PowerPoint in Python
The size and position of a shape can be reset through the IShape.Height, IShape.Width and IShape.Left, IShape.Top properties.
Here are the steps to reset the size and position of shapes in PowerPoint using Spire.Presentation for Python:
- Create an object of the Presentation class.
- Load a PowerPoint presentation using Presentation.LoadFromFile() method.
- Get the original slide height and width using Presentation.SlideSize.Size.Height and Presentation.SlideSize.Size.Width properties.
- Change the slide size using Presentation.SlideSize.Type property, and then get the new slide height and width.
- Calculate the ratio for resetting the size and position of the shapes based on the original and new slide heights and widths.
- Iterate through the slides in the presentation and the shapes on each slide.
- Reset the size and position of each shape based on the specified ratio using IShape.Height, IShape.Width, IShape.Left and IShape.Top properties.
- Save the resulting presentation using Presentation.SaveToFile() method.
- Python
from spire.presentation import *

# Create an object of the Presentation class
ppt = Presentation()
# Load a PowerPoint presentation
ppt.LoadFromFile("ShapeTemplate.pptx")

# Get the original slide height and width
currentHeight = ppt.SlideSize.Size.Height
currentWidth = ppt.SlideSize.Size.Width

# Change the slide size to A3
ppt.SlideSize.Type = SlideSizeType.A3

# Get the new slide height and width
newHeight = ppt.SlideSize.Size.Height
newWidth = ppt.SlideSize.Size.Width

# Calculate the ratio for resizing shapes based on the original and new slide heights and widths
ratioHeight = newHeight / currentHeight
ratioWidth = newWidth / currentWidth

# Iterate through the slides in the presentation
for slide in ppt.Slides:
    # Iterate through the shapes on the slide
    for shape in slide.Shapes:
        if isinstance(shape, IAutoShape):
            # Reset the size of the shape based on the specified ratio
            shape.Height = shape.Height * ratioHeight
            shape.Width = shape.Width * ratioWidth
            # Reset the position (x and y coordinates) of the shape based on the specified ratio
            shape.Top = shape.Top * ratioHeight
            shape.Left = shape.Left * ratioWidth

# Save the resulting presentation to a new file
ppt.SaveToFile("ResizeAndRepositionShapes.pptx", FileFormat.Pptx2016)
ppt.Dispose()

Reorder Shapes in PowerPoint in Python
The order in which shapes are arranged determines which shapes appear in front of or behind others. Using the ISlide.Shapes.ZOrder() method, you can easily change the order of multiple overlapping shapes on a PowerPoint slide.
Here are the steps to change the order of shapes in PowerPoint using Spire.Presentation for Python:
- Create an object of the Presentation class.
- Load a PowerPoint presentation using Presentation.LoadFromFile() method.
- Get a specific slide in the presentation using Presentation.Slides[index] property.
- Get a specific shape on the slide using ISlide.Shapes[index] property.
- Change the stacking order of the shape using ISlide.Shapes.ZOrder() method.
- Save the resulting presentation using Presentation.SaveToFile() method.
- Python
from spire.presentation import *

# Create an object of the Presentation class
ppt = Presentation()
# Load a PowerPoint presentation
ppt.LoadFromFile("ShapeTemplate3.pptx")

# Get the first slide
slide = ppt.Slides[0]

# Get the first shape on the slide
shape = slide.Shapes[0] if isinstance(slide.Shapes[0], IAutoShape) else None

# Change the stacking order of the shape
slide.Shapes.ZOrder(1, shape)

# Save the resulting presentation to a new file
ppt.SaveToFile("ReorderShapes.pptx", FileFormat.Pptx2016)
ppt.Dispose()
Apply for a Temporary License
If you'd like to remove the evaluation message from the generated documents, or to get rid of the function limitations, please request a 30-day trial license for yourself.
When preparing multiple PowerPoint presentations with similar themes, copying slides helps to maintain consistency in terms of design, layout and content. This ensures that all presentations have a uniform appearance, which can enhance the aesthetics of your document. In this article, you will learn how to copy or clone slides in PowerPoint presentations in Python using Spire.Presentation for Python.
- Copy Slides Within the Same Presentation with Python
- Copy Slides to Another Presentation with Python
Install Spire.Presentation for Python
This scenario requires Spire.Presentation for Python and plum-dispatch v1.7.4. They can be easily installed in your Windows through the following pip command.
pip install Spire.Presentation
If you are unsure how to install, please refer to this tutorial: How to Install Spire.Presentation for Python on Windows
Copy Slides Within the Same Presentation with Python
You can clone a slide either at a specified location or at the end of a PowerPoint presentation through the Presentation.Slides.Insert(Index: int, slide: ISlide) or Presentation.Slides.AppendBySlide(slide: ISlide) methods. The following are the detailed steps.
- Create a Presentation instance.
- Load a PowerPoint presentation using Presentation.LoadFromFile() method.
- Get a specified slide using Prenstion.Slides[] property.
- Clone the slide to the end of the same presentation using Presentation.Slides.AppendBySlide() method.
- Clone the slide to a specific position within the same presentation using Presentation.Slides.Insert() method.
- Save the result file using Presentation.SaveToFile() method.
- Python
from spire.presentation.common import *
from spire.presentation import *

inputFile ="Input1.pptx"
outputFile ="CloneSlidesWithinTheSame.pptx"

# Create a Presentation instance
ppt = Presentation()

#Load a PowerPoint presentation
ppt.LoadFromFile(inputFile)

# Get the first slide in the presentation
slide = ppt.Slides[0]

# Clone the slide to the end of the presentation
ppt.Slides.AppendBySlide(slide)

# Clone the slide to the third position within the presentation
ppt.Slides.Insert(2, slide)

# Save the result file
ppt.SaveToFile(outputFile, FileFormat.Pptx2016)
ppt.Dispose()

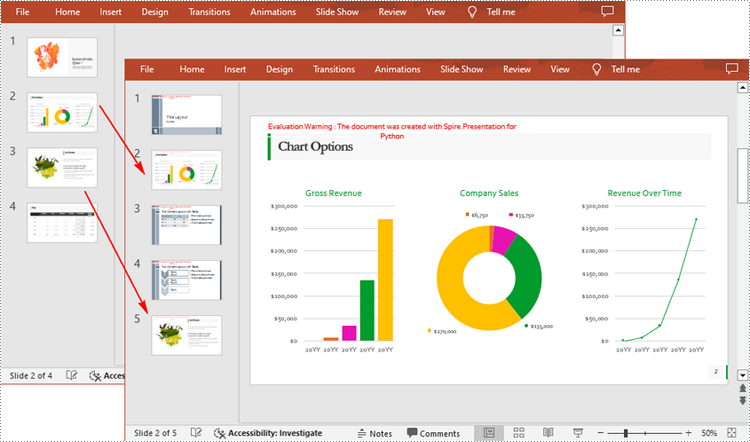
Copy Slides to Another Presentation with Python
Spire.Presentation for Python also allows you to load two PowerPoint files and then clone the slides from one presentation to another presentation. The following are the detailed steps.
- Create a Presentation instance.
- Load two PowerPoint presentations using Presentation.LoadFromFile() method.
- Get two slides in the first presentation using Prenstion.Slides[] property.
- Clone the first slide to a specific position in the second presentation using Presentation.Slides.Insert() method.
- Clone the second slide to the end of the second presentation using Presentation.Slides.AppendBySlide() method.
- Save the result file using Presentation.SaveToFile() method.
- Python
from spire.presentation.common import *
from spire.presentation import *

inputFile_1 = "Input1.pptx"
inputFile_2 = "Input2.pptx"
outputFile ="CloneSlidesToAnother.pptx"

# Load the first PowerPoint presentation
sourcePPT = Presentation()
sourcePPT.LoadFromFile(inputFile_1)

# Load the second PowerPoint presentation
destPPT = Presentation()
destPPT.LoadFromFile(inputFile_2)

# Get two slides in the first presentation
slide1 =sourcePPT.Slides[1]
slide2 =sourcePPT.Slides[2]

# Clone slide1 to the second position in the second presentation
destPPT.Slides.Insert(1, slide1)

# Clone slide2 to the end of the second presentation
destPPT.Slides.AppendBySlide(slide2)

# Save the second presentation
destPPT.SaveToFile(outputFile, FileFormat.Pptx2016)
destPPT.Dispose()
Apply for a Temporary License
If you'd like to remove the evaluation message from the generated documents, or to get rid of the function limitations, please request a 30-day trial license for yourself.
