
Knowledgebase (2370)
Children categories
Edit Excel Files and Convert Them to PDF and Other Formats Online
2024-07-22 01:28:20 Written by KoohjiExcel workbooks have become one of the most commonly used spreadsheet formats. Efficiently managing, editing, and sharing Excel files is a key competency in both personal and professional settings. Editing Excel files and converting them to PDF, CSV, OTS, etc. formats online offers significant advantages. One of the primary benefits is the elimination of reliance on local software installations. Users only need a web browser, making the process accessible from any device, be it a PC or a mobile phone.
Furthermore, online tools facilitate seamless collaboration. Multiple users can access and edit the same document simultaneously, promoting teamwork and keeping information up-to-date. Converting Excel files to PDF online also ensures that documents are universally accessible and secure, maintaining formatting and integrity across different platforms and devices.
This article will show how to edit Excel files and convert Excel files to other formats online with Spire.Cloud.Excel library, realizing cross-platform and efficient online Excel file editing.
- Get Spire.Cloud.Excel Online Editor
- Load and Modify Excel Workbooks Online
- Create a New Excel Workbook Online
- Convert Excel Files to PDF, PDF/A, OTS, and CSV Online
Get Spire.Cloud.Excel Online Editor
Spire.Cloud.Excel is a powerful online Excel viewer and editor designed for viewing, creating, editing, and collaborating on Excel documents in HTML5-compliant browsers. It also supports converting spreadsheets to PDF, PDF/A, CSV, and OTS formats.
Spire.Cloud.Excel is currently available on Windows and Linux. Download Spire.Cloud.Excel and follow the guide below to install it on the server:
- Install Spire.Cloud.Excel on a Windows Server
- Install Spire.Cloud.Excel on a Ubuntu Server
- Install Spire.Cloud.Excel on a CentOS Server
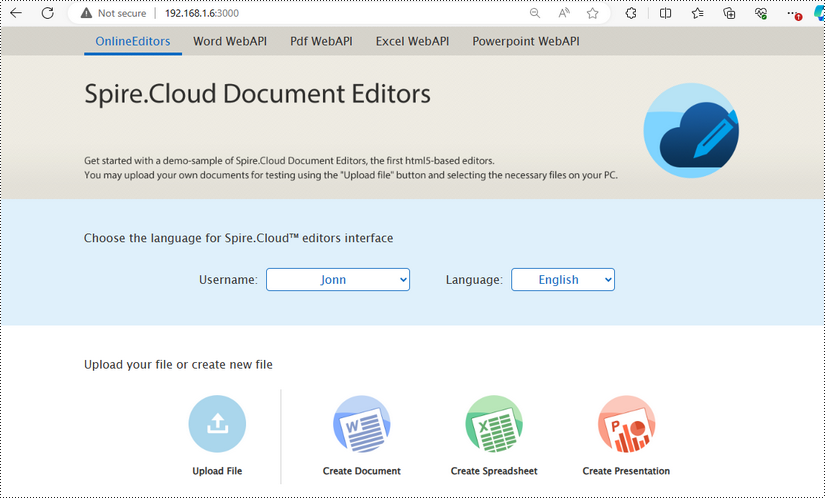
After installing Spire.Cloud.Excel on your server, you can try out the features of the editor via port 3000 or integrate the editor into your HTML pages via JavaScript.
Load and Modify Excel Workbooks Online
Spire.Cloud.Excel supports uploading a variety of spreadsheet formats for viewing, editing, and conversion, including XLS, XLSX, XLSM, XLSB, XLT, XLTX, XLTM, CSV, ODS, UOS, ET, and ETT.
Spreadsheet files will be automatically converted to Open XML format after uploading so that they can be quickly viewed and edited in the online editor.
Steps to upload an Excel document and edit it online:
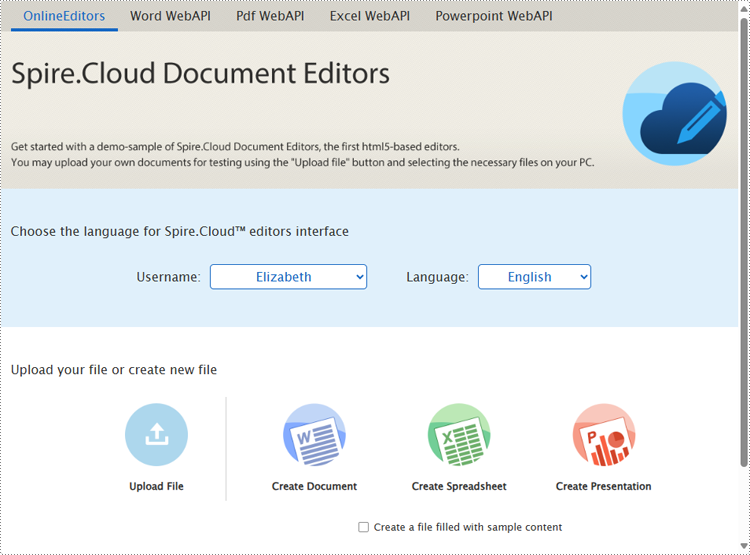
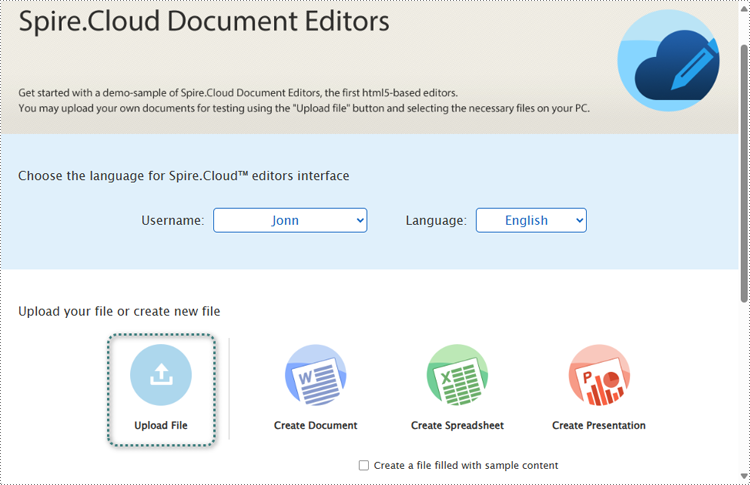
1. Open the product home page and select the Upload button.
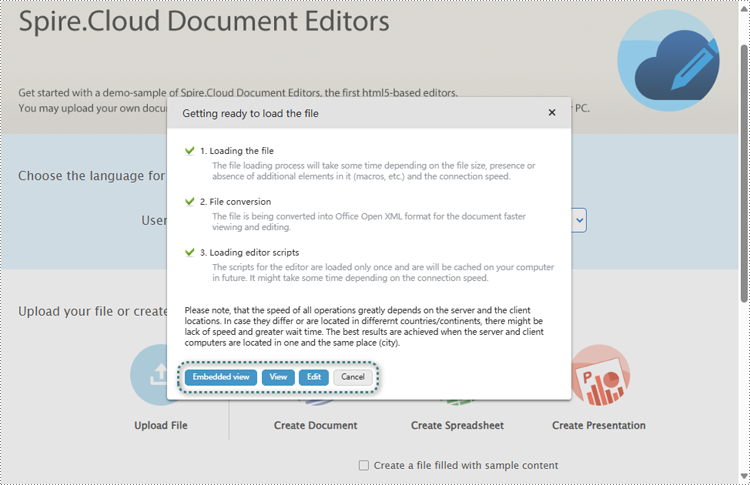
2. Select a file and upload it. Wait for the format conversion to complete and select Edit.
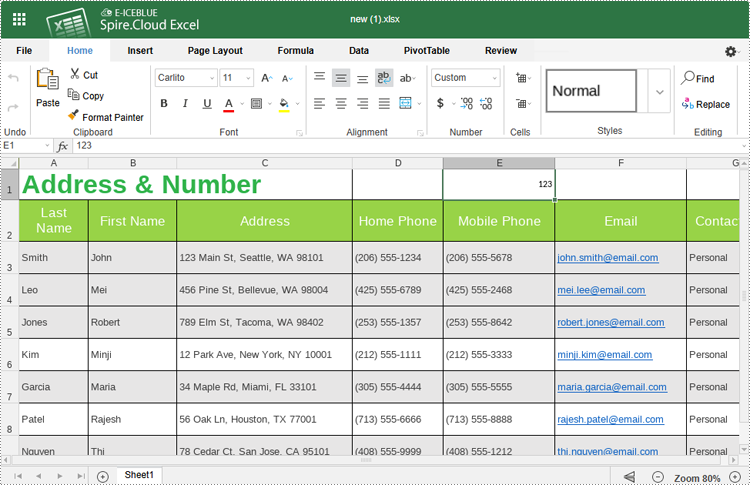
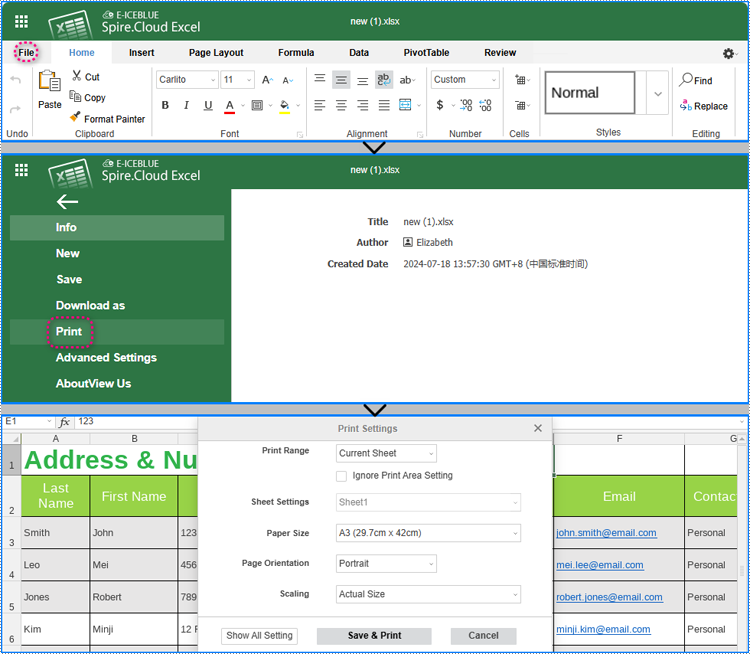
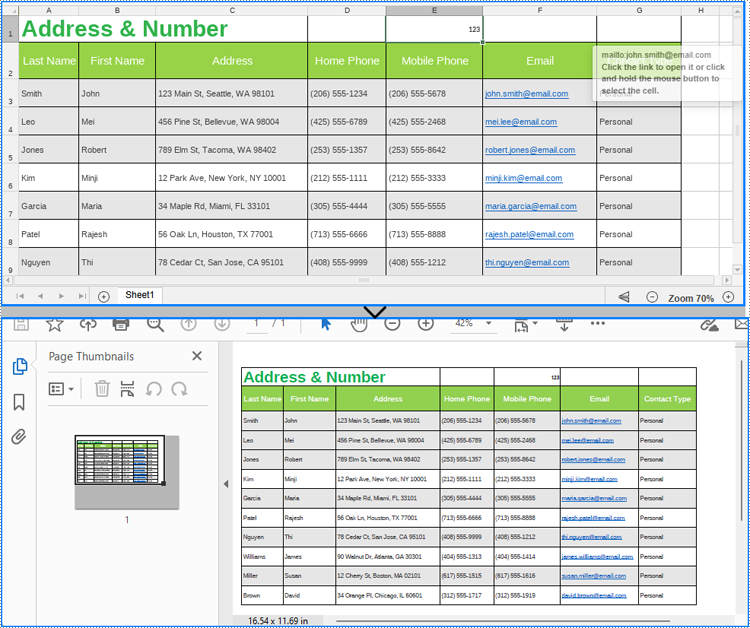
3. Various modifications and creations can be made to the document within the editor, including cell content editing, formatting, image insertion, page setup, data analysis, chart insertion, worksheet creation, pivot table generation, commenting, and even document printing.
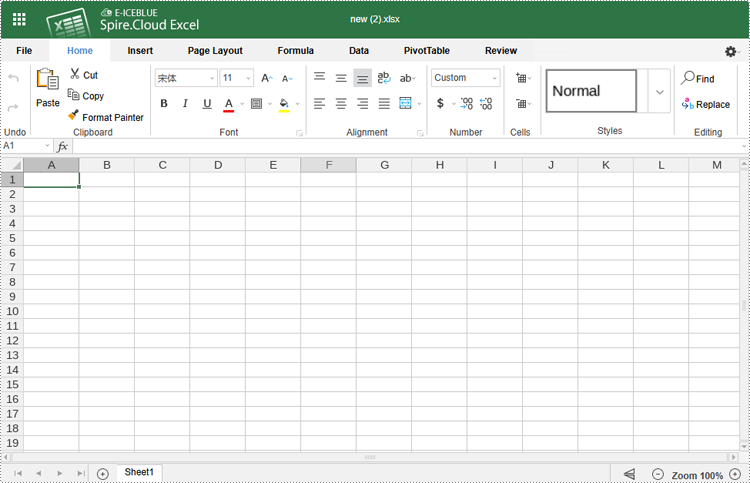
Online editor:
Print spreadsheets:
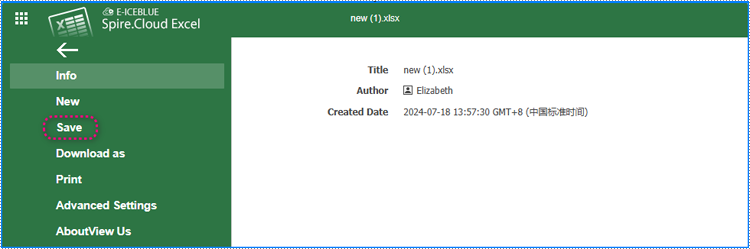
4. The editor will save changes to the document every 10 minutes, or you can click "File" > "Save" to apply changes manually.
5. When multiple people edit the same document online at the same time, the document changes will be synchronized in real-time, making it easy for users to get content updates in a timely manner and get an efficient collaborative editing experience.
Create a New Excel Workbook Online
In addition to uploading Excel files for viewing and editing, users can also use Spire.Cloud.Excel to create new Excel files online. Below are the steps to create a new Excel file online using Spire.Cloud.Excel:
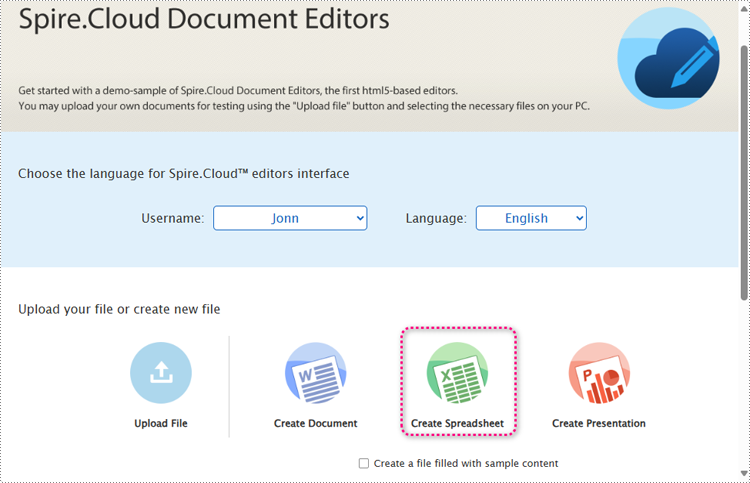
1. Open the main page and select Create Spreadsheet. When creating, users can also choose "Create a file filled with sample content" to create an Excel document with sample content.
2. Once the document is created, users can edit it in the pop-up online editor.
Convert Excel Files to PDF, PDF/A, OTS, and CSV Online
Spire.Cloud.Excel also supports exporting documents to multiple formats for sharing, presentations, and more. Currently, it supports exporting spreadsheets to XLSX, PDF, CSV, XLTX, PDF/A, and OTS formats to meet various document usage requirements.
Steps for converting Excel files to formats like PDF and OTS:
1. Upload or create an Excel document.
2. After editing, choose "File" > "Download as" in the toolbar.
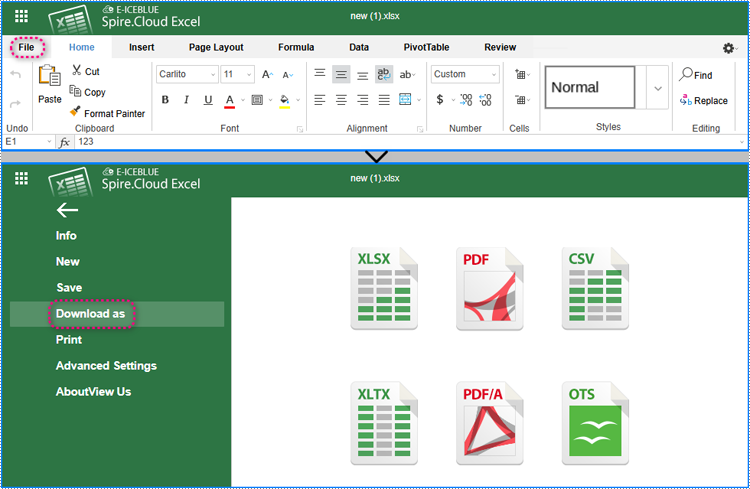
3. Choose a file format to save the document.
Conclusion
This article demonstrates how to use Spire.Cloud.Excel to preview, edit, print, and convert Excel files to PDF and other formats online. The API also supports many other online document-processing features. Use Spire.Cloud.Excel to create your online document editing projects or embed them into existing web pages for easier and more efficient online spreadsheet processing capabilities.
With the advent of cloud-based document management tools, teams can now work together in real-time, enhancing efficiency and productivity. When collaboratively editing a document online, the ability to communicate directly within the document allows team members to instantly share or discuss ideas, ask questions, and provide feedback.
This article will guide you on how to chat with your co-editors in real-time in the Spire.Cloud.Office document editor.
Spire.Cloud.Office Document Editor
Spire.Cloud.Office is a feature-rich HTML-5 based document editor component that can be easily integrated into web applications. With the document editor component, your end-users can view, create, edit, and collaborate on diverse document types within a web browser.
To utilize the services offered by Spire.Cloud.Office, you will need to first install it on your system.
- Install Spire.Cloud.Office for .NET on Windows
- Install Spire.Cloud.Office for Linux on Ubuntu
- Install Spire.Cloud.Office for Linux on CentOS
After the installation is complete, you can integrate Spire.Cloud.Office editor in your own web application or visit the example application hosted on port 3000 to explore the editor's functionalities.
The example page offers options to upload existing documents or create new ones. Spire.Office.Cloud supports loading DOC/DOCX, XLS/XLSX, and PPT/PPTX files, and exporting files to DOCX, XLSX, and PPTX formats.
Chat with Co-Editors Using the Editor Chat Feature
Spire.Cloud.Office allows co-editing a document with multiple users at the same time, and it also integrates the chat feature in the editor. To chat with your collaborators in real-time, follow the steps below:
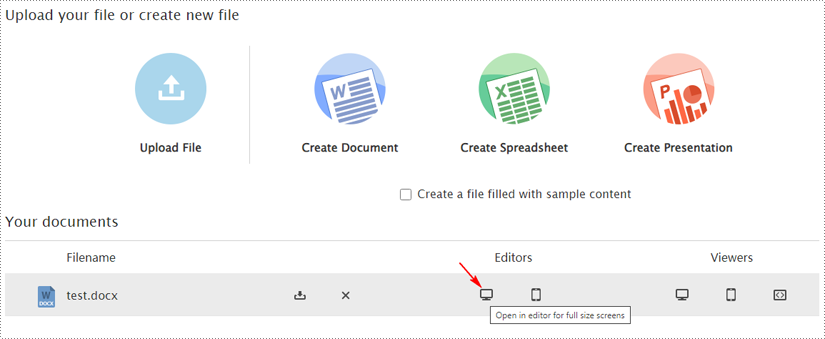
1. Open the document you're working on with your collaborators by clicking on the computer icon in the "Editor" section.
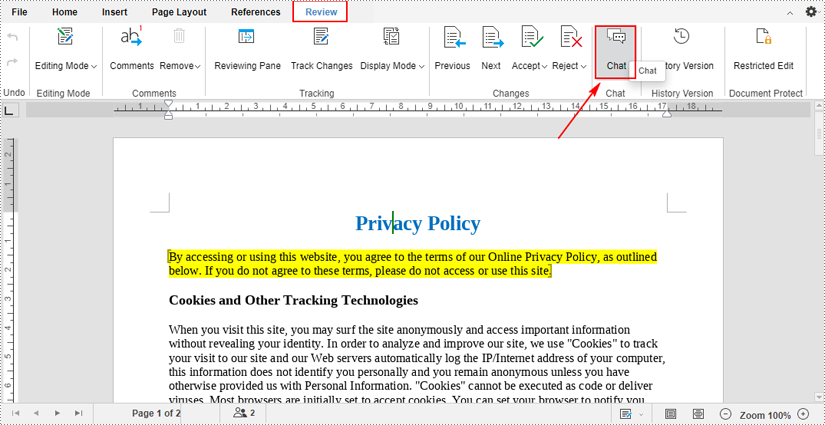
2. After opening in the editor, click the "Chat" button under the "Review" tab to initiate a chat with your coworkers.
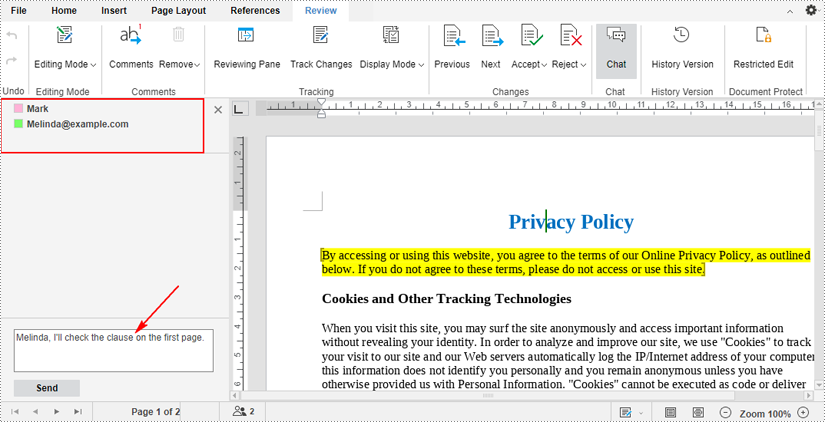
3. When you click the button, a chat sidebar will appear on the left side of the document. The users who are in the document at the moment will be displayed in the top area.
If you want to chat with them, type message in the text box and then press the "Send" button.
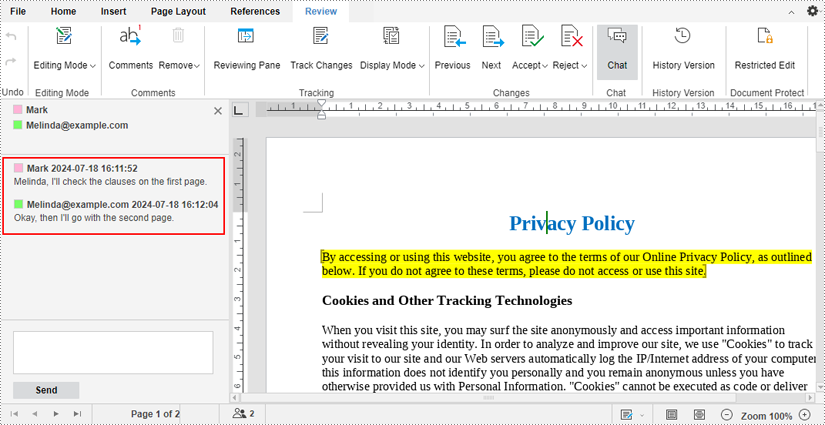
4. Your co-editors can also type messages in the same way to chat with you. All messages you send or receive will be displayed in the chat sidebar in real time.
Chat with Co-Editors Using the Comments Feature
Another way to communicate with your collaborators is to use the comments feature. With the ability to comment in real-time, team members can quickly respond to each other's suggestions or questions. The following are the steps to chat with your collaborators through comments:
1. Select a specific part where you want add comments, and then click the "Comments" icon under the "Review" tab.
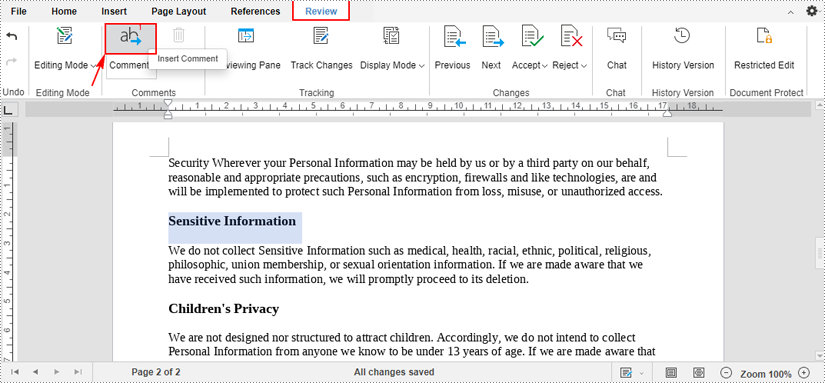
2. After clicking, a comment box will appear. Type your comment in the text box and click the "Add" button.

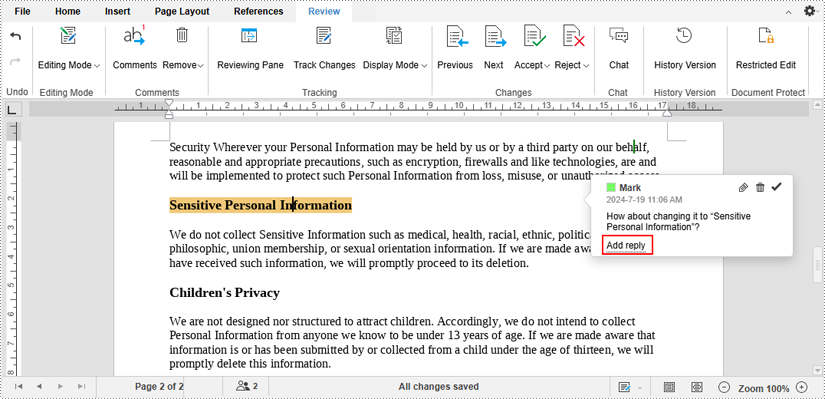
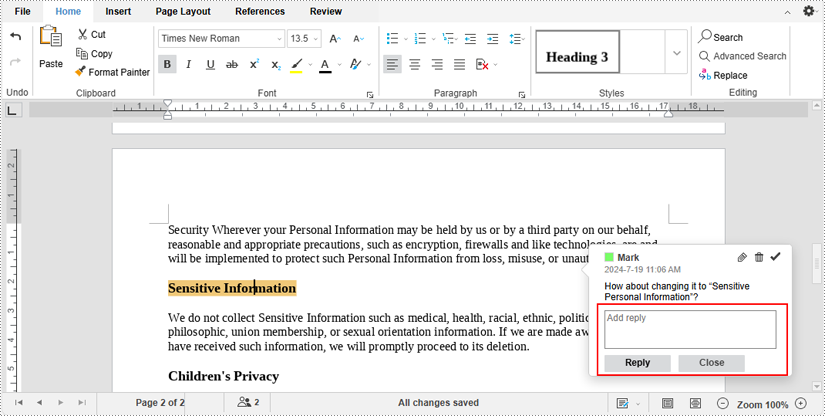
3. The part where you've attached a comment will be highlighted and when your collaborators click on the text, they will see the comment. To reply to the comment, first click the "Add reply".
Then type replies in the text box and click the "Reply" button.
4. By inserting and replying to comments in real time, you and your co-editors can instantly communicate ideas, suggestions about the document.
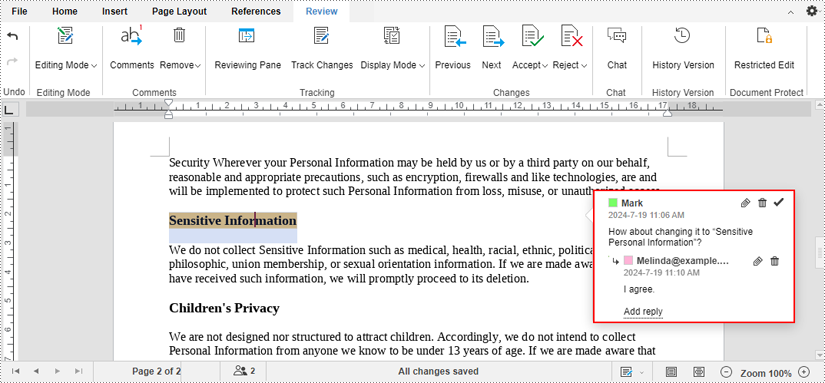
Note: In the first example, the chat history won't be saved when you close the document. However, the comments in the second example can be saved with the document. Therefore, in addition to real-time comments, users will also be able to view and reply to comments at any time afterwards.
To view all comments in a document, click the "Comments" text under the "Review" tab.

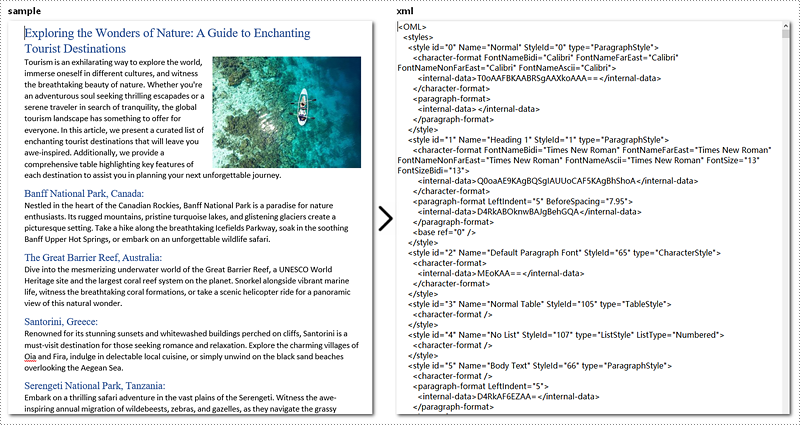
XML (Extensible Markup Language) is widely used for its structured format and readability on different platforms and systems. Its self-descriptive tags enable you to process data more easily. Meanwhile, Word XML focuses specifically on storing and exchanging Microsoft Word documents. It allows Word documents to transfer without loss. They both show flexibility under various scenarios that Word documents cannot achieve.
On the page, you will learn how to convert Word to XML and Word XML formats using Python with Spire.Doc for Python.
Install Spire.Doc for Python
This scenario requires Spire.Doc for Python and plum-dispatch v1.7.4. They can be easily installed in your Windows through the following pip command.
pip install Spire.Doc
If you are unsure how to install, please refer to this tutorial: How to Install Spire.Doc for Python on Windows.
Convert Word to XML in Python with Spire.Doc for Python
This part will explain how to convert Word documents to XML in Python with step-by-step instructions and a code example. Spire.Doc for Python provides the Document.SaveToFile() method to make it easy to save Word as XML. Check out the steps below and start processing your Word documents without effort!
Steps to Convert Word to XML:
- Create a new Document object.
- Load the Word document that you wish to be operated using Document.LoadFromFile() method.
- Covert it to XML by calling Document.SaveToFile() method.
Here's the code example:
- Python
from spire.doc import *
from spire.doc.common import *

# Create a Word document object
document = Document()

# Load the file from the disk
document.LoadFromFile("sample.docx")

# Save the document to an XML file
document.SaveToFile("WordtoXML.xml", FileFormat.Xml)

document.Close()
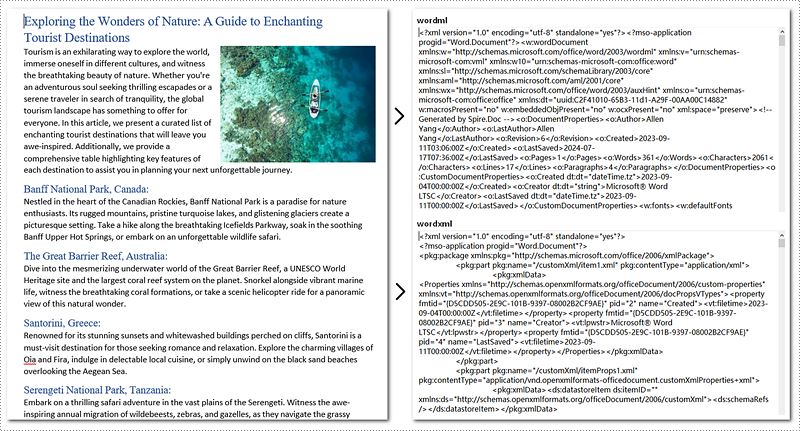
Convert Word to Word XML in Python
To convert Word to Word XML, you can utilize the Document.SaveToFile() method provided by Spire.Doc for Python. It not only helps to convert Word documents to Word XML but also to many other formats, such as PDF, XPS, HTML, RTF, etc.
Steps to Convert Word to Word XML:
- Create a new Document object.
- Load the Word document by Document.LoadFromFile() method.
- Convert it to Word XML using Document.SaveToFile() method.
Here's the code example for you:
- Python
from spire.doc import *
from spire.doc.common import *

# Create a Word document object
document = Document()

# Load the file from the disk
document.LoadFromFile("sample.docx")

# For Word 2003
document.SaveToFile("WordtoWordML.wordml", FileFormat.WordML)

# For Word 2007-2013
document.SaveToFile("WordtoWordXML.wordxml", FileFormat.WordXml)
document.Close()
Get a Free License
To fully experience the capabilities of Spire.Doc for Python without any evaluation limitations, you can request a free 30-day trial license.
