
Knowledgebase (2370)
Children categories
Setting the column width in Word tables is crucial for optimizing document readability and aesthetics. Appropriate column widths prevent long lines of text from hindering readability, particularly in text-dense tables. Word offers two approaches: percentages and fixed values. Setting column widths using percentage values allows tables to adapt to different screen sizes, keeping content neatly aligned and enhancing the reading experience. Using fixed values, on the other hand, precisely controls the structure of the table, ensuring consistency and professionalism, making it suitable for designs with strict data alignment requirements or complex layouts. This article will introduce how to set Word table column width based on percentage or fixed value settings using Spire.Doc for .NET in C# projects.
Install Spire.Doc for .NET
To begin with, you need to add the DLL files included in the Spire.Doc for .NET package as references in your .NET project. The DLL files can be either downloaded from this link or installed via NuGet.
PM> Install-Package Spire.Doc
Set Column Width Based on Percentage in C#
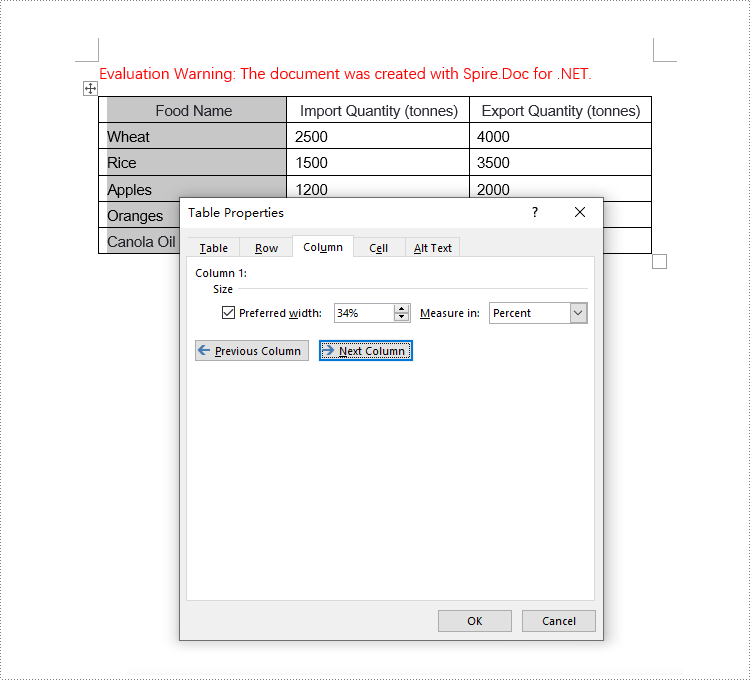
When setting column widths in a Word table using percentage values, you first need to set the table's preferred width type to percentage. This is done with Table.PreferredWidth = new PreferredWidth(WidthType.Percentage, (short)100). Then, iterate through each column and set the width to the same or different percentage values as required. Here are the detailed steps:
- Create a Document object.
- Load a document using the Document.LoadFromFile() method.
- Retrieve the first section of the document using Document.Sections[0].
- Get the first table within the section using Section.Tables[0].
- Use a for loop to iterate through all rows in the table.
- Set the column width for cells in different columns to percentage values using the TableRow.Cells[index].SetCellWidth(value, CellWidthType.Percentage) method.
- Save the changes to the Word document using the Document.SaveToFile() method.
- C#
using Spire.Doc;

namespace SpireDocDemo
{
    internal class Program
    {
        static void Main(string[] args)
        {
            // Create a new Document object
            Document doc = new Document();

            // Load the document named "example.docx"
            doc.LoadFromFile("Sample.docx");

            // Get the first Section of the document
            Section section = doc.Sections[0];

            // Cast the first Table in the Section to Table type
            Table table = (Table)section.Tables[0];

            // Create a PreferredWidth object, set the width type to Percentage, and set the width value to 100%
            PreferredWidth percentageWidth = new PreferredWidth(WidthType.Percentage, (short)100);

            // Set the preferred width of the Table to the PreferredWidth object created above
            table.PreferredWidth = percentageWidth;

            // Define a variable of type TableRow
            TableRow tableRow;

            // Iterate through all rows in the Table
            for (int i = 0; i < table.Rows.Count; i++)
            {
                // Get the current row
                tableRow = table.Rows[i];

                // Set the width of the first column cell to 34%, with the type as Percentage
                tableRow.Cells[0].SetCellWidth(34, CellWidthType.Percentage);

                // Set the width of the second column cell to 33%, with the type as Percentage
                tableRow.Cells[1].SetCellWidth(33, CellWidthType.Percentage);

                // Set the width of the third column cell to 33%, with the type as Percentage
                tableRow.Cells[2].SetCellWidth(33, CellWidthType.Percentage);
            }

            // Save the modified document, specifying the file format as Docx2016
            doc.SaveToFile("set_column_width_by_percentage.docx", FileFormat.Docx2016);

            // Close the document
            doc.Close();
        }
    }
}
Set Column Width Based on Fixed Value in C#
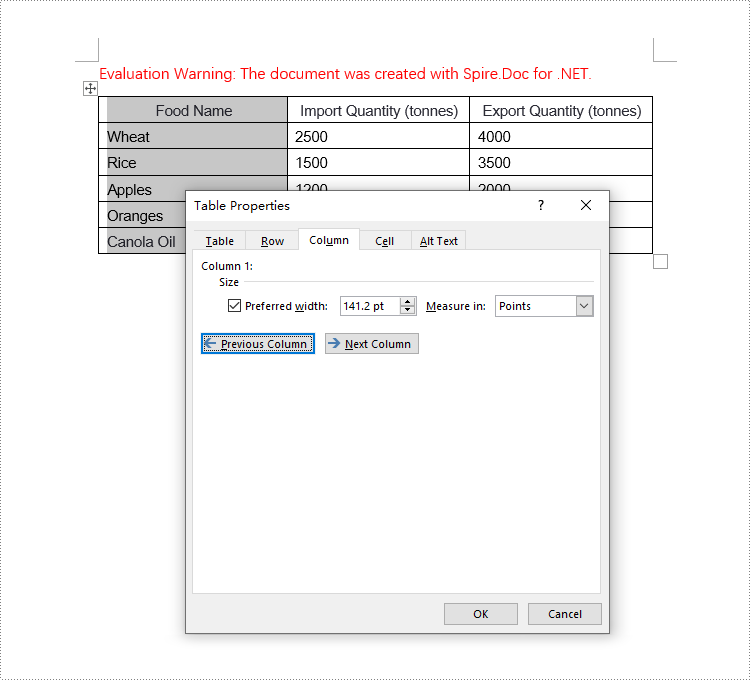
When setting column widths in a Word table using fixed values, you first need to set the table's layout to fixed. This is done with Table.TableFormat.LayoutType = LayoutType.Fixed. Then, iterate through each column and set the width to the same or different fixed values as required. Here are the detailed steps:
- Create a Document object.
- Load a document using the Document.LoadFromFile() method.
- Retrieve the first section of the document using Document.Sections[0].
- Get the first table within the section using Section.Tables[0].
- Use a for loop to iterate through all rows in the table.
- Set the column width for cells in different columns to fixed values using the TableRow.Cells[index].SetCellWidth(value, CellWidthType.Point) method. Note that value should be replaced with the desired width in points.
- Save the changes to the Word document using the Document.SaveToFile() method.
- C#
using Spire.Doc;

namespace SpireDocDemo
{
    internal class Program
    {
        static void Main(string[] args)
        {
            // Create a new Document object
            Document doc = new Document();

            // Load the document
            doc.LoadFromFile("Sample.docx");

            // Get the first Section of the document
            Section section = doc.Sections[0];

            // Cast the first Table in the Section to Table type
            Table table = (Table)section.Tables[0];

            // Set the table layout type to Fixed
            table.Format.LayoutType = LayoutType.Fixed;

            // Get the left margin
            float leftMargin = section.PageSetup.Margins.Left;

            // Get the right margin
            float rightMargin = section.PageSetup.Margins.Right;

            // Calculate the page width minus the left and right margins
            double pageWidth = section.PageSetup.PageSize.Width - leftMargin - rightMargin;

            // Define a variable of type TableRow
            TableRow tableRow;

            // Loop through all rows in the Table
            for (int i = 0; i < table.Rows.Count; i++)
            {
                // Get the current row
                tableRow = table.Rows[i];

                // Set the width of the first column cell to 34% of the page width
                tableRow.Cells[0].SetCellWidth((float)(pageWidth * 0.34), CellWidthType.Point);

                // Set the width of the second column cell to 33% of the page width
                tableRow.Cells[1].SetCellWidth((float)(pageWidth * 0.33), CellWidthType.Point);

                // Set the width of the third column cell to 33% of the page width
                tableRow.Cells[2].SetCellWidth((float)(pageWidth * 0.33), CellWidthType.Point);
            }

            // Save the modified document, specifying the file format as Docx2016
            doc.SaveToFile("set_column_width_to_fixed_value.docx", FileFormat.Docx2016);

            // Close the document
            doc.Close();
        }
    }
}
Apply for a Temporary License
If you'd like to remove the evaluation message from the generated documents, or to get rid of the function limitations, please request a 30-day trial license for yourself.
The use of online editors is showing a growing trend nowadays, driven by a multitude of factors, including the rise of remote working, the increasing popularity of cloud services, and the convenience that online editors offer in terms of accessibility and collaboration.
Among the rich features offered by online document editors, the security feature is highly valued by some users. Having the ability to password-protect documents online helps prevent unauthorized access, reduces the risk of data leakage, and ensures that only designated members can view or edit documents. This feature is especially important in collaborative environments where you need to control who can make changes.
In this article, we will explore two ways to protect a Word document online in the Spire.Cloud.Office document editor.
Spire.Cloud.Office Document Editor
Spire.Cloud.Office is a powerful online document editing tool designed to provide a seamless experience for editing Microsoft Office documents such as Word, Excel, and PowerPoint in web browsers. The online editing tool supports real-time collaboration, allowing multiple users to work on the same document simultaneously, which is especially useful for teams working on projects together, enabling immediate feedback and updates.
More than just a document editor, Spire.Cloud.Office can also serve as a document viewer and converter, making it a versatile tool for various document management needs. To utilize the services offered by Spire.Cloud.Office, you will need to first install it on your system.
- Install Spire.Cloud.Office for .NET on Windows
- Install Spire.Cloud.Office for Linux on Ubuntu
- Install Spire.Cloud.Office for Linux on CentOS
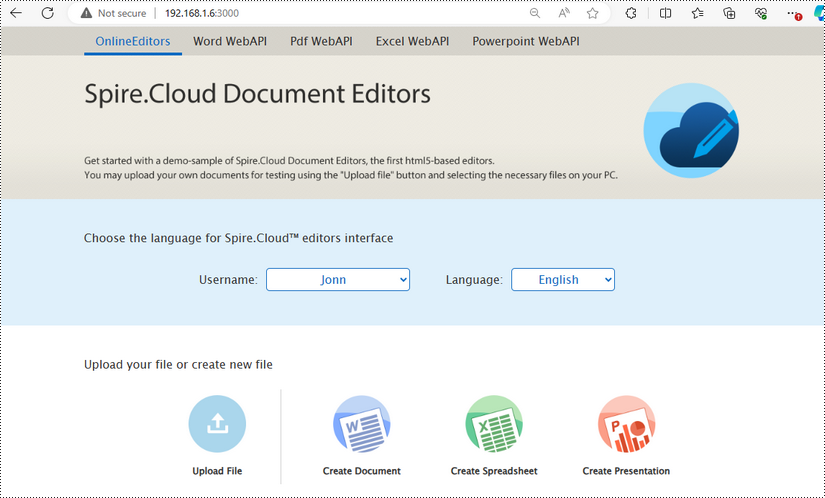
After the installation is complete, you can integrate Spire.Cloud.Office editor in your own web application or visit the example application hosted on port 3000 to explore the editor's functionalities.
Password Protect a Word Document Online
To encrypt a Word document with password in the Spire.Cloud.Office editor, simply follow the steps below:
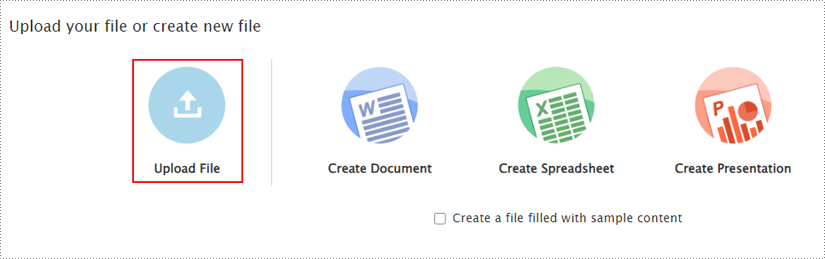
1. Upload a Word document by clicking the "Upload File" button on the example page.
2. Select a file, wait a second for the editor to get the file ready, and then click "Edit".

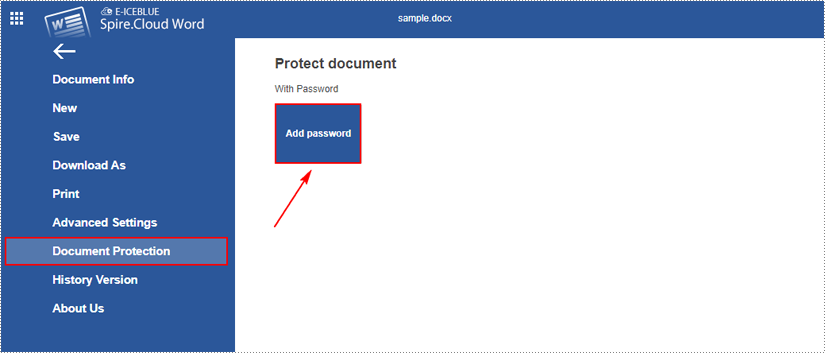
3. After opening the file in the editor, go to "File > Document Protection > Add password".
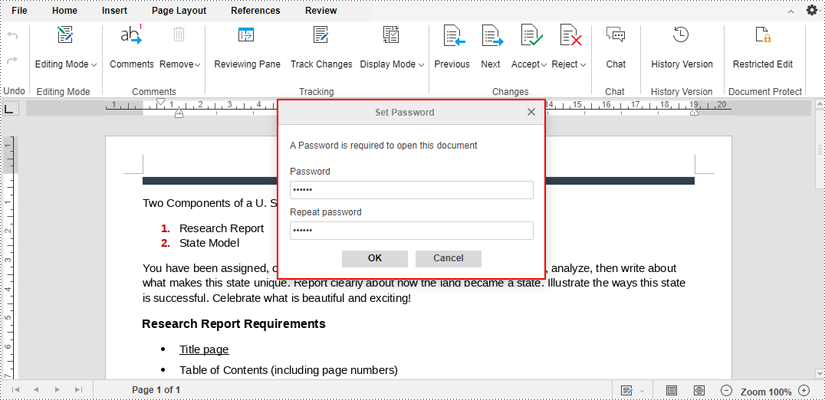
4. Enter password in the dialogue box that pops up and click "OK" to confirm.
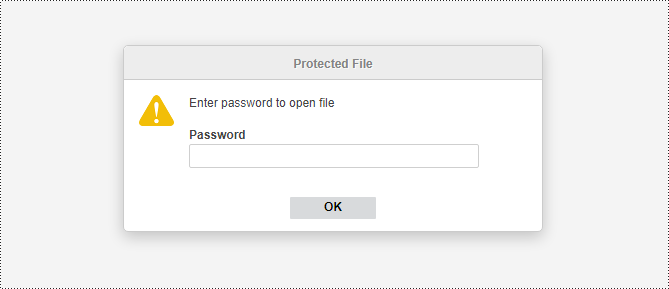
5. The editor will automatically save the encrypted file. Later on, anyone who wants to access the file will need to enter a password.
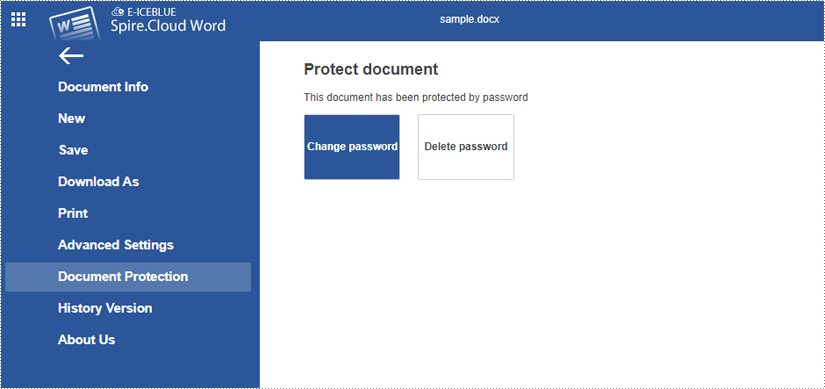
To change or remove password, open the encrypted document and then go to "File > Document Protection > Change password / Delete password".
Set Editing Restrictions on a Word Document Online
If you want to secure your document against accidental or malicious modifications, you can set editing restrictions on the document. In this way, users are only allowed to edit specified parts of the document, while other parts can only be viewed.
The following are the steps to restrict editing a Word document online using Spire.Cloud.Office editor:
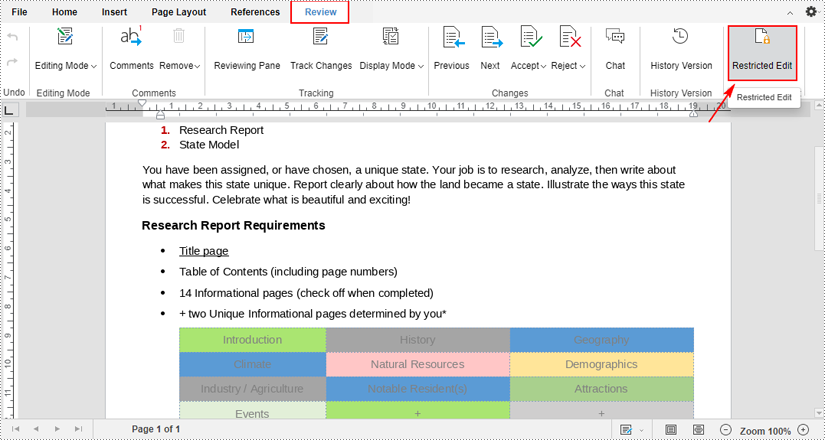
1. When a file is opened in the editor, click the "Restricted Edit" under the "Review" tab.
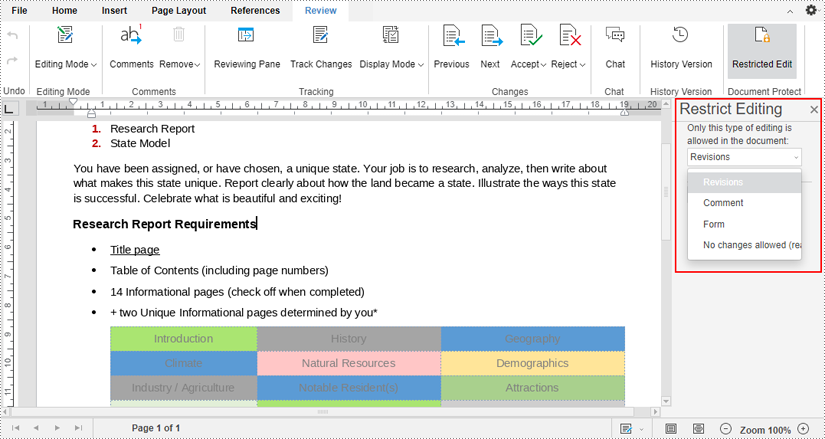
2. After clicking, a "Restrict Editing" pane will appear on the right side of the document. You can select one from the drop-down menu to allow only this type of editing in the document.
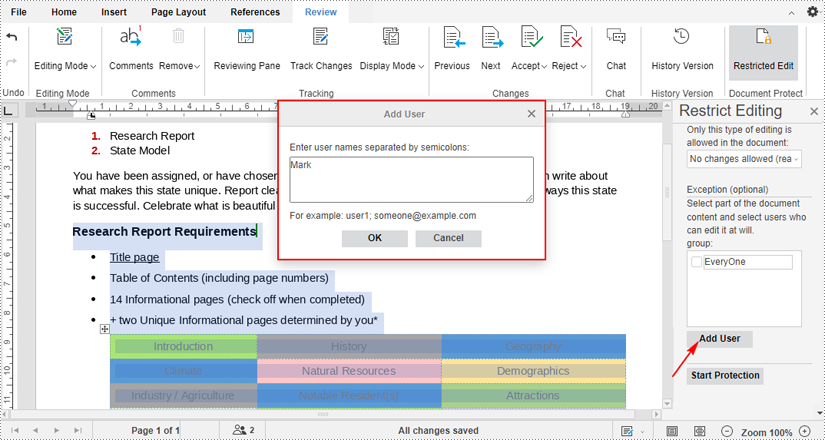
3. If you want to allow certain people to edit a specific part of your document even if it’s been restricted.
First select the part that you want to keep editable, and click the "Add User" under the "Exception (optional)" section. Then enter the usernames (or email addresses) you want to allow to edit your document.
4. Tick-mark the users you just added and click the "Start Protection" button. Then enter password on the pop-up dialogue box and click "OK" to start enforcing protection on your document.
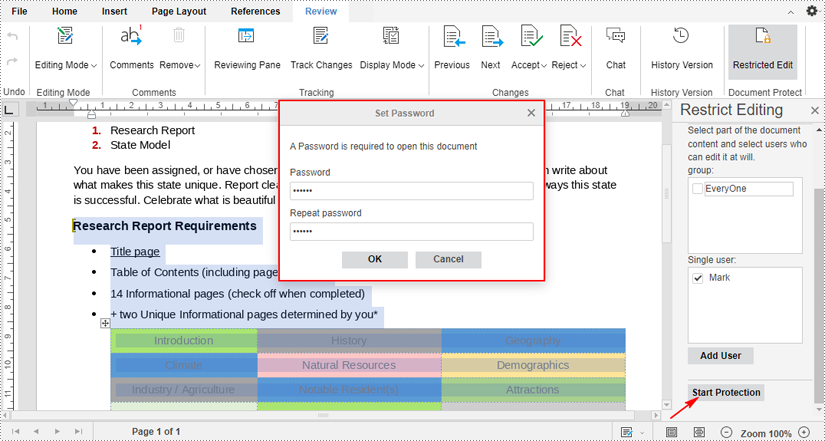
5. The editable parts will be highlighted. To remove editing restrictions on a Word document, click the "Stop Protection" button and enter the password.

Present PowerPoint Slideshows Online in Browsers (PC & Mobile Phone)
2024-07-25 08:31:50 Written by KoohjiPresenting PowerPoint slides online through a web browser represents a practical advancement in sharing information and conducting presentations. By leveraging the online editor Spire.Cloud.Presentation, users can easily showcase their slides to audiences on multiple platforms including PCs and mobile phones.
More importantly, run PowerPoint slideshows in a browser eliminates the need to install specific software, making the process simpler and more accessible. Ideal for on-the-go work scenarios and impromptu presentations, this browser-based solution provides flexibility to handle unexpected situations like not having the right computer or encountering local file corruption.
This article will show how to run PowerPoint slideshows online in browsers on both PCs and mobile phones with Spire.Cloud.Presentation to simplify the process and broaden the reach of presentations.
- Online PowerPoint Slides Editing and Presenting Tool
- Present PowerPoint Slides in PC Browsers
- Run PowerPoint Slide Show in Mobile Phone Browsers
Online PowerPoint Slides Editing and Presenting Tool
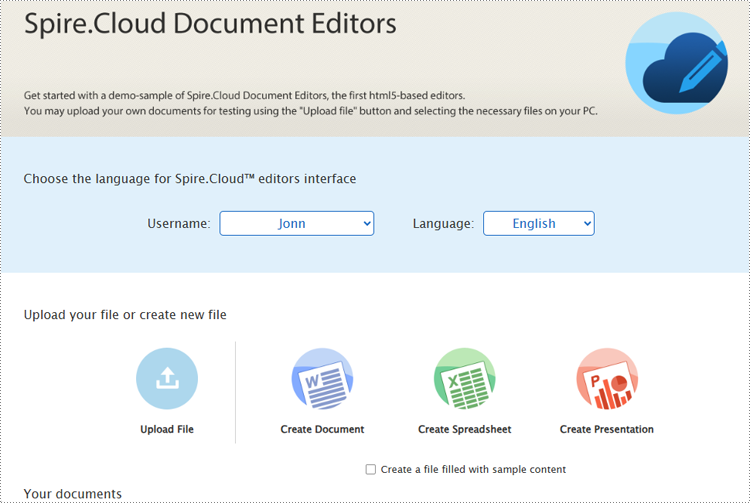
The online presentation editor Spire.Cloud.Presentation can be used in any HTML5-compliant browsers to edit, convert, print, and present PowerPoint slides. It supports creating new presentations and uploading existing presentations for processing.
Developers need to download Spire.Cloud.Presentation and install it on the Windows or Linux server, so that users can use the online editor easily in their browsers.
- Install Spire.Cloud.Presentation on a Windows Server
- Install Spire.Cloud.Presentation on a Ubuntu Server
- Install Spire.Cloud.Presentation on a CentOS Server
After installing Spire.Cloud.Presentation on the server, developers can try out the features of the editor via port 3000 or integrate the editor into HTML pages via JavaScript.
Present PowerPoint Slides in PC Browsers
Spire.Cloud.Presentation supports creating new PowerPoint presentations, selecting existing presentation files on the server, and uploading presentations for display. It supports uploading presentation formats including PPT, PPTX, POTX, PPTM, POTM, PPS, PPSX, XPS, PCL, PS, DPS, and DPT. The uploaded presentation files will be automatically converted to Open XML format for quick editing and viewing.
Steps for presenting a PowerPoint presentation online in a PC browser:
Create a new presentation to display
1. Open the home page and click "Create Presentation".
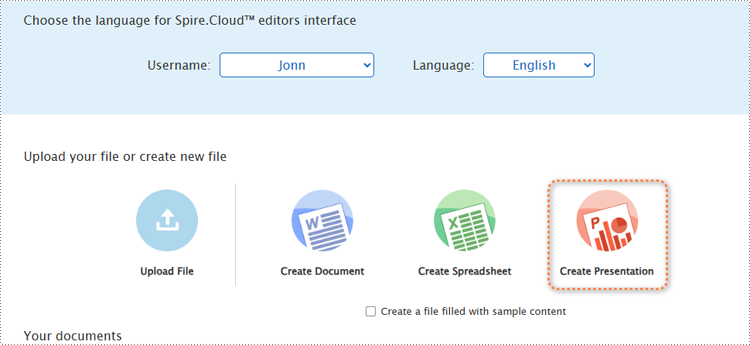
2. Once the demo file is created, the editor interface will automatically pop up.
3. After editing the slides, select the starting position or click the play button in the bottom left corner to present the file.
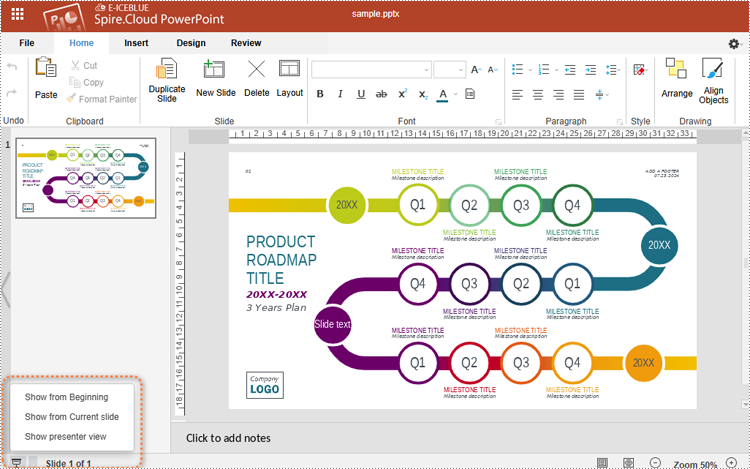
4. Use the spacebar, left or right arrow keys, or click to turn pages.

Upload a presentation file to display
1. Open the product home page and click "Upload File".
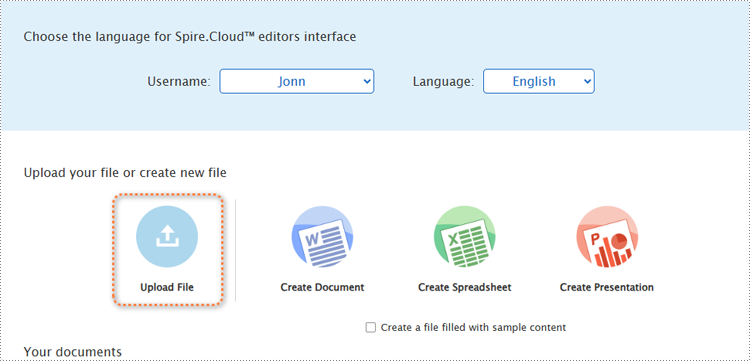
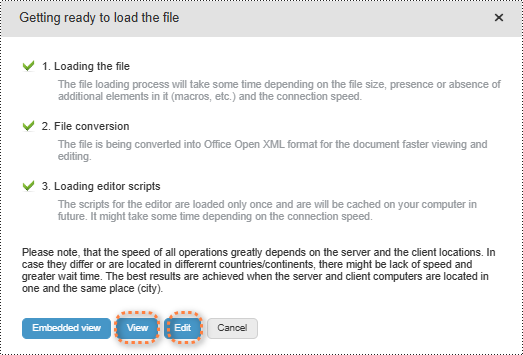
2. Select a file and upload it. Wait for the format conversion to complete and select "Edit" or "View" to open the presentation.
3. In both modes, users can either select the starting position or simply click the play button in the lower right corner to start presenting.

Choose a presentation file from the server’s file list to display.
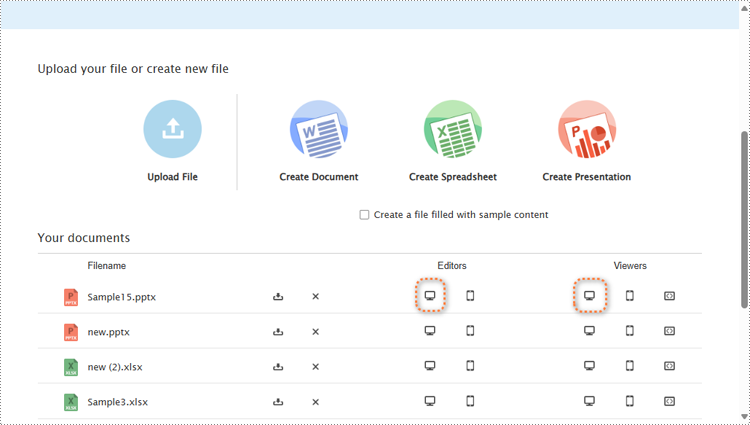
Open the home page and scroll to "Your documents". Choose a file and click the computer icon in the "Editors" or the "Viewers" column to open the file in the editor mode or viewer mode. Then, the presenting can be started as above.
Run PowerPoint Slide Show in Mobile Phone Browsers
In the demo site, users can open the same webpage on a mobile device and create, upload, or select presentation files to start presenting in the same way as on PCs.
However, it's important to note that in the viewer mode on mobile devices, users can not run the slide show. Slide presentation on mobile devices can only be conducted in editor mode.
Steps for presenting a PowerPoint presentation online in a mobile device browser:
1. Open a presentation file in the editor mode on a mobile device. To ensure that the presentation content is fully displayed, users can open the presentation file in landscape mode on small-screen mobile devices.

2. Click the play button in the upper left corner to start the slide show.

3. During the presentation, tap the screen to switch slides.

Conclusion
This article introduces the online PowerPoint presentation processing tool Spire.Cloud.Presentation and provide step-by-step guides for presenting PowerPoint slide shows online in PC or mobile phone browsers. This tool also allows users to edit, convert, and print PowerPoint presentations directly from their browsers, eliminating the need for any additional software installations.
