Knowledgebase (2370)
Children categories
Java set the character spacing and paragraph spacing on Word document
2021-05-12 06:31:17 Written by KoohjiThis article will show you how to use Spire.Doc for Java to set the character spacing and paragraph spacing on Word.
import com.spire.doc.*;
import com.spire.doc.documents.Paragraph;
import com.spire.doc.fields.TextRange;

import java.awt.*;
import java.io.*;

public class setSpacing {
    public static void main(String[] args)throws IOException {
        //Load the sample document
        Document document= new Document("Sample1.docx");

        //Add a new paragraph and append the text
        Paragraph para = new Paragraph(document);
        TextRange textRange1 = para.appendText("Newly added paragraph and set the paragraph spacing and character spacing");
        textRange1.getCharacterFormat().setTextColor(Color.blue);
        textRange1.getCharacterFormat().setFontSize(14);

        //Set the spacing before and after paragraph
        para.getFormat().setBeforeAutoSpacing(false);
        para.getFormat().setBeforeSpacing(10);
        para.getFormat().setAfterAutoSpacing(false);
        para.getFormat().setAfterSpacing(10);

        //Set the character spacing
        for (DocumentObject object :(Iterable<DocumentObject>)para.getChildObjects())
        {
            TextRange textRange= (TextRange) object;
            textRange.getCharacterFormat().setCharacterSpacing(3f);
        }

        //Insert the paragraph
        document.getSections().get(0).getParagraphs().insert(2, para);

        //Save the document to file
        document.saveToFile("Result.docx", FileFormat.Docx);

    }
}
Output:
C#/VB.NET: Add or Remove Digital Signatures in PowerPoint
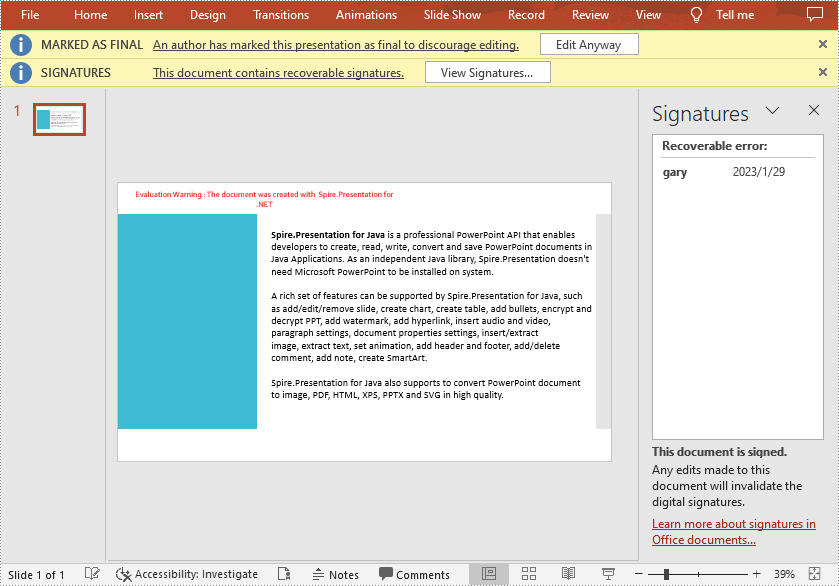
2023-02-02 07:28:00 Written by AdministratorA digital signature is a modern alternative to signing documents manually on paper with pen. It uses an advanced mathematical technique to check the authenticity and integrity of digital documents, which guarantees that the contents in a digital document comes from the signer and has not been altered since then. Sometimes PowerPoint documents that contain confidential information may require a signature. In this article, you will learn how to programmatically add or remove digital signatures in PowerPoint using Spire.Presentation for .NET.
- Add a Digital Signature to PowerPoint in C# and VB.NET
- Remove All Digital Signatures from PowerPoint in C# and VB.NET
Install Spire.Presentation for .NET
To begin with, you need to add the DLL files included in the Spire.Presentation for.NET package as references in your .NET project. The DLL files can be either downloaded from this link or installed via NuGet.
PM> Install-Package Spire.Presentation
Add a Digital Signature to PowerPoint in C# and VB.NET
To add a digital signature, you'll need to have a valid signature certificate first. Then you can digitally sign a PowerPoint document with the certificate using Presentation.AddDigitalSignature (X509Certificate2 certificate, string comments, DateTime signTime) method. The detailed steps are as follows.
- Create a Presentation instance.
- Load a sample PowerPoint document using Presentation.LoadFromFile() method.
- Initializes an instance of X509Certificate2 class with the certificate file name and password.
- Add a digital signature to the PowerPoint document using Presentation.AddDigitalSignature (X509Certificate2 certificate, string comments, DateTime signTime) method.
- Save result document using Presentation.SaveToFile() method.
- C#
- VB.NET
using Spire.Presentation;
using System;

namespace AddDigitalSignature
{
    class Program
    {
        static void Main(string[] args)
        {
            //Create a Presentation instance
            Presentation ppt = new Presentation();

	    //Load a PowerPoint document
            ppt.LoadFromFile("Input.pptx");

            //Add a digital signature
            ppt.AddDigitalSignature("gary.pfx", "e-iceblue", "test", DateTime.Now);

            //Save the result document
            ppt.SaveToFile("AddDigitalSignature_result.pptx", FileFormat.Pptx2010);
            System.Diagnostics.Process.Start("AddDigitalSignature_result.pptx");

            //Dispose
            ppt.Dispose();
        }
    }
}
Remove All Digital Signatures from PowerPoint in C# and VB.NET
At some point you may need to remove the digital signatures from a PowerPoint document. Spire.Presentation for .NET provides the Presentation.RemoveAllDigitalSignatures() method to remove all digital signatures at once. The detailed steps are as follows:
- Create a Presentation instance.
- Load a sample PowerPoint document using Presentation.LoadFromFile() method.
- Determine if the document contains digital signatures using Presentation.IsDigitallySigned property.
- Remove all digital signatures from the document using Presentation.RemoveAllDigitalSignatures() method.
- Save the result document using Presentation.SaveToFile() method.
- C#
- VB.NET
using Spire.Presentation;

namespace RemoveDigitalSignature
{
    class Program
    {
        static void Main(string[] args)
        {
            //Create a Presentation instance
            Presentation ppt = new Presentation();

            //Load a PowerPoint document
            ppt.LoadFromFile("AddDigitalSignature.pptx");

            //Detect if the document is digitally signed
            if (ppt.IsDigitallySigned == true)
            {
                //Remove all digital signatures
                ppt.RemoveAllDigitalSignatures();
            }

            //Save the result document
            ppt.SaveToFile("RemoveDigitalSignature.pptx", FileFormat.Pptx2013);

        }
    }
}
Apply for a Temporary License
If you'd like to remove the evaluation message from the generated documents, or to get rid of the function limitations, please request a 30-day trial license for yourself.
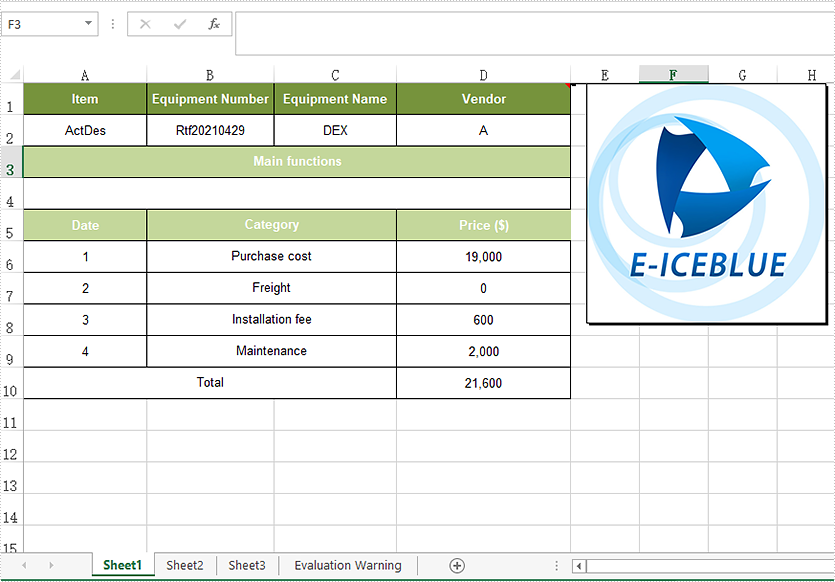
We have demonstrated how to add and read text comments in Excel in Java applications. This article will show you how to insert image comment to Excel with Spire.XLS for Java.
import com.spire.xls.*;
import javax.imageio.ImageIO;
import java.awt.image.BufferedImage;
import java.io.*;

public class Test {
    public static void main(String[] args)throws IOException {
        //Load the sample Excel file
        Workbook workbook = new Workbook();
        workbook.loadFromFile("Sample.xlsx");
        //Get the first worksheet
        Worksheet sheet = workbook.getWorksheets().get(0);

        //set the font
        ExcelFont font = workbook.createFont();
        font.setFontName("Arial");
        font.setSize(11);
        font.setKnownColor(ExcelColors.Orange);

        CellRange range = sheet.getCellRange("D1");
        //Add the commet
        ExcelComment comment = range.addComment();
        //Load the image
        BufferedImage bufferedImage = ImageIO.read(new File("Logo.jpg"));
        //Use the image to fill the comment
        comment.getFill().customPicture(bufferedImage, "Logo.jpg");

        //Set the height and width for the comment
        comment.setHeight(bufferedImage.getHeight());
        comment.setWidth(bufferedImage.getWidth());
        //Show the comment
        comment.setVisible(true);

        //Save the document to file
        workbook.saveToFile("output/setimageComment.xlsx", ExcelVersion.Version2013);

    }
}
Output: