Knowledgebase (2370)
Children categories
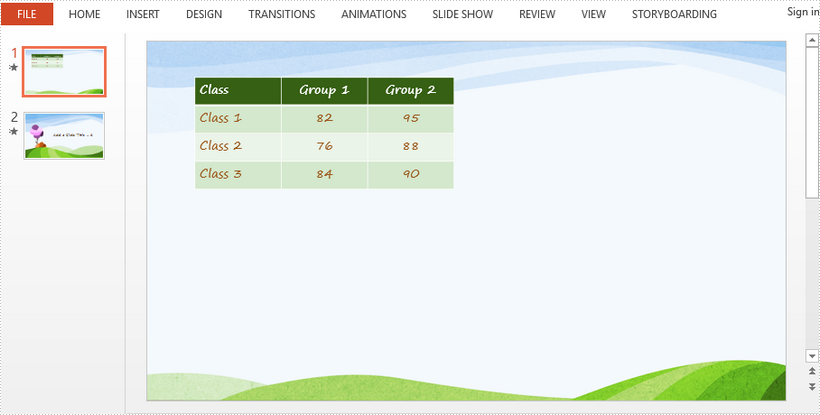
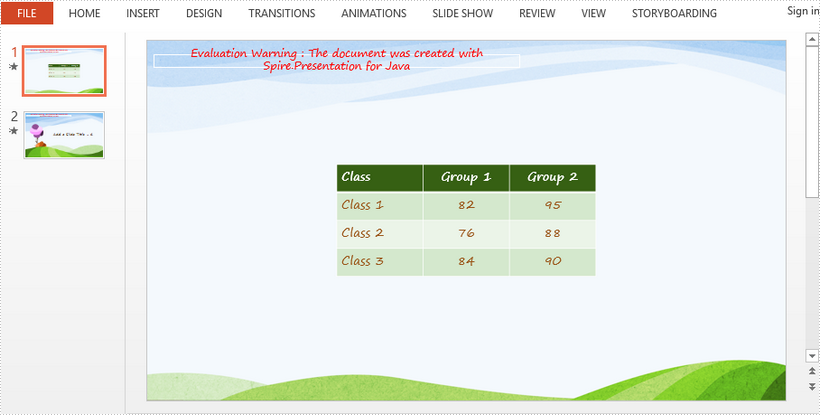
This article demonstrates how to horizontally and vertically align a table in a slide using Spire.Presentation for Java.
Below is a screenshot of the sample document.
import com.spire.presentation.FileFormat;
import com.spire.presentation.ITable;
import com.spire.presentation.Presentation;
import com.spire.presentation.ShapeAlignmentEnum;

public class AlignTable {

    public static void main(String[] args) throws Exception {

        //Create a Presentation object
        Presentation presentation = new Presentation();

        //Load the sample PowerPoint document contain
        presentation.loadFromFile("C:\\Users\\Administrator\\Desktop\\sample.pptx");

        //Declare a ITable variable
        ITable table = null;

        //Loop through the shapes in the first slide
        for (Object shape: presentation.getSlides().get(0).getShapes()
             ) {

            //Check if shape is an instance of ITable
            if (shape instanceof ITable)
            {
                //Convert shape to table
                table =(ITable)shape;
            }
        }

        //Horizontally align table to center
        table.setShapeAlignment(ShapeAlignmentEnum.ShapeAlignment.AlignCenter);

        //Vertically align table to middle
        table.setShapeAlignment(ShapeAlignmentEnum.ShapeAlignment.AlignMiddle);

        //Save to file
        presentation.saveToFile("AlignTable.pptx", FileFormat.PPTX_2013);
    }
}
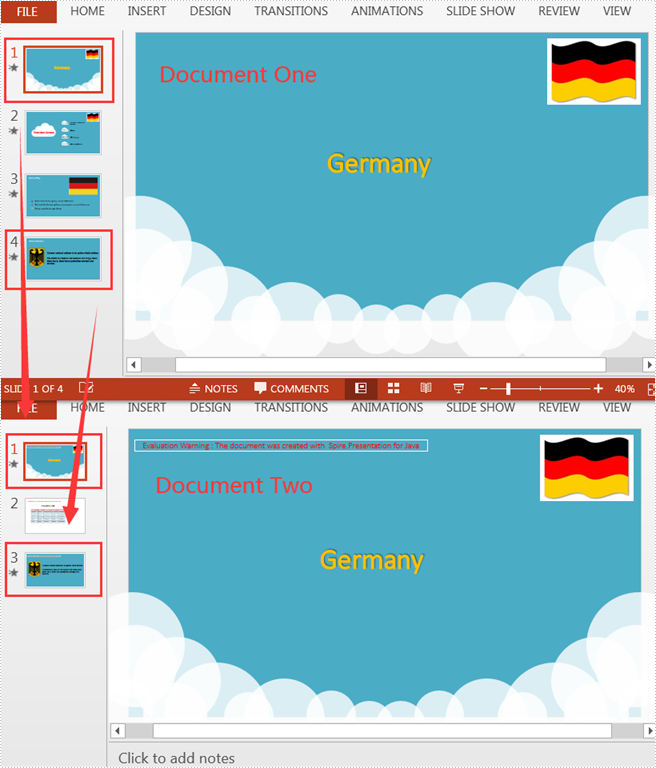
Suppose there are two PowerPoint documents, and you want to copy a certain slide from one document to a specified location of the other. Manual copying and pasting is an option, but the quicker and more efficient way is to use Java codes for automatic operation. This article will show you how to programmatically copy slides between two different PowerPoint documents using Spire.Presentation for Java.
Install Spire.Presentation for Java
First of all, you're required to add the Spire.Presentation.jar file as a dependency in your Java program. The JAR file can be downloaded from this link. If you use Maven, you can easily import the JAR file in your application by adding the following code to your project's pom.xml file.
<repositories>
    <repository>
        <id>com.e-iceblue</id>
        <name>e-iceblue</name>
        <url>https://repo.e-iceblue.com/nexus/content/groups/public/</url>
    </repository>
</repositories>
<dependencies>
    <dependency>
        <groupId>e-iceblue</groupId>
        <artifactId>spire.presentation</artifactId>
        <version>11.7.2</version>
    </dependency>
</dependencies>
Copy Slides Between Two PowerPoint Documents
The following are detailed steps to copy a slide from one PowerPoint document to a specified position or the end of the other document.
- Create a Presentation object and load one sample document using Presentation.loadFromFile() method.
- Create another Presentation object and load the other sample document using Presentation.loadFromFile() method.
- Get a specific slide of document one using Presentation.getSlides().get() method and insert its copy into the specified position of document two using Presentation.getSlides().insert() method.
- Get another specific slide of document one using Presentation.getSlides().get() method and add its copy to the end of document two using Presentation.getSlides().append() method.
- Save the document two to another file using Presentation.saveToFile() method.
- Java
import com.spire.presentation.FileFormat;
import com.spire.presentation.Presentation;

public class CopySlidesBetweenPPT {
    public static void main(String[] args) throws Exception {
        //Create a Presentation object to load one sample document
        Presentation pptOne= new Presentation();
        pptOne.loadFromFile("C:\\Users\\Test1\\Desktop\\sample1.pptx");

        //Create another Presentation object to load the other sample document
        Presentation pptTwo = new Presentation();
        pptTwo.loadFromFile("C:\\Users\\Test1\\Desktop\\sample2.pptx");

        //Insert the specific slide from document one into the specified position of document two
        pptTwo.getSlides().insert(0,pptOne.getSlides().get(0));

        //Append the specific slide of document one to the end of document two
        pptTwo.getSlides().append(pptOne.getSlides().get(3));

        //Save the document two to another file
        pptTwo.saveToFile("output/CopySlidesBetweenPPT.pptx", FileFormat.PPTX_2013);
    }
}
Apply for a Temporary License
If you'd like to remove the evaluation message from the generated documents, or to get rid of the function limitations, please request a 30-day trial license for yourself.
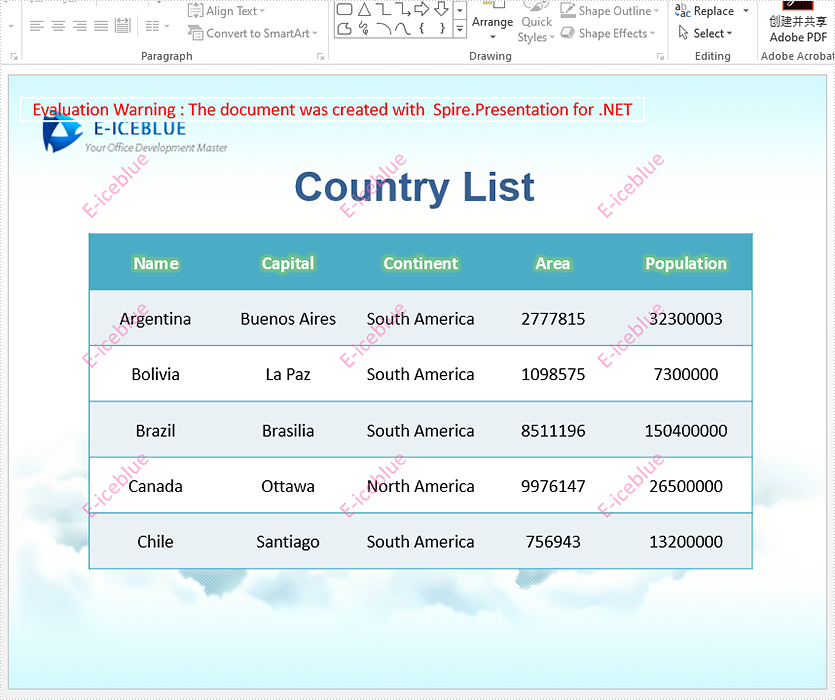
Spire.Presentation supports to insert text watermark and image watermark to PowerPoint document. This article will show you how to use Spire.Presentation to add multiple watermarks to the presentation slides in C#/VB.NET.
using Spire.Presentation;
using Spire.Presentation.Drawing;
using System;
using System.Drawing;
using System.Windows.Forms;

namespace WatermarkDemo
{
    class Program
    {
        static void Main(string[] args)
        {
            //Create a PPT document and load file
            Presentation presentation = new Presentation();
            presentation.LoadFromFile("Sample.pptx");

            //Get the size of the watermark string
            Font font = new Font("Arial", 20);
            String watermarkText = "E-iceblue";
            SizeF size = TextRenderer.MeasureText("E-iceblue", font);
            float x = 30;
            float y = 80;
            for (int i = 0; i < 3; i++)
            {
                for (int j = 0; j < 3; j++)
                {
                    //Define a rectangle range
                    RectangleF rect = new RectangleF(x, y, size.Width, size.Height);

                    //Add a rectangle shape with a defined range
                    IAutoShape shape = presentation.Slides[0].Shapes.AppendShape(Spire.Presentation.ShapeType.Rectangle, rect);

                    //Set the style of the shape
                    shape.Fill.FillType = FillFormatType.None;
                    shape.ShapeStyle.LineColor.Color = Color.White;
                    shape.Rotation = -45;
                    shape.Locking.SelectionProtection = true;
                    shape.Line.FillType = FillFormatType.None;

                    //Add text to the shape
                    shape.TextFrame.Text = watermarkText;
                    TextRange textRange = shape.TextFrame.TextRange;
                    //Set the style of the text range
                    textRange.Fill.FillType = FillFormatType.Solid;
                    textRange.Fill.SolidColor.Color = Color.FromArgb(120, Color.HotPink);
                    textRange.EastAsianFont = new TextFont(font.Name);
                    textRange.FontHeight = font.Size;

                    x += (100 + size.Width);
                }
                x = 30;
                y += (100 + size.Height);
            }

            //Save the document
            presentation.SaveToFile("Watermark_result.pptx", FileFormat.Pptx2010);

        }
    }
}
Imports Spire.Presentation
Imports Spire.Presentation.Drawing
Imports System
Imports System.Drawing
Imports System.Windows.Forms

Namespace WatermarkDemo

    Class Program

        Private Shared Sub Main(ByVal args() As String)
            'Create a PPT document and load file
            Dim presentation As Presentation = New Presentation
            presentation.LoadFromFile("Sample.pptx")
            'Get the size of the watermark string
            Dim font As Font = New Font("Arial", 20)
            Dim watermarkText As String = "E-iceblue"
            Dim size As SizeF = TextRenderer.MeasureText("E-iceblue", font)
            Dim x As Single = 30
            Dim y As Single = 80
            Dim i As Integer = 0
            Do While (i < 3)
                Dim j As Integer = 0
                Do While (j < 3)
                    'Define a rectangle range
                    Dim rect As RectangleF = New RectangleF(x, y, size.Width, size.Height)
                    'Add a rectangle shape with a defined range
                    Dim shape As IAutoShape = presentation.Slides(0).Shapes.AppendShape(Spire.Presentation.ShapeType.Rectangle, rect)
                    'Set the style of the shape
                    shape.Fill.FillType = FillFormatType.None
                    shape.ShapeStyle.LineColor.Color = Color.White
                    shape.Rotation = -45
                    shape.Locking.SelectionProtection = true
                    shape.Line.FillType = FillFormatType.None
                    'Add text to the shape
                    shape.TextFrame.Text = watermarkText
                    Dim textRange As TextRange = shape.TextFrame.TextRange
                    'Set the style of the text range
                    textRange.Fill.FillType = FillFormatType.Solid
                    textRange.Fill.SolidColor.Color = Color.FromArgb(120, Color.HotPink)
                    textRange.EastAsianFont = New TextFont(font.Name)
                    textRange.FontHeight = font.Size
                    x = (x + (100 + size.Width))
                    j = (j + 1)
                Loop

                x = 30
                y = (y + (100 + size.Height))
                i = (i + 1)
            Loop

            'Save the document
            presentation.SaveToFile("Watermark_result.pptx", FileFormat.Pptx2010)
        End Sub
    End Class
End Namespace
Output: