
Knowledgebase (2370)
Children categories
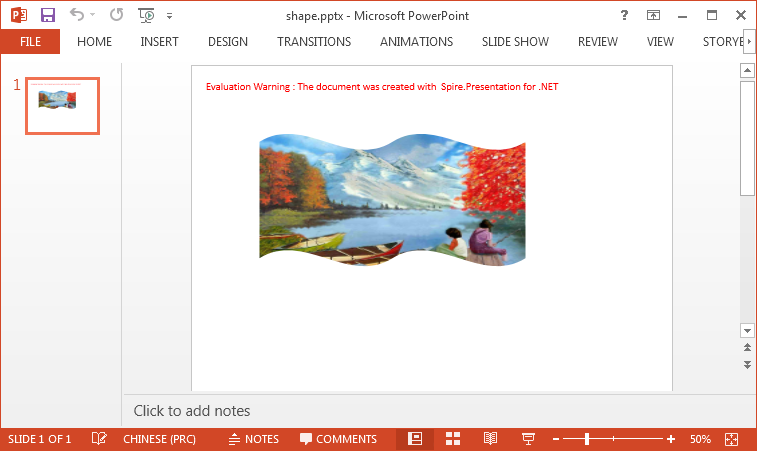
In order to change the look of a shape, users can add a solid, gradient, pattern or picture fill to it. Spire.Presentation supports all fill types listed. This article will introduce how to add a picture fill to a shape in C# and VB.NET.
Code Snippets:
Step 1: Initialize an instance of Presentation class.
Presentation ppt = new Presentation();
Step 2: Add a shape to the first slide.
IAutoShape shape = (IAutoShape)ppt.Slides[0].Shapes.AppendShape(ShapeType.DoubleWave, new RectangleF(100, 100, 400, 200));
Step 3: Set the FillType as picture and fill the shape with an image.
string picUrl = @"C:\Users\Administrator\Desktop\image.jpg";
shape.Fill.FillType = FillFormatType.Picture;
shape.Fill.PictureFill.Picture.Url = picUrl;
Step 4: Set the picture fill mode to stretch.
shape.Fill.PictureFill.FillType = PictureFillType.Stretch;
Step 5: Save to file.
ppt.SaveToFile("shape.pptx", FileFormat.Pptx2010);
Output:
Full Code:
using Spire.Presentation;
using Spire.Presentation.Drawing;
using System.Drawing;

namespace FillShape
{

    class Program
    {

        static void Main(string[] args)
        {
            Presentation ppt = new Presentation();

            IAutoShape shape = (IAutoShape)ppt.Slides[0].Shapes.AppendShape(ShapeType.DoubleWave, new RectangleF(100, 100, 400, 200));
            string picUrl = @"C:\Users\Administrator\Desktop\image.jpg";
            shape.Fill.FillType = FillFormatType.Picture;
            shape.Fill.PictureFill.Picture.Url = picUrl;
            shape.Fill.PictureFill.FillType = PictureFillType.Stretch;
            shape.ShapeStyle.LineColor.Color = Color.Transparent;

            ppt.SaveToFile("shape.pptx", FileFormat.Pptx2010);
            System.Diagnostics.Process.Start("shape.pptx");
        }
    }
}
Imports Spire.Presentation
Imports Spire.Presentation.Drawing
Imports System.Drawing

Namespace FillShape

	Class Program

		Private Shared Sub Main(args As String())
			Dim ppt As New Presentation()

			Dim shape As IAutoShape = DirectCast(ppt.Slides(0).Shapes.AppendShape(ShapeType.DoubleWave, New RectangleF(100, 100, 400, 200)), IAutoShape)
			Dim picUrl As String = "C:\Users\Administrator\Desktop\image.jpg"
			shape.Fill.FillType = FillFormatType.Picture
			shape.Fill.PictureFill.Picture.Url = picUrl
			shape.Fill.PictureFill.FillType = PictureFillType.Stretch
			shape.ShapeStyle.LineColor.Color = Color.Transparent

			ppt.SaveToFile("shape.pptx", FileFormat.Pptx2010)
			System.Diagnostics.Process.Start("shape.pptx")
		End Sub
	End Class
End Namespace
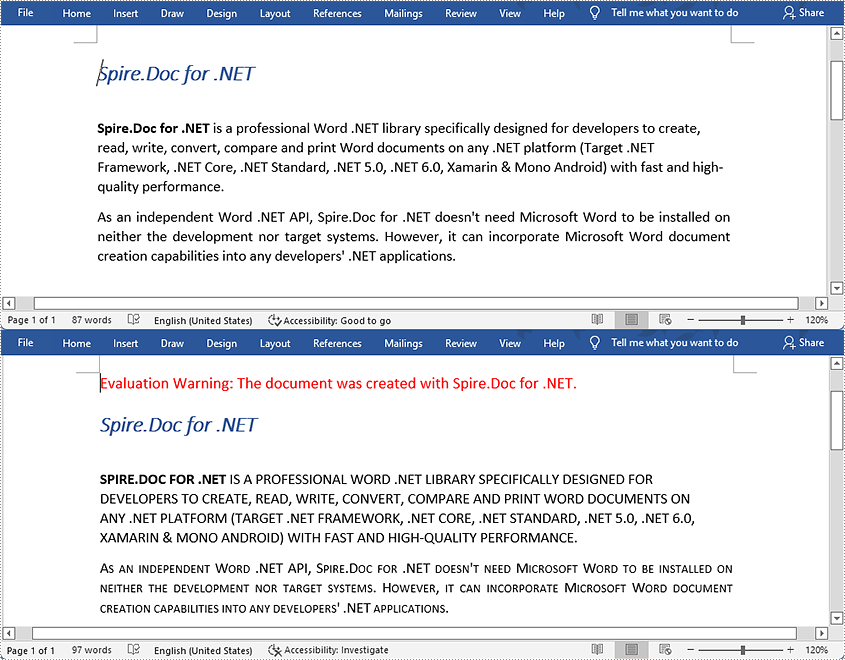
Capitals are quite suitable for stressing texts in Word. A paragraph written with capitalized letters is easy to notice, and capitalized letters imply the importance of the paragraph. This article teaches you the method of changing the case of existing text to all capitals with Spire.Doc for .NET by programming.
Install Spire.Doc for .NET
To begin with, you need to add the DLL files included in the Spire.Doc for.NET package as references in your .NET project. The DLL files can be either downloaded from this link or installed via NuGet.
PM> Install-Package Spire.Doc
Change the Case of a Specified Paragraph to All Capitals
The detailed steps are as follows:
- Create an object of Document and load a sample Word document from file using Document.LoadFromFile() method.
- Get the second paragraph using Document.Sections[].Paragraph[] property and set its characters to AllCaps through TextRange.CharacterFormat.AllCaps property.
- Get the third paragraph using Document.Sections[].Paragraph[] property and set its characters to IsSmallCaps by TextRange.CharacterFormat.IsSmallCaps property.
- Save the document to a new Word file using Document.SaveToFile() method.
Note: AllCaps means to capitalize all the letters and set them to the same size, and IsSmallCaps means to capitalize all the letters but set the original majuscules bigger than the minuscules.
- C#
- VB.NET
using System;
using Spire.Doc;
using Spire.Doc.Documents;
using Spire.Doc.Fields;

namespace changecase
{
    class Program
    {
        static void Main(string[] args)
        {
            //Create a new document and load from file
            string input = @"D:\testp\test.docx"; ;
            Document doc = new Document();
            doc.LoadFromFile(input);
            TextRange textRange;
            //Get the second paragraph and set its characters to AllCaps
            Paragraph para1 = doc.Sections[0].Paragraphs[2];

            foreach (DocumentObject obj in para1.ChildObjects)
            {
                if (obj is TextRange)
                {
                    textRange = obj as TextRange;
                    textRange.CharacterFormat.AllCaps = true;
                }
            }

            //Get the third paragraph and set its characters to IsSmallCaps
            Paragraph para2 = doc.Sections[0].Paragraphs[3];
            foreach (DocumentObject obj in para2.ChildObjects)
            {
                if (obj is TextRange)
                {
                    textRange = obj as TextRange;
                    textRange.CharacterFormat.IsSmallCaps = true;
                }
            }

            //Save the document to a new Word file
            string output = "ChangeCase.docx";
            doc.SaveToFile(output, FileFormat.Docx2013);
        }
    }
}
Apply for a Temporary License
If you'd like to remove the evaluation message from the generated documents, or to get rid of the function limitations, please request a 30-day trial license for yourself.
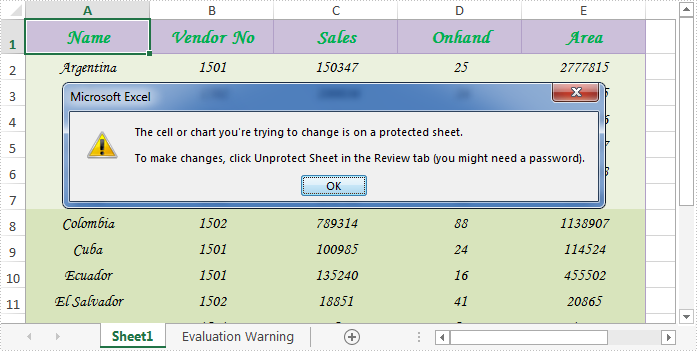
When sharing an excel worksheet, we may want to protect some valuable or important data from being changed by others. With Spire.XLS, we can easily achieve this by locking excel cells. Once locked, we will not be able to modify data from the protected cells until we unlock them. This article will explain how to lock or unlock excel cells in WPF using Spire.XLS for WPF.
Generally, there are two main steps when locking cells in an excel worksheet:
- Locking specific cells.
- Applying sheet protection – locking cells has no effect until we protect the worksheet.
Detail steps and code snippets are as following:
Step 1: Initialize a new instance of Workbook class, load the sample excel file and get its first worksheet.
Workbook workbook = new Workbook();
workbook.LoadFromFile("Sample.xlsx");
Worksheet sheet = workbook.Worksheets[0];
Step 2: Lock or unlock specified cells.
By default, all cells in an Excel worksheet are locked, so we need to unlock them first, next lock the specified cells and protect the worksheet with password.
sheet.Range.Style.Locked = false;
sheet.Range["A1:B3"].Style.Locked = true;
sheet.Protect("123", SheetProtectionType.All);
If you want to unlock excel cells, please use the following line of code:
sheet.Range["A1:B3"].Style.Locked = false;
Step 3: Save the changes and launch the file.
workbook.SaveToFile("locked.xlsx");
System.Diagnostics.Process.Start("locked.xlsx");
Effective screenshot after locking excel cells:
Full codes:
using Spire.Xls;
using System.Windows;

namespace WpfApplication1
{
    public partial class MainWindow : Window
    {
        public MainWindow()
        {
            InitializeComponent();
        }
        private void button1_Click(object sender, RoutedEventArgs e)
        {
            Workbook workbook = new Workbook();
            workbook.LoadFromFile("Sample.xlsx");
            Worksheet sheet = workbook.Worksheets[0];

            //Lock excel cells
            sheet.Range.Style.Locked = false;
            sheet.Range["A1:B3"].Style.Locked = true;
            sheet.Protect("123", SheetProtectionType.All);

            //Unlock excel cells
            // sheet.Range["A1:B3"].Style.Locked = false;

            workbook.SaveToFile("locked.xlsx");
            System.Diagnostics.Process.Start("locked.xlsx");
        }

    }
}
