
Knowledgebase (2370)
Children categories
Spire.Doc has a powerful ability to operate RTF file formats in C# and VB.NET. By using Spire.Doc, developers can convert RTF to PDF, HTML and word documents in .doc, .docx. This article will show you how to convert RTF into image and then reset the image resolution.
Download and install Spire.Doc for .NET and then add Spire.Doc.dll as reference in the downloaded Bin folder though the below path: "..\Spire.Doc\Bin\NET4.0\ Spire.Doc.dll". Here comes to the details of how to convert RTF into PNG and reset image resolution in C#.
Step 1: Create a new document and load from file.
Document doc = new Document();
doc.LoadFromFile("sample.rtf", FileFormat.Rtf);
Step 2: Save the RTF to image
Image[] images = doc.SaveToImages(Spire.Doc.Documents.ImageType.Metafile);
Step 3: Traverse the elements in the list of images and save them into .Png format.
for (int i = 0; i < images.Length; i++)
{
    Metafile mf = images[i] as Metafile;
    Image newimage = ResetResolution(mf, 200);
    string outputfile = String.Format("image-{0}.png", i);
    newimage.Save(outputfile, System.Drawing.Imaging.ImageFormat.Png);
}
Step 4: Set the image resolution call the method: ResetResolution.
public static Image ResetResolution(Metafile mf, float resolution)
{
    int width = (int)(mf.Width * resolution / mf.HorizontalResolution);
    int height = (int)(mf.Height * resolution / mf.VerticalResolution);
    Bitmap bmp = new Bitmap(width, height);
    bmp.SetResolution(resolution, resolution);
    using (Graphics g = Graphics.FromImage(bmp))
    {
        g.DrawImage(mf, Point.Empty);
    }
    return bmp;
}
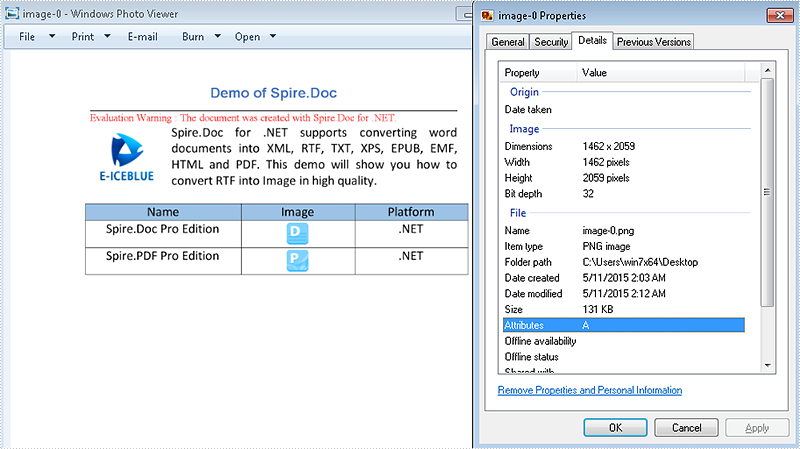
Effective screenshot of the image before reset the image resolution:
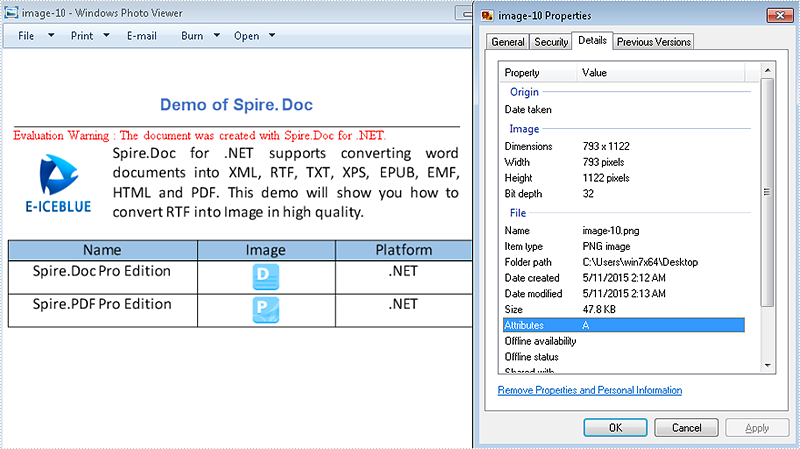
The image after reset the image resolution:
Full codes:
using Spire.Doc;
using System.Drawing;
using System.Drawing.Imaging;

namespace RTFtoImage
{
    class Program
    {
        static void Main(string[] args)
        {
            //Create a new document and load from file.
            Document doc = new Document();
            doc.LoadFromFile("sample.rtf", FileFormat.Rtf);
            // save the RTF to image
            Image[] images = doc.SaveToImages(Spire.Doc.Documents.ImageType.Metafile);
            for (int i = 0; i < images.Length; i++)
            {
                Metafile mf = images[i] as Metafile;
                Image newimage = ResetResolution(mf, 200);
                string outputfile = String.Format("image-{0}.png", i);
                newimage.Save(outputfile, System.Drawing.Imaging.ImageFormat.Png);
            }
        }
        //set the image resolution by the ResetResolution() method
        public static Image ResetResolution(Metafile mf, float resolution)
        {
            int width = (int)(mf.Width * resolution / mf.HorizontalResolution);
            int height = (int)(mf.Height * resolution / mf.VerticalResolution);
            Bitmap bmp = new Bitmap(width, height);
            bmp.SetResolution(resolution, resolution);
            using (Graphics g = Graphics.FromImage(bmp))
            {
                g.DrawImage(mf, Point.Empty);
            }
            return bmp;
        }
    }
}
Split PDF into Multiple PDFs using a Range of Pages in C#/VB.NET
2015-05-08 02:59:51 Written by KoohjiSplitting a multi-page PDF into single pages is perfectly supported by Spire.PDF. However, it's more common that you may want to extract selected range of pages and save as a new PDF document. In this post, you'll learn how to split a PDF file based on a range of pages via Spire.PDF in C#, VB.NET.
Here come the detailed steps:
Step 1: Initialize a new instance of PdfDocument class and load the test file.
PdfDocument pdf = new PdfDocument();
pdf.LoadFromFile("Sample.pdf");
Step 2: Create a new PDF document named as pdf1, initialize a new instance of PdfPageBase class.
PdfDocument pdf1 = new PdfDocument();
PdfPageBase page;
Step 3: Add new page to pdf1 based on the original page size and the specified margins, draw the original page element to the new page using Draw() method. Use for loop to select pages that you want them to be divided.
for (int i = 0; i < 5; i++)
{
    page = pdf1.Pages.Add(pdf.Pages[i].Size, new Spire.Pdf.Graphics.PdfMargins(0));
    pdf.Pages[i].CreateTemplate().Draw(page, new System.Drawing.PointF(0, 0));
}
Step 4: Save the file.
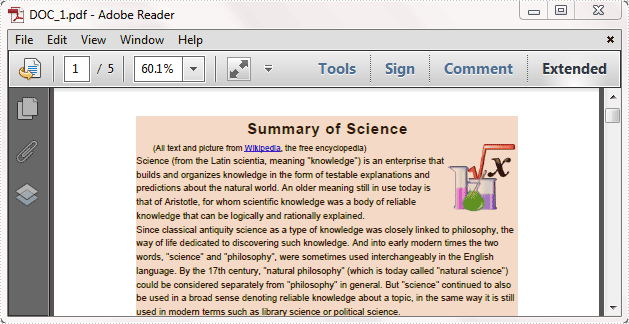
pdf1.SaveToFile("DOC_1.pdf");
Step 5: Repeat step 2 to step 4 to extract another range of pages to a new PDF file. Change the parameter i to choose the pages.
PdfDocument pdf2 = new PdfDocument();
for (int i = 5; i < 8; i++)
{
page = pdf2.Pages.Add(pdf.Pages[i].Size, new Spire.Pdf.Graphics.PdfMargins(0));
pdf.Pages[i].CreateTemplate().Draw(page, new System.Drawing.PointF(0, 0));
}
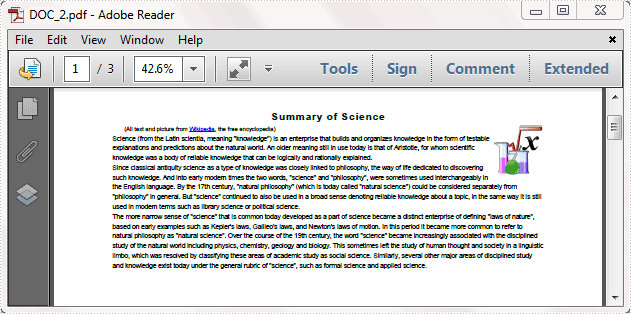
pdf2.SaveToFile("DOC_2.pdf");
Result:
Full code:
using Spire.Pdf;

namespace SplitPDFFile
{
    class Program
    {
        static void Main(string[] args)
        {
            PdfDocument pdf = new PdfDocument();
            pdf.LoadFromFile("Sample.pdf");

            PdfDocument pdf1 = new PdfDocument();
            PdfPageBase page;
            for (int i = 0; i < 5; i++)
            {
                page = pdf1.Pages.Add(pdf.Pages[i].Size, new Spire.Pdf.Graphics.PdfMargins(0));
                pdf.Pages[i].CreateTemplate().Draw(page, new System.Drawing.PointF(0, 0));
            }
            pdf1.SaveToFile("DOC_1.pdf");

            PdfDocument pdf2 = new PdfDocument();
            for (int i = 5; i < 8; i++)
            {
                page = pdf2.Pages.Add(pdf.Pages[i].Size, new Spire.Pdf.Graphics.PdfMargins(0));
                pdf.Pages[i].CreateTemplate().Draw(page, new System.Drawing.PointF(0, 0));
            }
            pdf2.SaveToFile("DOC_2.pdf");
        }
    }
}
Imports Spire.Pdf

Namespace SplitPDFFile
	Class Program
		Private Shared Sub Main(args As String())
			Dim pdf As New PdfDocument()
pdf.LoadFromFile("Sample.pdf")

Dim pdf1 As New PdfDocument()
Dim page As PdfPageBase
For i As Integer = 0 To 4
	page = pdf1.Pages.Add(pdf.Pages(i).Size, New Spire.Pdf.Graphics.PdfMargins(0))
	pdf.Pages(i).CreateTemplate().Draw(page, New System.Drawing.PointF(0, 0))
Next
pdf1.SaveToFile("DOC_1.pdf")

Dim pdf2 As New PdfDocument()
For i As Integer = 5 To 7
	page = pdf2.Pages.Add(pdf.Pages(i).Size, New Spire.Pdf.Graphics.PdfMargins(0))
	pdf.Pages(i).CreateTemplate().Draw(page, New System.Drawing.PointF(0, 0))
Next
pdf2.SaveToFile("DOC_2.pdf")
		End Sub
	End Class
End Namespace
How to get the height and width of text in word document in C#
2015-05-06 08:27:14 Written by KoohjiBy using Spire.Doc, developers can find and highlight the text, extract the text in word document. This article will show you how to get the height and width of text in a word document in C# with the help of Spire.Doc.
Firstly, Download and install Spire.Doc for .NET and then add Spire.Doc.dll as reference in the downloaded Bin folder though the below path: "..\Spire.Doc\Bin\NET4.0\ Spire.Doc.dll". Here comes to the details of how to get the height and width of text in a word document in C#.
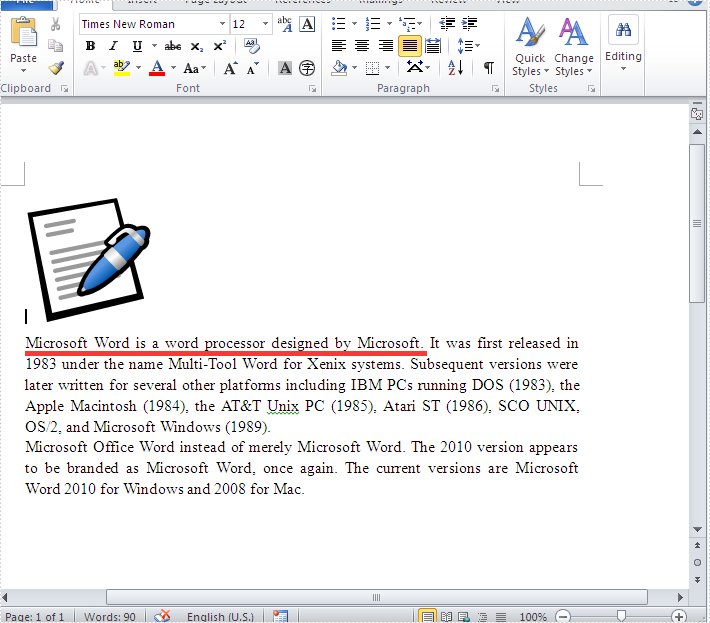
Check the original word document at first:
Step 1: Create a new document and load from file.
Document doc = new Document();
doc.LoadFromFile("Word.doc");
Step 2: Define the text string that we need to get the height and width.
string text = "Microsoft Word is a word processor designed by Microsoft.";
Step 3: Get the text string and measure the string.
//finds and returns the string with formatting
TextSelection selection = doc.FindString(text, true, true);
//get the font
Font font = selection.GetAsOneRange().CharacterFormat.Font;
//initialize graphics object
Image fakeImage = new Bitmap(1, 1);
Graphics graphics = Graphics.FromImage(fakeImage);
//measure string
SizeF size = graphics.MeasureString(text, font);
Step 4: Get the text height and width and read it.
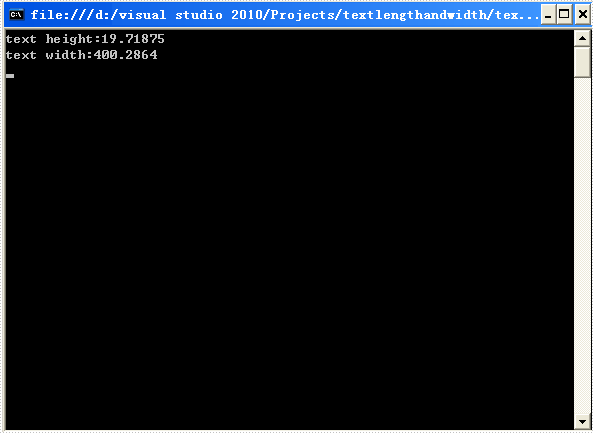
Console.WriteLine("text height:{0}",size.Height);
Console.WriteLine("text width:{0}", size.Width);
Console.ReadLine();
Effective screenshot:
Full codes:
using Spire.Doc;
using Spire.Doc.Documents;
using System;
using System.Drawing;
namespace GetHeightandWidth
{

    class Program
    {
        static void Main(string[] args)
        {
            Document doc = new Document();
            doc.LoadFromFile("Word.doc");
            string text = "Microsoft Word is a word processor designed by Microsoft.";

            TextSelection selection = doc.FindString(text, true, true);
            Font font = selection.GetAsOneRange().CharacterFormat.Font;
            Image fakeImage = new Bitmap(1, 1);
            Graphics graphics = Graphics.FromImage(fakeImage);
            SizeF size = graphics.MeasureString(text, font);

            Console.WriteLine("text height:{0}", size.Height);
            Console.WriteLine("text width:{0}", size.Width);
            Console.ReadLine();
        }
    }
}
