
Knowledgebase (2370)
Children categories
When an Excel document contains some sensitive financial or confidential data, it is essential to protect it during transmission. In MS Excel, you can encrypt an entire workbook with a password to prevent unauthorized access, or just lock selected Excel sheets or individual cells to avoid unwanted modifications. In this article, you will learn how to programmatically protect and unprotect a workbook or a worksheet using Spire.XLS for C++.
- Password Protect an Entire Workbook in C++
- Protect a Worksheet with a Specific Protection Type in C++
- Allow Users to Edit Ranges in a Protected Worksheet in C++
- Lock Specific Cells in a Worksheet in C++
- Unprotect a Password Protected Worksheet in C++
- Remove or Reset Password of an Encrypted Workbook in C++
Install Spire.XLS for C++
There are two ways to integrate Spire.XLS for C++ into your application. One way is to install it through NuGet, and the other way is to download the package from our website and copy the libraries into your program. Installation via NuGet is simpler and more recommended. You can find more details by visiting the following link.
Integrate Spire.XLS for C++ in a C++ Application
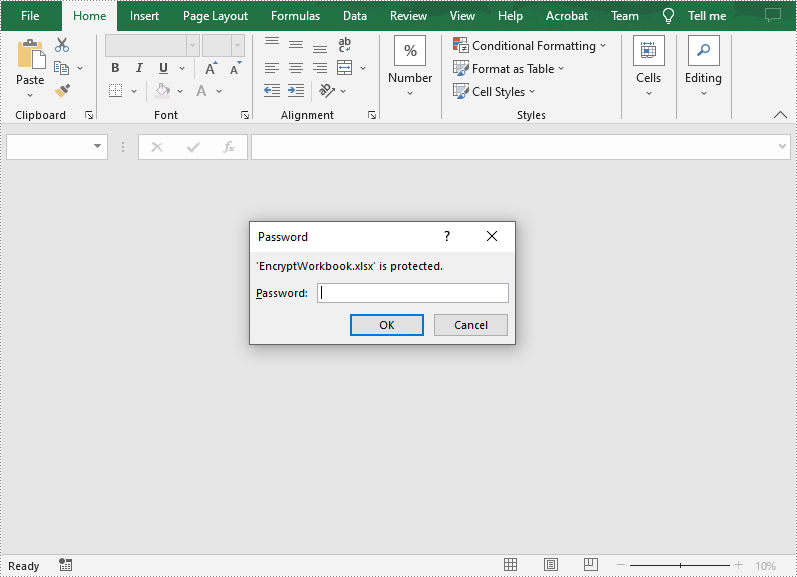
Password Protect an Entire Workbook in C++
By encrypting an Excel document with a password, you ensure that only you and authorized individuals can read or edit it. The following are the steps to password protect a workbook.
- Create a Workbook object.
- Load an Excel document using Workbook->LoadFromFile() method.
- Protect the Excel workbook with a password using Workbook->Protect() method.
- Save the result document using Workbook->SaveToFile() method.
- C++
#include "Spire.Xls.o.h"

using namespace Spire::Xls;

int main()
{
	//Specify the input and output file paths
	std::wstring inputFile = L"Data\\Budget.xlsx";
	std::wstring outputFile = L"Output\\EncryptWorkbook.xlsx";

	//Create a Workbook object
	intrusive_ptr<Workbook> workbook = new Workbook();

	//Load an Excel document from disk
	workbook->LoadFromFile(inputFile.c_str());

	//Protect workbook with a password
	workbook->Protect(L"e-iceblue");

	//Save the result document
	workbook->SaveToFile(outputFile.c_str(), ExcelVersion::Version2013);
	workbook->Dispose();
}
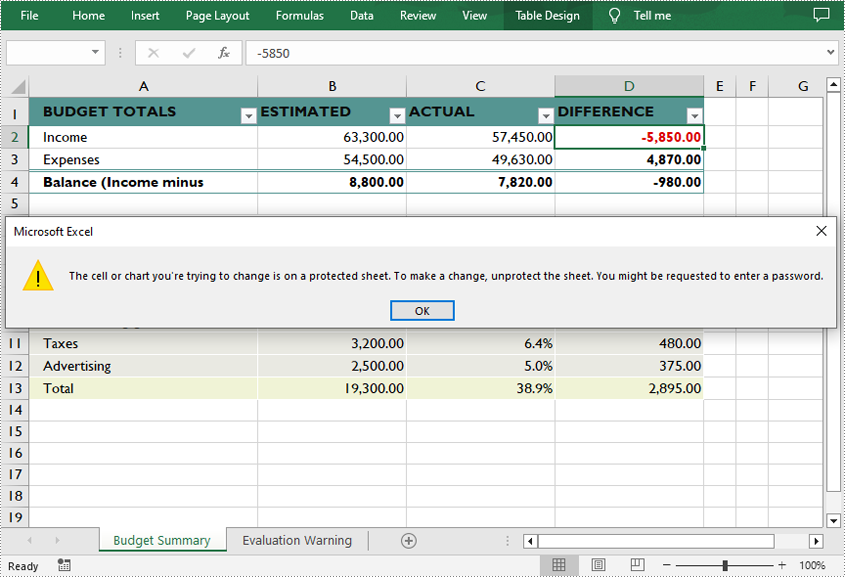
Protect a Worksheet with a Specific Protection Type in C++
If you wish to grant people permission to read your Excel document but restrict the types of modifications they are allowed to make on a worksheet, you can protect the worksheet with a specific protection type. The table below lists a variety of pre-defined protection types under the SheetProtectionType enumeration.
| Protection Type | Allow users to |
| Content | Modify or insert content. |
| DeletingColumns | Delete columns. |
| DeletingRows | Delete rows. |
| Filtering | Set filters. |
| FormattingCells | Format cells. |
| FormattingColumns | Format columns. |
| FormattingRows | Format rows. |
| InsertingColumns | Insert columns. |
| InsertingRows | Insert rows. |
| InsertingHyperlinks | Insert hyperlinks. |
| LockedCells | Select locked cells. |
| UnlockedCells | Select unlocked cells. |
| Objects | Modify drawing objects. |
| Scenarios | Modify saved scenarios. |
| Sorting | Sort data. |
| UsingPivotTables | Use pivot table and pivot chart. |
| All | Do any operations listed above on the protected worksheet. |
| None | Do nothing on the protected worksheet. |
The following are the steps to protect a worksheet with a specific protection type.
- Create a Workbook object.
- Load an Excel document using Workbook->LoadFromFile() method.
- Get a specified worksheet using Workbook->GetWorksheets()->Get() method.
- Protect the worksheet with a protection type using Worksheet->XlsWorksheetBase::Protect (LPCWSTR_S password, SheetProtectionType options) method.
- Save the result document using Workbook->SaveToFile() method.
- C++
#include "Spire.Xls.o.h"

using namespace Spire::Xls;

int main()
{
	//Specify the input and output file paths
	std::wstring inputFile = L"Data\\Budget.xlsx";
	std::wstring outputFile = L"Output\\ProtectWorksheet.xlsx";

	//Create a Workbook object
	intrusive_ptr<Workbook> workbook = new Workbook();

	//Load an Excel document from disk
	workbook->LoadFromFile(inputFile.c_str());

	//Get the first worksheet
	intrusive_ptr<Worksheet> sheet = dynamic_pointer_cast<Worksheet>(workbook->GetWorksheets()->Get(0));

	//Protect the worksheet with the permission password and the specific protect type
	sheet->XlsWorksheetBase::Protect(L"e-iceblue", SheetProtectionType::None);

	//Save the result document
	workbook->SaveToFile(outputFile.c_str(), ExcelVersion::Version2013);
	workbook->Dispose();
}
Allow Users to Edit Ranges in a Protected Worksheet in C++
In certain cases, you may need to allow users to be able to edit selected ranges in a protected worksheet. The following are the detailed steps.
- Create a Workbook object.
- Load an Excel document using Workbook->LoadFromFile() method.
- Get a specified worksheet using Workbook->GetWorksheets()->Get() method.
- Specify the editable cell ranges using Worksheet->AddAllowEditRange() method.
- Protect the worksheet with a password using Worksheet->XlsWorksheetBase::Protect() method.
- Save the result document using Workbook->SaveToFile() method.
- C++
#include "Spire.Xls.o.h"

using namespace Spire::Xls;

int main()
{
	//Specify the input and output file paths
	std::wstring inputFile = L"Data\\Budget.xlsx";
	std::wstring outputFile = L"Output\\AllowEditRange.xlsx";

	//Create a Workbook object
	intrusive_ptr<Workbook> workbook = new Workbook();

	//Load an Excel document from disk
	workbook->LoadFromFile(inputFile.c_str());

	//Get the first worksheet
	intrusive_ptr<Worksheet> sheet = dynamic_pointer_cast<Worksheet>(workbook->GetWorksheets()->Get(0));

	//Define a range that allow users to edit while sheet is protected
	sheet->AddAllowEditRange(L"EditableRange", dynamic_pointer_cast<CellRange>(sheet->GetRange(L"A8:A12")));

	//Protect the worksheet with a password
	sheet->XlsWorksheetBase::Protect(L"TestPassword");

	//Save the result document
	workbook->SaveToFile(outputFile.c_str(), ExcelVersion::Version2013);
	workbook->Dispose();
}

Lock Specific Cells in a Worksheet in C++
Normally, the locked option is enabled for all cells in a worksheet. Therefore, before locking a cell or range of cells, all cells must be unlocked. Keep in mind that locking cells doesn't take effect until the worksheet is protected. The following are the detailed steps.
- Create a Workbook object.
- Load an Excel document using Workbook->LoadFromFile() method.
- Get a specified worksheet using Workbook->GetWorksheets()->Get() method.
- Access the used range in the worksheet and then unlock all cells in the range.
- Access specific cells and then lock them by setting the parameter of XlsRange->GetStyle()->SetLocked() method to true.
- Protect the worksheet using Worksheet->XlsWorksheetBase::Protect() method.
- Save the result document using Workbook->SaveToFile() method.
- C++
#include "Spire.Xls.o.h"

using namespace Spire::Xls;

int main()
{
	//Specify the input and output file paths
	std::wstring inputFile = L"Data\\Budget.xlsx";
	std::wstring outputFile = L"Output\\LockCells.xlsx";

	//Create a Workbook object
	intrusive_ptr<Workbook> workbook = new Workbook();

	//Load an Excel document from disk
	workbook->LoadFromFile(inputFile.c_str());

	//Get the first worksheet
	intrusive_ptr<Worksheet> sheet = dynamic_pointer_cast<Worksheet>(workbook->GetWorksheets()->Get(0));

	//Unlock all cells in the used range of the worksheet
	sheet->XlsWorksheet::GetRange()->GetStyle()->SetLocked(false);

	//Lock specific cells
	intrusive_ptr<XlsRange> cells = dynamic_pointer_cast<XlsRange>(sheet->GetRange(L"A1:D1"));
	cells->GetStyle()->SetLocked(true);

	//Protect the worksheet with password
	sheet->XlsWorksheetBase::Protect(L"TestPassword");

	//Save the result document
	workbook->SaveToFile(outputFile.c_str(), ExcelVersion::Version2013);
	workbook->Dispose();
}

Unprotect a Password Protected Worksheet in C++
To remove the protection of a password-protected worksheet, invoke the Worksheet->XlsWorksheetBase::Unprotect() method and pass in the original password as a parameter. The following are the detailed steps.
- Create a Workbook object.
- Load an Excel document using Workbook->LoadFromFile() method.
- Get a specified worksheet using Workbook->GetWorksheets()->Get() method.
- Unprotect the worksheet with the original password using Worksheet->XlsWorksheetBase::Unprotect(LPCWSTR_S password) method.
- Save the result document using Workbook->SaveToFile() method.
- C++
#include "Spire.Xls.o.h"

using namespace Spire::Xls;

int main()
{
	//Specify the input and output file paths
	std::wstring inputFile = L"Data\\ProtectWorksheet.xlsx";
	std::wstring outputFile = L"Output\\UnprotectWorksheet.xlsx";

	//Create a Workbook object
	intrusive_ptr<Workbook> workbook = new Workbook();

	//Load an Excel document from disk
	workbook->LoadFromFile(inputFile.c_str());

	//Get the first worksheet
	intrusive_ptr<Worksheet> sheet = dynamic_pointer_cast<Worksheet>(workbook->GetWorksheets()->Get(0));

	//Unprotect the worksheet using the specified password
	sheet->XlsWorksheetBase::Unprotect(L"e-iceblue");

	//Save the result document
	workbook->SaveToFile(outputFile.c_str(), ExcelVersion::Version2013);
	workbook->Dispose();
}
Remove or Reset Password of an Encrypted Workbook in C++
To remove or reset password of an encrypted workbook, you can use the Workbook->UnProtect() method and the Workbook->Protect() method respectively. The following are the steps to load an encrypted Excel document and delete or change the password of it.
- Create a Workbook object.
- Specify the open password using Workbook->SetOpenPassword() method.
- Load an Excel document using Workbook->LoadFromFile() method.
- Remove the encryption using Workbook->UnProtect() method. Or change the password using Workbook->Protect() method.
- Save the result document using Workbook->SaveToFile() method.
- C++
#include "Spire.Xls.o.h"

using namespace Spire::Xls;

int main()
{
	//Specify the input and output file paths
	std::wstring inputFile = L"Output\\EncryptWorkbook.xlsx";
	std::wstring outputFile = L"Output\\Unprotect.xlsx";

	//Create a Workbook object
	intrusive_ptr<Workbook> workbook = new Workbook();

	//Specify the open password
	workbook->SetOpenPassword(L"e-iceblue");

	//Load an Excel document from disk
	workbook->LoadFromFile(inputFile.c_str());

	//Unprotect workbook
	workbook->UnProtect();

	//Reset password
	//workbook->Protect(L"newpassword");

	//Save the result document
	workbook->SaveToFile(outputFile.c_str(), ExcelVersion::Version2013);
	workbook->Dispose();
}
Apply for a Temporary License
If you'd like to remove the evaluation message from the generated documents, or to get rid of the function limitations, please request a 30-day trial license for yourself.
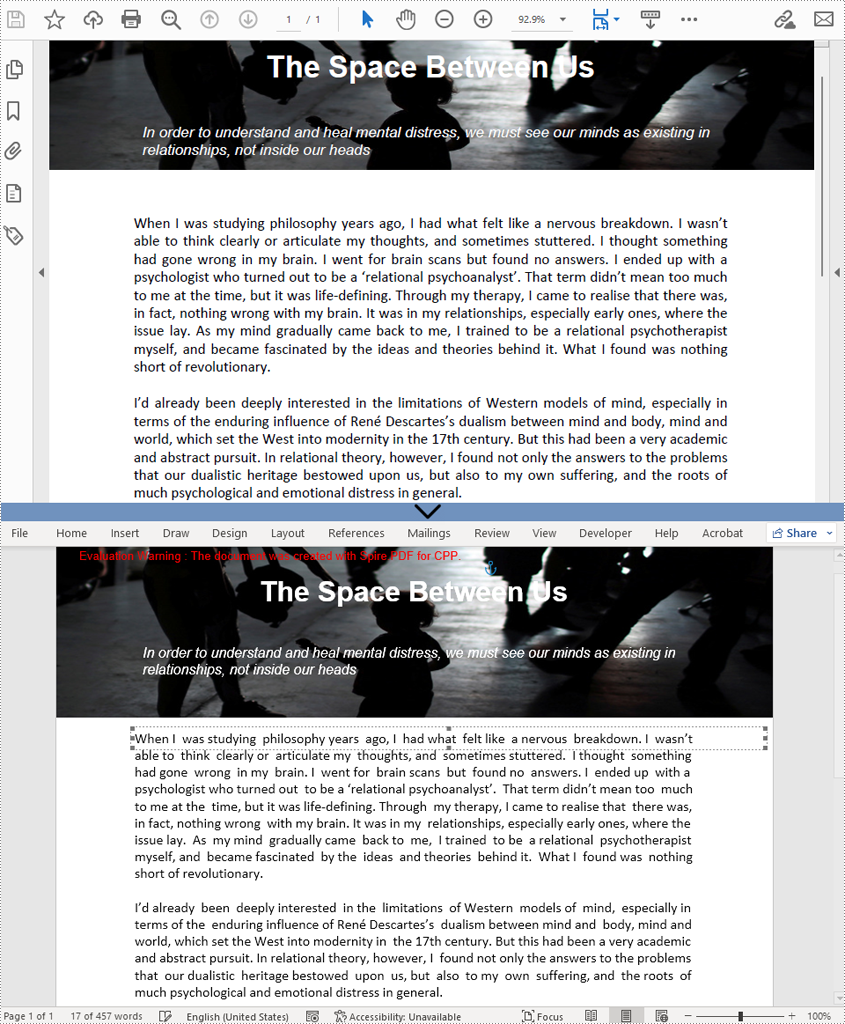
PDF documents are great for presenting documents on different devices while keeping documents' appearance unchanged. It can also facilitate the sharing and transmission of documents. But editing PDF documents is usually quite troublesome. Therefore, many users will choose to convert PDF documents into easy-to-edit Word documents to facilitate the modification of document content.
- The fixed layout conversion mode has a faster conversion speed and is conducive to the maximum preservation of the original appearance of PDF files. However, since each line of PDF text will be presented in a separate frame in the generated Word documents, the editability of the generated documents will be limited.
- The flowable structure conversion mode is a full recognition mode. The converted content is not rendered in frames and the resulting document structure is flowable, meaning that the resulting Word document is easy to re-edit but may look different from the original PDF file.
This article is going to demonstrate how to use Spire.PDF for C++ to convert PDFs to Word documents in fixed layout mode or flowable structure mode.
Install Spire.PDF for C++
There are two ways to integrate Spire.PDF for C++ into your application. One way is to install it through NuGet, and the other way is to download the package from our website and copy the libraries into your program. Installation via NuGet is simpler and more recommended. You can find more details by visiting the following link.
Integrate Spire.PDF for C++ in a C++ Application
Convert PDFs to Doc/Docx Files in Fixed Layout
By default, when PdfDocument->SaveToFile() method is used to convert a PDF file to a Word document without setting the conversion options, the content arrangement of the output Word document will be in fixed layout. The detailed steps for converting a PDF file to a Word document in fixed layout mode are as follows.
- Create an object of PdfDocument.
- Load a PDF file using PdfDocument->LoadFromFile() method.
- Save the PDF file as a Doc and a Docx file using PdfDocument->SaveToFile() method.
- C++
#include "Spire.Pdf.o.h"

using namespace Spire::Pdf;

int main()
{
    //Create an Object of PdfDocument
    PdfDocument* pdf = new PdfDocument();

    //Load a PDF file
    pdf->LoadFromFile(L"C:/The Space Between Us.pdf");

    //Save the document as a Doc file
    pdf->SaveToFile(L"Output/PDFToWord.doc", FileFormat::DOC);

    //Save the document as a Docx file
    pdf->SaveToFile(L"Output/PDFToWord.docx", FileFormat::DOCX);
    pdf->Close();
    delete pdf;
}
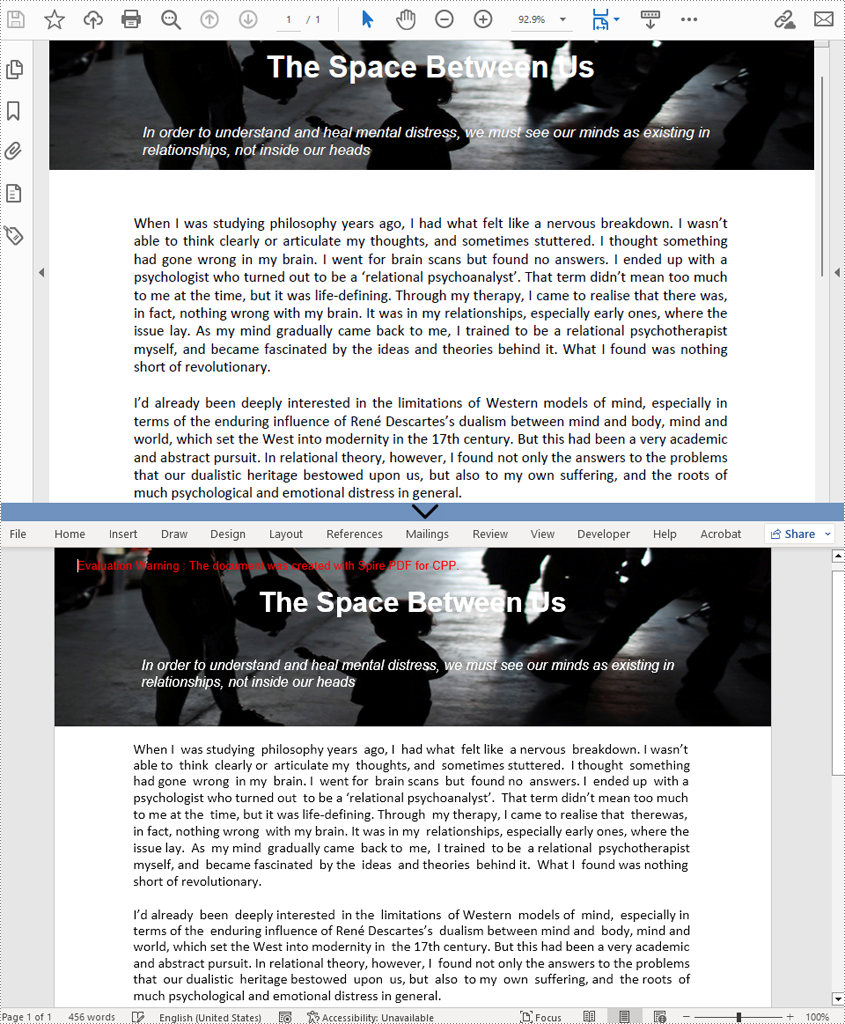
Convert PDFs to Doc/Docx Files in Flowable Structure
Spire.PDF for C++ provides the PdfDocument->GetConvertOptions()->SetPdfToDocOptions(true, true) method to change the conversion mode to flowable structure mode. The detailed steps for converting a PDF file To a Word document in flowable structure mode are as follows.
- Create an object of PdfDocument.
- Load a PDF file using PdfDocument->LoadFromFile() method.
- Change the conversion mode to flowable structure mode using PdfDocument->GetConvertOptions()->SetPdfToDocOptions(true, true) method.
- Save the PDF file as a Doc and a Docx file using PdfDocument->SaveToFile() method.
- C++
#include "Spire.Pdf.o.h"

using namespace Spire::Pdf;

int main()
{
    //Create an Object of PdfDocument
    PdfDocument* pdf = new PdfDocument();

    //Load a PDF file
    pdf->LoadFromFile(L"C:/The Space Between Us.pdf");

    //Change the conversion mode to flowable structure mode
    pdf->GetConvertOptions()->SetPdfToDocOptions(true, true);

    //Save the document as a Doc file
    pdf->SaveToFile(L"Output/PDFToWord.doc", FileFormat::DOC);

    //Save the document as a Docx file
    pdf->SaveToFile(L"Output/PDFToWord.docx", FileFormat::DOCX);
    pdf->Close();
    delete pdf;
}
Apply for a Temporary License
If you'd like to remove the evaluation message from the generated documents, or to get rid of the function limitations, please request a 30-day trial license for yourself.
The PDF file format is ideal for most occasions. But still, you may encounter situations where you need to convert PDF to images. Once you convert a certain PDF page into an image, you can post it on social media, upload or transfer it in devices that can only display images, or embed it in your Word document or PowerPoint presentation. In this article, you will learn how to programmatically convert PDF to images in C++ using Spire.PDF for C++.
Install Spire.PDF for C++
There are two ways to integrate Spire.PDF for C++ into your application. One way is to install it through NuGet, and the other way is to download the package from our website and copy the libraries into your program. Installation via NuGet is simpler and more recommended. You can find more details by visiting the following link.
Integrate Spire.PDF for C++ in a C++ Application
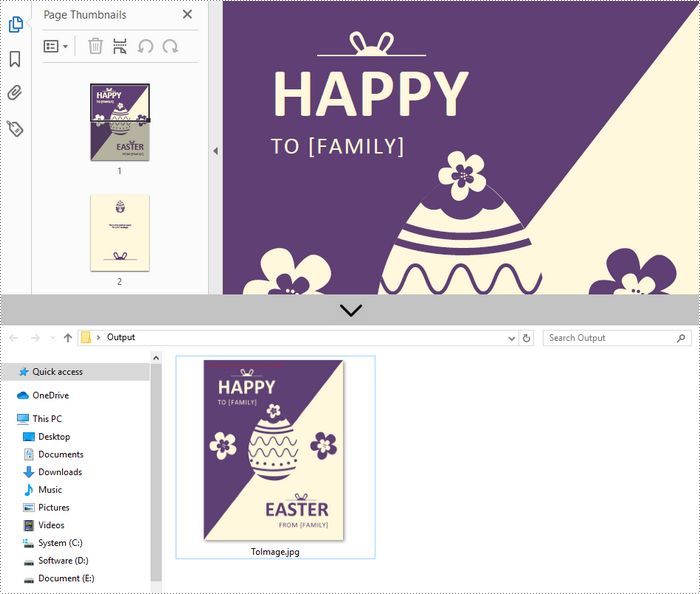
Convert a Specific Page to an Image in C++
Spire.PDF for C++ offers the PdfDocument->SaveAsImage(int pageIndex) method to convert a particular page into image stream. The stream can be then saved as an image file with the desired extension like PNG, JPG, and BMP. The following are the detailed steps.
- Create a PdfDocument instance.
- Load a PDF file using PdfDocument->LoadFromFile() method.
- Convert a specific page into image stream using PdfDocument->SaveAsImage() method.
- Save the image steam as a JPG file using Stream->Save() method.
- C++
#include "Spire.Pdf.o.h";

using namespace Spire::Pdf;
using namespace std;

int main() {

	//Specify input and output file paths
	wstring inputFile = L"C:\\Users\\Administrator\\Desktop\\sample.pdf";
	wstring outputFile = L"C:\\Users\\Administrator\\Desktop\\Output\\ToImage";

	//Create a PdfDocument object
	PdfDocument* doc = new PdfDocument();

	//Load a PDF file
	doc->LoadFromFile(inputFile.c_str());

	//Convert a specific page as image
	boost::intrusive_ptr<Stream> image = doc->SaveAsImage(0, PdfImageType::Bitmap);

	//Write image to a .jpg file
	wstring fileName = outputFile + L".jpg";
	image->Save(fileName.c_str());

	doc->Close();
	delete doc;
}
Convert an Entire PDF to Multiple Images in C++
In order to save the whole PDF as separate individual images, you just need to put the conversion part inside a loop statement. The follows are the detailed steps.
- Create a PdfDocument instance.
- Load a PDF file using PdfDocument->LoadFromFile() method.
- Loop through the pages in the document and convert each of them into image stream using PdfDocument->SaveAsImage(int pageIndex) method.
- Save the image steam as JPG files using Stream->Save() method.
- C++
#include "Spire.Pdf.o.h";

using namespace Spire::Pdf;
using namespace std;

int main() {

	//Specify input and output file paths
	wstring inputFile = L"C:\\Users\\Administrator\\Desktop\\sample.pdf";
	wstring outputFile = L"C:\\Users\\Administrator\\Desktop\\Output\\ToImg-";

	//Create a PdfDocument object
	PdfDocument* doc = new PdfDocument();

	//Load a PDF file
	doc->LoadFromFile(inputFile.c_str());

	//Iterate through the pages in the document
	for (int i = 0; i < doc->GetPages()->GetCount(); i++) {

		//Save a specific page as image
		boost::intrusive_ptr<Stream> image = doc->SaveAsImage(i);

		//Write image to a .jpg file
		wstring fileName = outputFile + to_wstring(i) + L".jpg";
		image->Save(fileName.c_str());
	}
	doc->Close();
	delete doc;
}

Apply for a Temporary License
If you'd like to remove the evaluation message from the generated documents, or to get rid of the function limitations, please request a 30-day trial license for yourself.
