
Knowledgebase (2370)
Children categories
The conversion from HTML to image allows you to capture the appearance and layout of the HTML content as a static image file. It can be useful for various purposes, such as generating website previews, creating screenshots, archiving web pages, or integrating HTML content into applications that primarily deal with images. In this article, you will learn how to convert an HTML file or an HTML string to an image in Python using Spire.Doc for Python.
Install Spire.Doc for Python
This scenario requires Spire.Doc for Python and plum-dispatch v1.7.4. They can be easily installed in your Windows through the following pip command.
pip install Spire.Doc
If you are unsure how to install, please refer to this tutorial: How to Install Spire.Doc for Python on Windows
Convert an HTML File to an Image in Python
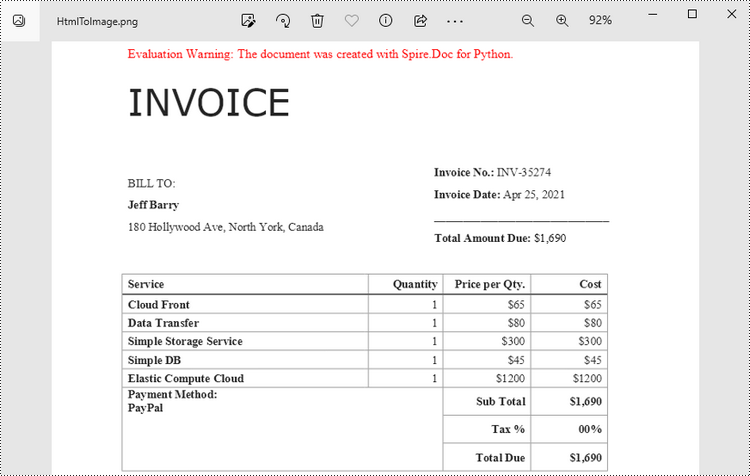
When an HTML file is loaded into the Document object using the Document.LoadFromFile() method, its contents are automatically rendered as the contents of a Word page. Then, a specific page can be saved as an image stream using the Document.SaveImageToStreams() method.
The following are the steps to convert an HTML file to an image with Python.
- Create a Document object.
- Load a HTML file using Document.LoadFromFile() method.
- Convert a specific page to an image stream using Document.SaveImageToStreams() method.
- Save the image stream as a PNG file using BufferedWriter.write() method.
- Python
from spire.doc import *
from spire.doc.common import *

# Create a Document object
document = Document()

# Load an HTML file
document.LoadFromFile("C:\\Users\\Administrator\\Desktop\\Sample.html", FileFormat.Html, XHTMLValidationType.none)

# Save the first page as an image stream
imageStream = document.SaveImageToStreams(0, ImageType.Bitmap)

# Convert the image stream as a PNG file
with open("output/HtmlToImage.png",'wb') as imageFile:
imageFile.write(imageStream.ToArray())
document.Close()
Convert an HTML String to an Image in Python
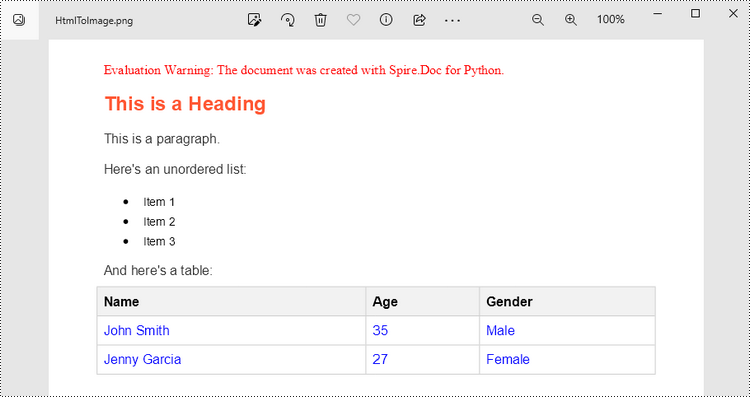
To render uncomplicated HTML strings (typically text and its formatting) as a Word page, you can utilize the Paragraph.AppendHTML() method. Afterwards, you can convert it to an image stream using the Document.SaveImageToStreams() method.
The following are the steps to convert an HTML string to an image in Python.
- Create a Document object.
- Add a section using Document.AddSection() method.
- Add a paragraph using Section.AddParagraph() method.
- Specify the HTML string, and add the it to the paragraph using Paragraph.AppendHTML() method.
- Convert a specific page to an image stream using Document.SaveImageToStreams() method.
- Save the image stream as a PNG file using BufferedWriter.write() method.
- Python
from spire.doc import *
from spire.doc.common import *

# Create a Document object
document = Document()

# Add a section to the document
sec = document.AddSection()

# Add a paragraph to the section
paragraph = sec.AddParagraph()

# Specify the HTML string
htmlString = """
<html>
<head>
    <title>HTML to Word Example</title>
    <style>
        body {
            font-family: Arial, sans-serif;
        }
        h1 {
            color: #FF5733;
            font-size: 24px;
            margin-bottom: 20px;
        }
        p {
            color: #333333;
            font-size: 16px;
            margin-bottom: 10px;
        }
        ul {
            list-style-type: disc;
            margin-left: 20px;
            margin-bottom: 15px;
        }
        li {
            font-size: 14px;
            margin-bottom: 5px;
        }
        table {
            border-collapse: collapse;
            width: 100%;
            margin-bottom: 20px;
        }
        th, td {
            border: 1px solid #CCCCCC;
            padding: 8px;
            text-align: left;
        }
        th {
            background-color: #F2F2F2;
            font-weight: bold;
        }
        td {
            color: #0000FF;
        }
    </style>
</head>
<body>
    <h1>This is a Heading</h1>
    <p>This is a paragraph.</p>
    <p>Here's an unordered list:</p>
    <ul>
        <li>Item 1</li>
        <li>Item 2</li>
        <li>Item 3</li>
    </ul>
    <p>And here's a table:</p>
    <table>
        <tr>
            <th>Name</th>
            <th>Age</th>
            <th>Gender</th>
        </tr>
        <tr>
            <td>John Smith</td>
            <td>35</td>
            <td>Male</td>
        </tr>
        <tr>
            <td>Jenny Garcia</td>
            <td>27</td>
            <td>Female</td>
        </tr>
    </table>
</body>
</html>
"""

# Append the HTML string to the paragraph
paragraph.AppendHTML(htmlString)

# Save the first page as an image stream
imageStream = document.SaveImageToStreams(0, ImageType.Bitmap)

# Convert the image stream as a PNG file
with open("output/HtmlToImage2.png",'wb') as imageFile:
    imageFile.write(imageStream.ToArray())
document.Close()
Get a Free License
To fully experience the capabilities of Spire.Doc for Python without any evaluation limitations, you can request a free 30-day trial license.
Captions play a significant role in Word documents by serving as markers, explanations, navigation aids, and accessibility features. They are crucial elements for creating professional, accurate, and user-friendly documents. Captions help improve the readability, usability, and accessibility of the document and are essential for understanding and effectively processing the document's content. This article will explain how to use Spire.Doc for Python to add or remove captions in Word documents using Python programs.
- Add Image Captions to a Word document in Python
- Add Table Captions to a Word document in Python
- Remove Captions from a Word document in Python
Install Spire.Doc for Python
This scenario requires Spire.Doc for Python and plum-dispatch v1.7.4. They can be easily installed in your Windows through the following pip command.
pip install Spire.Doc
If you are unsure how to install, please refer to this tutorial: How to Install Spire.Doc for Python on Windows
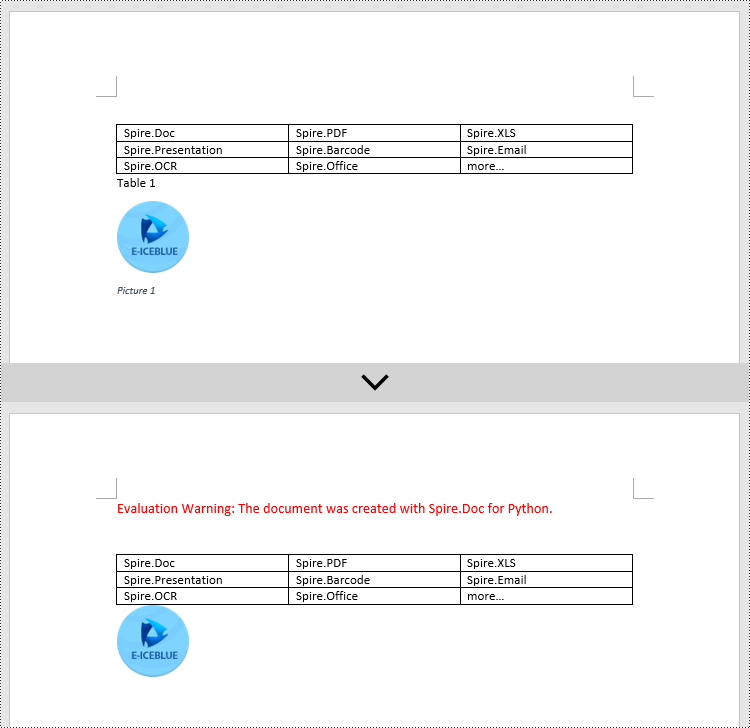
Add Image Captions to a Word document in Python
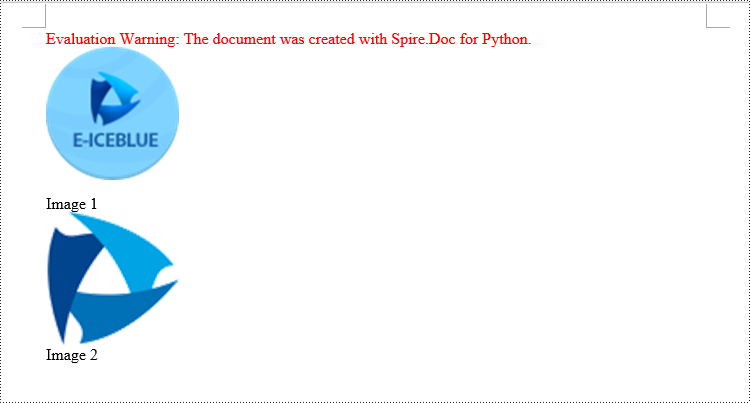
Spire.Doc for Python provides a convenient method to add captions to images. Simply call the DocPicture.AddCaption(self, name: str, numberingFormat: 'CaptionNumberingFormat', captionPosition: 'CaptionPosition') method to add a caption for the image. The detailed steps are as follows:
- Create an object of the Document class.
- Use the Document.AddSection() method to add a section.
- Add a paragraph using Section.AddParagraph() method.
- Use the Paragraph.AppendPicture(self ,imgFile:str) method to add a DocPicture image object to the paragraph.
- Use the DocPicture.AddCaption(self ,name:str,numberingFormat:'CaptionNumberingFormat',captionPosition:'CaptionPosition') method to add a caption with numbering format as CaptionNumberingFormat.Number.
- Set the Document.IsUpdateFields property to true to update all fields.
- Use the Document.SaveToFile() method to save the resulting document.
- Python
from spire.doc import *
from spire.doc.common import *

# Create a Word document object
document = Document()

# Add a section
section = document.AddSection()

# Add a new paragraph and add an image to it
pictureParagraphCaption = section.AddParagraph()
pictureParagraphCaption.Format.AfterSpacing = 10
pic1 = pictureParagraphCaption.AppendPicture("Data\\1.png")
pic1.Height = 100
pic1.Width = 100

# Add a caption to the image
format = CaptionNumberingFormat.Number
pic1.AddCaption("Image", format, CaptionPosition.BelowItem)

# Add another new paragraph and add an image to it
pictureParagraphCaption = section.AddParagraph()
pic2 = pictureParagraphCaption.AppendPicture("Data\\2.png")
pic2.Height = 100
pic2.Width = 100

# Add a caption to the image
pic2.AddCaption("Image", format, CaptionPosition.BelowItem)

# Update all fields in the document
document.IsUpdateFields = True

# Save the document as a docx file
result = "AddImageCaption.docx"
document.SaveToFile(result, FileFormat.Docx2016)

# Close the document object and release resources
document.Close()
document.Dispose()
Add Table Captions to a Word document in Python
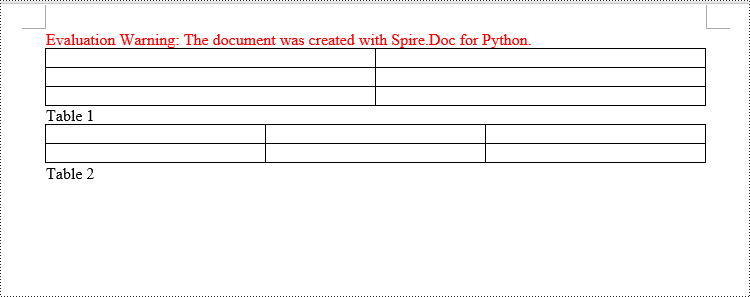
To facilitate the addition of captions to tables, Spire.Doc for Python also provides a convenient method similar to adding captions to images. You can use the Table.AddCaption(self, name:str, format:'CaptionNumberingFormat', captionPosition:'CaptionPosition') method to create a caption for the table. The following are the detailed steps:
- Create an object of the Document class.
- Use the Document.AddSection() method to add a section.
- Create a Table object and add it to the specified section in the document.
- Use the Table.ResetCells(self ,rowsNum:int,columnsNum:int) method to set the number of rows and columns in the table.
- Add a caption to the table using the Table.AddCaption(self ,name:str,format:'CaptionNumberingFormat',captionPosition:'CaptionPosition') method, specifying the caption numbering format as CaptionNumberingFormat.Number.
- Set the Document.IsUpdateFields property to true to update all fields.
- Use the Document.SaveToFile() method to save the resulting document.
- Python
from spire.doc import *
from spire.doc.common import *

# Create a Word document object
document = Document()

# Add a section
section = document.AddSection()

# Add a table
tableCaption = section.AddTable(True)
tableCaption.ResetCells(3, 2)

# Add a caption to the table
tableCaption.AddCaption("Table", CaptionNumberingFormat.Number, CaptionPosition.BelowItem)

# Add another table and caption to it
tableCaption = section.AddTable(True)
tableCaption.ResetCells(2, 3)
tableCaption.AddCaption("Table", CaptionNumberingFormat.Number, CaptionPosition.BelowItem)

# Update all fields in the document
document.IsUpdateFields = True

# Save the document as a docx file
result = "AddTableCaption.docx"
document.SaveToFile(result, FileFormat.Docx2016)

# Close the document object and release resources
document.Close()
document.Dispose()
Remove Captions from a Word document in Python
Spire.Doc for Python also supports removing captions from Word documents. Here are the detailed steps:
- Create an object of the Document class.
- Use the Document.LoadFromFile() method to load a Word document.
- Create a custom method, named detect_caption_paragraph(paragraph), to determine if a paragraph contains a caption.
- Iterate through all the Paragraph objects in the document using a loop and utilize the custom method, detect_caption_paragraph(paragraph), to identify and delete paragraphs that contain captions.
- Use the Document.SaveToFile() method to save the resulting document.
- Python
from spire.doc import *
from spire.doc.common import *

# Method to detect if a paragraph is a caption paragraph
def detect_caption_paragraph(paragraph):
    tag = False
    field = None

# Iterate through the child objects in the paragraph
    for i in range(len(paragraph.ChildObjects)):
        if paragraph.ChildObjects[i].DocumentObjectType == DocumentObjectType.Field:
            # Check if the child object is of Field type
            field = paragraph.ChildObjects[i]
            if field.Type == FieldType.FieldSequence:
                # Check if the Field type is FieldSequence, indicating a caption field type
                return True

    return tag

# Create a Word document object
document = Document()
# Load the sample.docx file
document.LoadFromFile("Data/sample.docx")

# Iterate through all sections
for i in range(len(document.Sections)):
    section = document.Sections.get_Item(i)

    # Iterate through paragraphs in reverse order within the section
    for j in range(len(section.Body.Paragraphs) - 1, -1, -1):
        # Check if the paragraph is a caption paragraph
        if detect_caption_paragraph(section.Body.Paragraphs[j]):
            # If it's a caption paragraph, remove it
            section.Body.Paragraphs.RemoveAt(j)

# Save the document after removing captions
result = "DeleteCaptions.docx"
document.SaveToFile(result, FileFormat.Docx2016)

# Close the document object and release resources
document.Close()
document.Dispose()
Apply for a Temporary License
If you'd like to remove the evaluation message from the generated documents, or to get rid of the function limitations, please request a 30-day trial license for yourself.
Captions play multiple important roles in a document. They not only provide explanations for images or tables but also help in organizing the document structure, referencing specific content, and ensuring consistency and standardization. They serve as guides, summaries, and emphasis within the document, enhancing readability and assisting readers in better understanding and utilizing the information presented in the document. This article will demonstrate how to use Spire.Doc for Java to add or remove captions in Word documents within a Java project.
- Add Image Captions to a Word document in Java
- Add Table Captions to a Word document in Java
- Remove Captions from a Word document in Java
Install Spire.Doc for Java
First, you're required to add the Spire.Doc.jar file as a dependency in your Java program. The JAR file can be downloaded from this link. If you use Maven, you can easily import the JAR file in your application by adding the following code to your project's pom.xml file.
<repositories>
    <repository>
        <id>com.e-iceblue</id>
        <name>e-iceblue</name>
        <url>https://repo.e-iceblue.com/nexus/content/groups/public/</url>
    </repository>
</repositories>
<dependencies>
    <dependency>
        <groupId>e-iceblue</groupId>
        <artifactId>spire.doc</artifactId>
        <version>14.7.0</version>
    </dependency>
</dependencies>
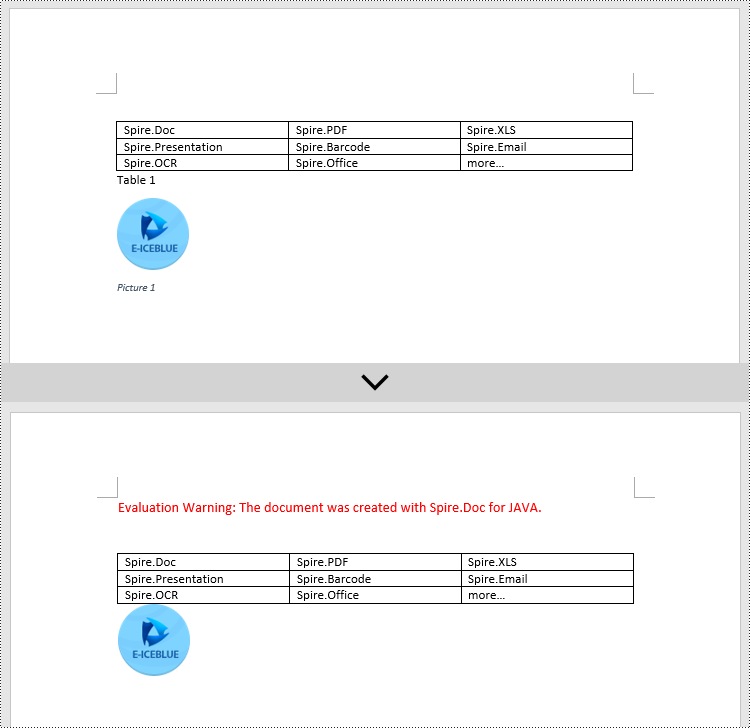
Add Image Captions to a Word document in Java
By using the DocPicture.addCaption(String name, CaptionNumberingFormat format, CaptionPosition captionPosition) method, you can easily add descriptive captions to images within a Word document. The following are the detailed steps:
- Create an object of the Document class.
- Use the Document.addSection() method to add a section.
- Add a paragraph using Section.addParagraph() method.
- Use the Paragraph.appendPicture(String filePath) method to add a DocPicture image object to the paragraph.
- Add a caption using the DocPicture.addCaption(String name, CaptionNumberingFormat format, CaptionPosition captionPosition) method, numbering the captions in CaptionNumberingFormat.Number format.
- Update all fields using the Document.isUpdateFields(true) method.
- Save the resulting document using the Document.saveToFile() method.
- Java
import com.spire.doc.*;
import com.spire.doc.documents.*;
import com.spire.doc.fields.*;
public class addPictureCaption {
    public static void main(String[] args) {

        // Create a Word document object
        Document document = new Document();

        // Add a section to the document
        Section section = document.addSection();

        // Add a new paragraph and insert an image into it
        Paragraph pictureParagraphCaption = section.addParagraph();
        pictureParagraphCaption.getFormat().setAfterSpacing(10);
        DocPicture pic1 = pictureParagraphCaption.appendPicture("Data\\1.png");
        pic1.setHeight(100);
        pic1.setWidth(100);

        // Add a caption to the image
        CaptionNumberingFormat format = CaptionNumberingFormat.Number;
        pic1.addCaption("Image", format, CaptionPosition.Below_Item);

        // Add another paragraph and insert another image into it
        pictureParagraphCaption = section.addParagraph();
        DocPicture pic2 = pictureParagraphCaption.appendPicture("Data\\2.png");
        pic2.setHeight(100);
        pic2.setWidth(100);

        // Add a caption to the second image
        pic2.addCaption("Image", format, CaptionPosition.Below_Item);

        // Update all fields in the document
        document.isUpdateFields(true);

        // Save the document as a docx file
        String result = "AddImageCaption.docx";
        document.saveToFile(result, FileFormat.Docx_2016);

        // Close and dispose the document object to release resources
        document.close();
        document.dispose();
    }
}

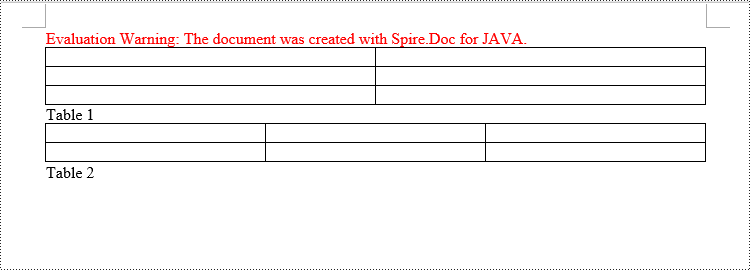
Add Table Captions to a Word document in Java
Similar to adding captions to images, to add a caption to a table, you need to call the Table.addCaption(String name, CaptionNumberingFormat format, CaptionPosition captionPosition) method. The detailed steps are as follows:
- Create an object of the Document class.
- Use the Document.addSection() method to add a section.
- Create a Table object and add it to the specified section in the document.
- Use the Table.resetCells(int rowsNum, int columnsNum) method to set the number of rows and columns in the table.
- Add a caption using the Table.addCaption(String name, CaptionNumberingFormat format, CaptionPosition captionPosition) method, numbering the captions in CaptionNumberingFormat.Number format.
- Update all fields using the Document.isUpdateFields(true) method.
- Save the resulting document using the Document.saveToFile() method.
- Java
import com.spire.doc.*;
public class addTableCaption {
    public static void main(String[] args) {

        // Create a Word document object
        Document document = new Document();

        // Add a section to the document
        Section section = document.addSection();

        // Add a table to the section
        Table tableCaption = section.addTable(true);
        tableCaption.resetCells(3, 2);

        // Add a caption to the table
        tableCaption.addCaption("Table", CaptionNumberingFormat.Number, CaptionPosition.Below_Item);

        // Add another table to the section
        tableCaption = section.addTable(true);
        tableCaption.resetCells(2, 3);

        // Add a caption to the second table
        tableCaption.addCaption("Table", CaptionNumberingFormat.Number, CaptionPosition.Below_Item);

        // Update all fields in the document
        document.isUpdateFields(true);

        // Save the document as a docx file
        String result = "AddTableCaption.docx";
        document.saveToFile(result, FileFormat.Docx_2016);

        // Close and dispose the document object to release resources
        document.close();
        document.dispose();
    }
}
Remove Captions from a Word document in Java
In addition to adding captions, Spire.Doc for Java also supports deleting captions from a Word document. The steps involved are as follows:
- Create an object of the Document class.
- Use the Document.loadFromFile() method to load a Word document.
- Create a custom method named DetectCaptionParagraph(Paragraph paragraph), to determine if the paragraph contains a caption.
- Iterate through all the Paragraph objects in the document using a loop and use the custom method, DetectCaptionParagraph(Paragraph paragraph), to identify the paragraphs that contain captions and delete them.
- Save the resulting document using the Document.saveToFile() method.
- Java
import com.spire.doc.*;
import com.spire.doc.documents.*;
import com.spire.doc.fields.*;

public class deleteCaptions {
    public static void main(String[] args) {

        // Create a Word document object
        Document document = new Document();

        // Load the sample.docx file
        document.loadFromFile("Data/sample.docx");

        Section section;

        // Iterate through all sections
        for (int i = 0; i < document.getSections().getCount(); i++) {
            section = document.getSections().get(i);

        // Iterate through paragraphs in reverse order
            for (int j = section.getBody().getParagraphs().getCount() - 1; j >= 0; j--) {
                // Check if the paragraph is a caption paragraph
                if (DetectCaptionParagraph(section.getBody().getParagraphs().get(j))) {
                    // If it is a caption paragraph, remove it
                    section.getBody().getParagraphs().removeAt(j);
                }
            }
        }

        // Save the document after removing captions
        String result = "RemoveCaptions.docx";
        document.saveToFile(result, FileFormat.Docx_2016);

        // Close and dispose the document object to release resources
        document.close();
        document.dispose();
    }

    // Method to detect if a paragraph is a caption paragraph
    static Boolean DetectCaptionParagraph(Paragraph paragraph) {
        Boolean tag = false;
        Field field;

        // Iterate through child objects of the paragraph
        for (int i = 0; i < paragraph.getChildObjects().getCount(); i++) {
            if (paragraph.getChildObjects().get(i).getDocumentObjectType().equals(DocumentObjectType.Field)) {
                // Check if the child object is of type Field
                field = (Field) paragraph.getChildObjects().get(i);
                if (field.getType().equals(FieldType.Field_Sequence)) {
                    // Check if the Field type is FieldSequence, indicating a caption field
                    return true;
                }
            }
        }

        return tag;
    }
}
Apply for a Temporary License
If you'd like to remove the evaluation message from the generated documents, or to get rid of the function limitations, please request a 30-day trial license for yourself.
