
Knowledgebase (2370)
Children categories
EPUB, short for Electronic Publication, is a widely used standard format for eBooks. It is an open and free format based on web standards, enabling compatibility with various devices and software applications. EPUB files are designed to provide a consistent reading experience across different platforms, including e-readers, tablets, smartphones, and computers. By converting your Word document to EPUB, you can ensure that your content is accessible and enjoyable to a broader audience, regardless of the devices and software they use. In this article, we will demonstrate how to convert Word documents to EPUB format in Python using Spire.Doc for Python.
Install Spire.Doc for Python
This scenario requires Spire.Doc for Python and plum-dispatch v1.7.4. They can be easily installed in your Windows through the following pip commands.
pip install Spire.Doc
If you are unsure how to install, please refer to this tutorial: How to Install Spire.Doc for Python on Windows
Convert Word to EPUB in Python
The Document.SaveToFile(fileName:str, fileFormat:FileFormat) method provided by Spire.Doc for Python supports converting a Word document to EPUB format. The detailed steps are as follows.
- Create an object of the Document class.
- Load a Word document using Document.LoadFromFile() method.
- Save the Word document to EPUB format using Document.SaveToFile(fileName:str, fileFormat:FileFormat) method.
- Python
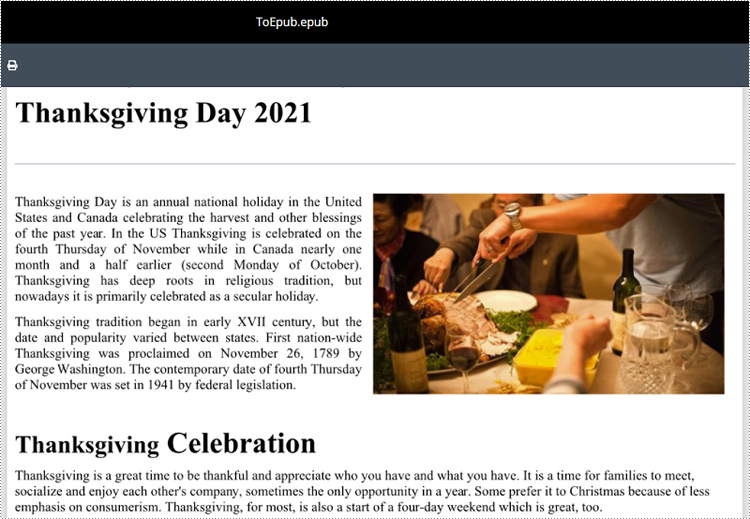
from spire.doc import *
from spire.doc.common import *

# Specify the input Word document and output EPUB file paths
inputFile = "Sample.docx"
outputFile = "ToEpub.epub"

# Create an object of the Document class
doc = Document()
# Load a Word document
doc.LoadFromFile(inputFile)

# Save the Word document to EPUB format
doc.SaveToFile(outputFile, FileFormat.EPub)
# Close the Document object
doc.Close()
Convert Word to EPUB with a Cover Image in Python
Spire.Doc for Python enables you to convert a Word document to EPUB format and set a cover image for the resulting EPUB file by using the Document.SaveToEpub(fileName:str, coverImage:DocPicture) method. The detailed steps are as follows.
- Create an object of the Document class.
- Load a Word document using Document.LoadFromFile() method.
- Create an object of the DocPicture class, and then load an image using DocPicture.LoadImage() method.
- Save the Word document as an EPUB file and set the loaded image as the cover image of the EPUB file using Document.SaveToEpub(fileName:str, coverImage:DocPicture) method.
- Python
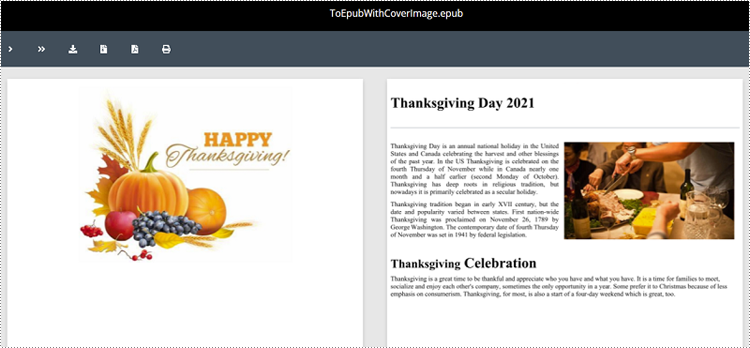
from spire.doc import *
from spire.doc.common import *

# Specify the input Word document and output EPUB file paths
inputFile = "Sample.docx"
outputFile = "ToEpubWithCoverImage.epub"
# Specify the file path for the cover image
imgFile = "Cover.png"

# Create a Document object
doc = Document()
# Load the Word document
doc.LoadFromFile(inputFile)

# Create a DocPicture object
picture = DocPicture(doc)
# Load the cover image file
picture.LoadImage(imgFile)

# Save the Word document as an EPUB file and set the cover image
doc.SaveToEpub(outputFile, picture)
# Close the Document object
doc.Close()
Get a Free License
To fully experience the capabilities of Spire.Doc for Python without any evaluation limitations, you can request a free 30-day trial license.
SVG files are commonly used for web graphics and vector-based illustrations because they can be scaled and adjusted easily. PDF, on the other hand, is a versatile format widely supported across different devices and operating systems. Converting SVG to PDF allows for easy sharing of graphics and illustrations, ensuring that recipients can open and view the files without requiring specialized software or worrying about browser compatibility issues. In this article, we will demonstrate how to convert SVG files to PDF format in Python using Spire.PDF for Python.
Install Spire.PDF for Python
This scenario requires Spire.PDF for Python and plum-dispatch v1.7.4. They can be easily installed in your Windows through the following pip command.
pip install Spire.PDF
If you are unsure how to install, please refer to this tutorial: How to Install Spire.PDF for Python on Windows
Convert SVG to PDF in Python
Spire.PDF for Python provides the PdfDocument.LoadFromSvg() method, which allows users to load an SVG file. Once loaded, users can use the PdfDocument.SaveToFile() method to save the SVG file as a PDF file. The detailed steps are as follows.
- Create an object of the PdfDocument class.
- Load an SVG file using PdfDocument.LoadFromSvg() method.
- Save the SVG file to PDF format using PdfDocument.SaveToFile() method.
- Python
from spire.pdf.common import *
from spire.pdf import *
# Create a PdfDocument object
doc = PdfDocument()
# Load an SVG file
doc.LoadFromSvg("Sample.svg")
# Save the SVG file to PDF format
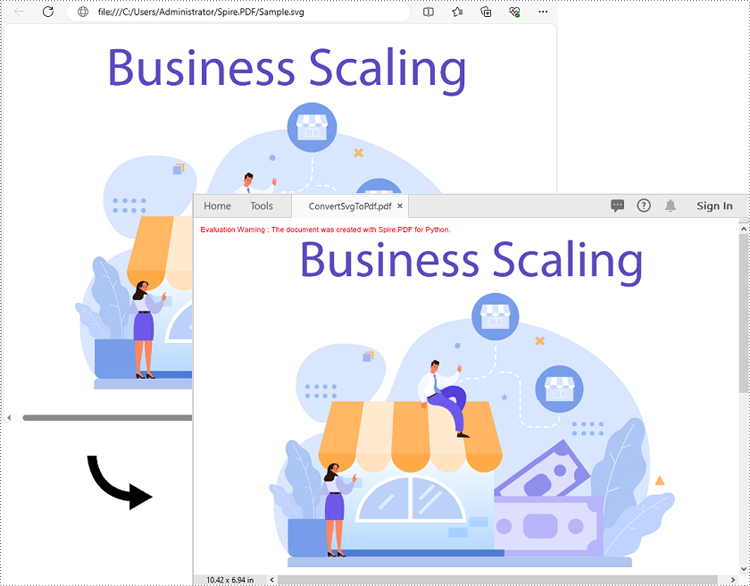
doc.SaveToFile("ConvertSvgToPdf.pdf", FileFormat.PDF)
# Close the PdfDocument object
doc.Close()
Add SVG to PDF in Python
In addition to converting SVG to PDF directly, Spire.PDF for Python also supports adding SVG files to specific locations in PDF. The detailed steps are as follows.
- Create an object of the PdfDocument class.
- Load an SVG file using PdfDocument.LoadFromSvg() method.
- Create a template based on the content of the SVG file using PdfDocument. Pages[].CreateTemplate() method.
- Get the width and height of the template.
- Create another object of the PdfDocument class and load a PDF file using PdfDocument.LoadFromFile() method.
- Draw the template with a custom size at a specific location in the PDF file using PdfDocument.Pages[].Canvas.DrawTemplate() method.
- Save the result file using PdfDocument.SaveToFile() method.
- Python
from spire.pdf.common import *
from spire.pdf import *
# Create a PdfDocument object
doc1 = PdfDocument()
# Load an SVG file
doc1.LoadFromSvg("Sample.svg")
# Create a template based on the content of the SVG
template = doc1.Pages.get_Item(0).CreateTemplate()
# Get the width and height of the template
width = template.Width
height = template.Height
# Create another PdfDocument object
doc2 = PdfDocument()
# Load a PDF file
doc2.LoadFromFile(""Sample.pdf"")
# Draw the template with a custom size at a specific location on the first page of the loaded PDF file
doc2.Pages.get_Item(0).Canvas.DrawTemplate(template, PointF(10.0, 100.0), SizeF(width*0.8, height*0.8))
# Save the result file
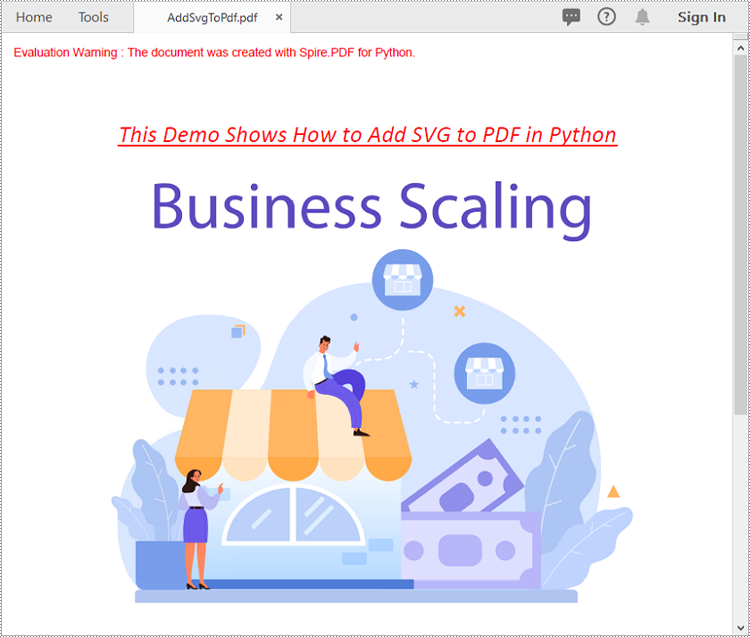
doc2.SaveToFile("AddSvgToPdf.pdf", FileFormat.PDF)
# Close the PdfDocument objects
doc2.Close()
doc1.Close()
Apply for a Temporary License
If you'd like to remove the evaluation message from the generated documents, or to get rid of the function limitations, please request a 30-day trial license for yourself.
In the context of Excel, Open XML refers to the underlying file format used by Excel to store spreadsheet data, formatting, formulas, and other related information. It provides a powerful and flexible basis for working with Excel files programmatically.
By converting Excel to Open XML, developers gain greater control and automation when working with spreadsheet-related tasks. In turn, you can also generate Excel files from Open XML to take advantage of Excel's built-in capabilities to perform advanced data operations. In this article, you will learn how to convert Excel to Open XML or Open XML to Excel in Python using Spire.XLS for Python.
Install Spire.XLS for Python
This scenario requires Spire.XLS for Python and plum-dispatch v1.7.4. They can be easily installed in your Windows through the following pip command.
pip install Spire.XLS
If you are unsure how to install, please refer to this tutorial: How to Install Spire.XLS for Python on Windows
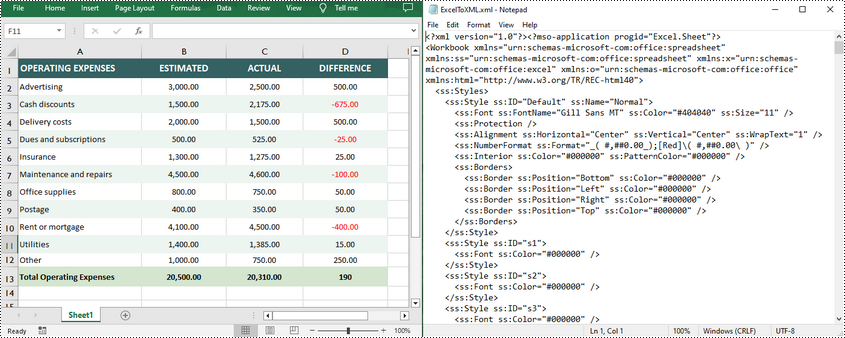
Convert Excel to Open XML in Python
Spire.XLS for Python offers the Workbook.SaveAsXml() method to save an Excel file in Open XML format. The following are the detailed steps.
- Create a Workbook object.
- Load an Excel file using Workbook.LoadFromFile() method.
- Save the Excel file in Open XML format using Workbook.SaveAsXml() method.
- Python
from spire.xls import *
from spire.xls.common import *

# Create a Workbook object
workbook = Workbook()

# Load an Excel file
workbook.LoadFromFile("sample.xlsx")

# Save the Excel file in Open XML file format
workbook.SaveAsXml("ExcelToXML.xml")
workbook.Dispose()
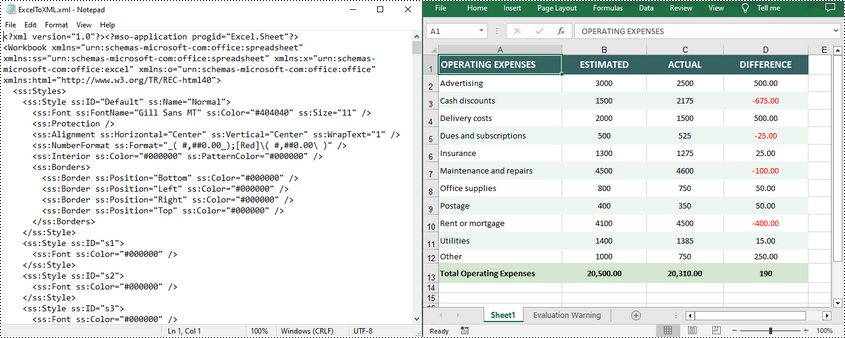
Convert Open XML to Excel in Python
To convert an Open XML file to Excel, you need to load the Open XML file through the Workbook.LoadFromXml() method, and then call the Workbook.SaveToFile() method to save it as an Excel file. The following are the detailed steps.
- Create a Workbook object.
- Load an Open XML file using Workbook.LoadFromXml() method.
- Save the Open XML file to Excel using Workbook.SaveToFile() method.
- Python
from spire.xls import *
from spire.xls.common import *

# Create a Workbook object
workbook = Workbook()

# Load an Open XML file
workbook.LoadFromXml("ExcelToXML.xml")

# Save the Open XML file to Excel XLSX format
workbook.SaveToFile("XMLToExcel.xlsx", ExcelVersion.Version2016)
workbook.Dispose()
Apply for a Temporary License
If you'd like to remove the evaluation message from the generated documents, or to get rid of the function limitations, please request a 30-day trial license for yourself.
