
Knowledgebase (2370)
Children categories
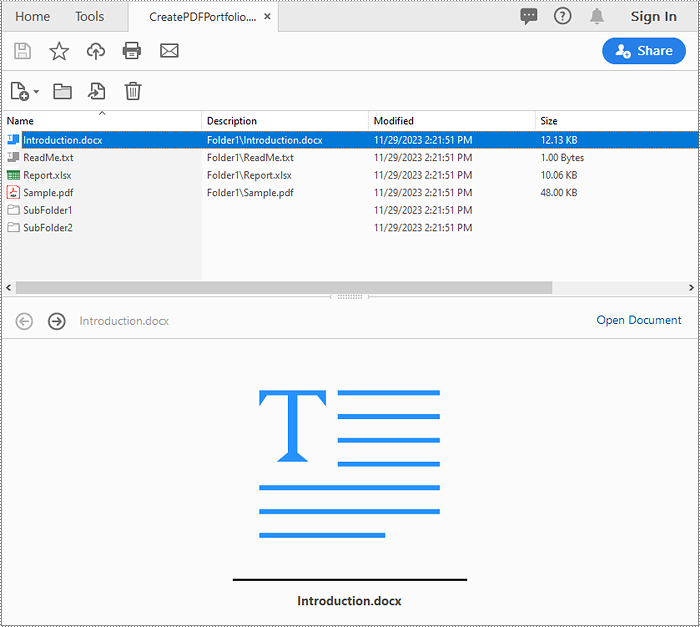
A PDF portfolio is a collection of files assembled into a single PDF document. It serves as a comprehensive and interactive showcase of various types of content, such as documents, images, presentations, videos, and more. Unlike a traditional PDF document, a PDF portfolio allows you to present multiple files in a cohesive and organized manner, providing a seamless browsing experience for the viewer. In this article, we will demonstrate how to create a PDF portfolio and how to identify if a PDF is a portfolio in Python using Spire.PDF for Python.
Install Spire.PDF for Python
This scenario requires Spire.PDF for Python and plum-dispatch v1.7.4. They can be easily installed in your Windows through the following pip command.
pip install Spire.PDF
If you are unsure how to install, please refer to this tutorial: How to Install Spire.PDF for Python on Windows
Create a PDF Portfolio with Python
Spire.PDF for Python allows you to generate a PDF portfolio by adding files to a PDF using the PdfDocument.Collection.AddFile() method. Furthermore, you can organize the files within the PDF portfolio by adding folders using the PdfDocument.Collection.Folders.CreateSubfolder() method. The detailed steps are as follows.
- Specify the output file path and the folders where the files to be included in the PDF portfolio are located.
- Create a PdfDocument object.
- Iterate through the files in the first folder and add them to the PDF portfolio using the PdfDocument.Collection.AddFile() method.
- Iterate through the files in the second folder. For each file, create a separate folder within the PDF portfolio using the PdfDocument.Collection.Folders.CreateSubfolder() method, and then add the file to the corresponding folder using the PdfFolder.AddFile() method.
- Save the resulting PDF portfolio using the PdfDocument.SaveToFile() method.
- Python
from spire.pdf.common import *
from spire.pdf import *
import glob

# Specify the folders where the files to be included in the PDF portfolio are located
input_folder1 = "Folder1/*"
input_folder2 = "Folder2/*"
# Specify the output file path
output_file = "CreatePDFPortfolio.pdf"

# Create a PdfDocument object
doc = PdfDocument()

# Get the list of file paths in the first folder
files1 = glob.glob(input_folder1)
# Loop through the files in the list
for i, file in enumerate(files1):
    # Add each file to the PDF portfolio
    doc.Collection.AddFile(file)

# Get the list of file paths in the second folder
files2 = glob.glob(input_folder2)
# Loop through the files in the list
for j, file in enumerate(files2):
    # Create a separate folder for each file
    folder = doc.Collection.Folders.CreateSubfolder(f"SubFolder{j + 1}")
    # Add the file to the folder
    folder.AddFile(file)

# Save the resulting PDF portfolio to the specified file path
doc.SaveToFile(output_file)

# Close the PdfDocument object
doc.Close()
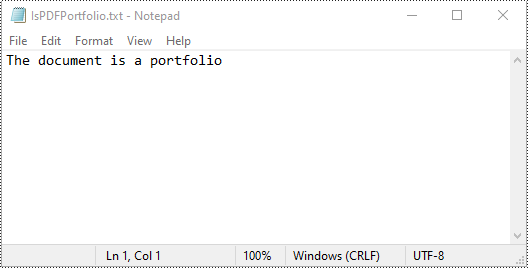
Identify if a PDF is a Portfolio with Python
You can use the PdfDocument.IsPortfolio property to easily identify whether a PDF document is a portfolio or not. The detailed steps are as follows.
- Specify the input and output file paths.
- Create a PdfDocument object.
- Load a PDF document using the PdfDocument.LoadFromFile() method.
- Identify whether the document is a portfolio or not using the PdfDocument.IsPortfolio property.
- Save the result to a text file.
- Python
from spire.pdf.common import *
from spire.pdf import *

# Specify the input and output file paths
input_file = "CreatePDFPortfolio.pdf"
output_file = "IsPDFPortfolio.txt"

# Create a PdfDocument object
doc = PdfDocument()
# Load a PDF document
doc.LoadFromFile(input_file)

# Identify whether the document is a portfolio or not
if doc.IsPortfolio:
    st = "The document is a portfolio"
else:
    st = "The document is not a portfolio"

# Save the result to a text file
with open(output_file, "w") as text_file:
    text_file.write(st)

# Close the PdfDocument object
doc.Close()
Apply for a Temporary License
If you'd like to remove the evaluation message from the generated documents, or to get rid of the function limitations, please request a 30-day trial license for yourself.
In a PowerPoint document, the choice of fonts plays a significant role in enhancing the overall visual appeal and effectiveness of the presentation. Different fonts can be used to establish a visual hierarchy, allowing you to emphasize key points, headings, or subheadings in your presentation and guide the audience's attention. This article introduces how to set or change fonts in a PowerPoint document in Python using Spire.Presentation for Python.
- Set Fonts when Creating a New PowerPoint Document in Python
- Change Fonts in an Existing PowerPoint Document in Python
Install Spire.Presentation for Python
This scenario requires Spire.Presentation for Python and plum-dispatch v1.7.4. They can be easily installed in your Windows through the following pip commands.
pip install Spire.Presentation
If you are unsure how to install, please refer to this tutorial: How to Install Spire.Presentation for Python on Windows
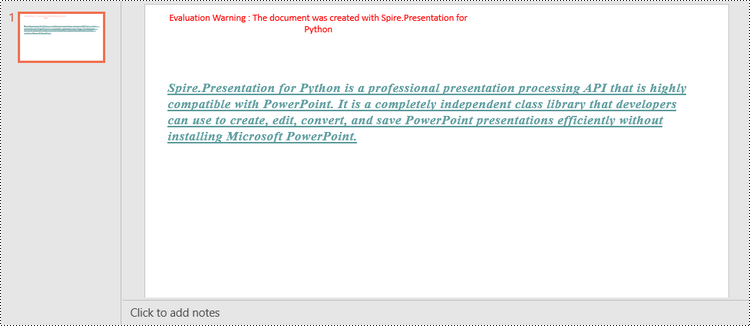
Set Fonts when Creating a New PowerPoint Document in Python
Spire.Presentation for Python offers the TextRange class to represent a range of text. A paragraph can consist of one or more text ranges. To apply font formatting to the characters in a text range, you can use the properties like LatinFont, IsBold, IsItalic, and FontHeight of the TextRange class. The following are the steps to set fonts when creating a new PowerPoint document in Python.
- Create a Presentation object.
- Get the first slide through Presentation.Slides[0] property.
- Add a shape to the slide using ISlide.Shapes.AppendShape() method.
- Add text to the shape using IAutoShape.AppendTextFrame() method.
- Get TextRange object through IAutoShape.TextFrame.TextRange property.
- Set the font information such as font name, font size, bold, italic, underline, and text color through the properties under the TextRange object.
- Save the presentation to a PPTX file using Presentation.SaveToFile() method.
- Python
from spire.presentation.common import *
import math
from spire.presentation import *

# Create a Presentation object
presentation = Presentation()

# Set slide size type
presentation.SlideSize.Type = SlideSizeType.Screen16x9

# Add a shape to the first slide
rec = RectangleF.FromLTRB (30, 100, 900, 250)
shape = presentation.Slides[0].Shapes.AppendShape(ShapeType.Rectangle, rec)

# Set line color and fill type of the shape
shape.ShapeStyle.LineColor.Color = Color.get_Transparent()
shape.Fill.FillType = FillFormatType.none

# Add text to the shape
shape.AppendTextFrame("Spire.Presentation for Python is a professional presentation processing API that \
is highly compatible with PowerPoint. It is a completely independent class library that developers can \
use to create, edit, convert, and save PowerPoint presentations efficiently without installing Microsoft PowerPoint.")

# Get text of the shape as a text range
textRange = shape.TextFrame.TextRange

# Set font name
textRange.LatinFont = TextFont("Times New Roman")

# Set font style (bold & italic)
textRange.IsBold = TriState.TTrue
textRange.IsItalic = TriState.TTrue

# Set underline type
textRange.TextUnderlineType = TextUnderlineType.Single

# Set font size
textRange.FontHeight = 22

# Set text color
textRange.Fill.FillType = FillFormatType.Solid
textRange.Fill.SolidColor.Color = Color.get_CadetBlue()

# Set alignment
textRange.Paragraph.Alignment = TextAlignmentType.Left

# Set line spacing
textRange.LineSpacing = 0.5

# Save to file
presentation.SaveToFile("output/SetFont.pptx", FileFormat.Pptx2019)
presentation.Dispose()
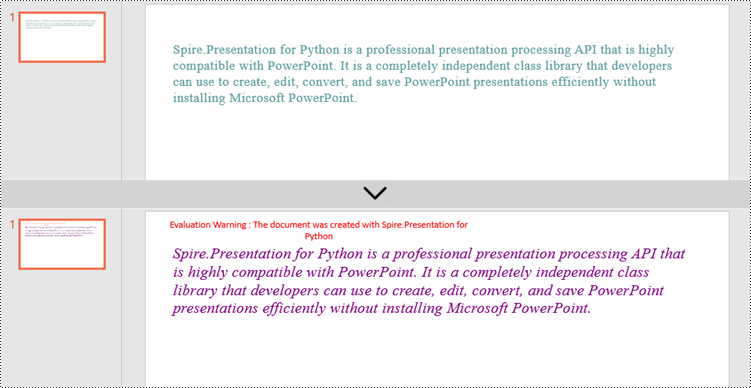
Change Fonts in an Existing PowerPoint Document in Python
To change the font for a specific paragraph, we need to get the paragraph from the document. Then, iterate through the text ranges in the paragraph and reset the font information for each text range. Below are the steps to change the font of a paragraph in an existing PowerPoint document using Spire.Presentation for Python.
- Create a Presentation object.
- Get a specific slide through Presentation.Slides[index] property.
- Get a specific shape through ISlide.Shapes[index] property.
- Get a specific paragraph of the shape through IAutoShape.TextFrame.Paragraphs[index] property.
- Iterate through the text ranges in the paragraph.
- Set the font information such as font name, font size, bold, italic, underline, and text color of a specific text range through the properties under the TextRange object.
- Save the presentation to a PPTX file using Presentation.SaveToFile() method.
- Python
from spire.presentation.common import *
from spire.presentation import *

# Create a Presentation object
presentation = Presentation()

# Load a PowerPoint file
presentation.LoadFromFile("C:\\Users\\Administrator\\Desktop\\input.pptx")

# Get the first slide
slide = presentation.Slides[0]

"# Get the first shape on the slide
shape = (IAutoShape)(slide.Shapes[0])

# Get the first paragraph of the shape
paragraph = shape.TextFrame.Paragraphs[0]

# Get the first paragraph of the shape
paragraph = shape.TextFrame.Paragraphs[0]

# Create a font
newFont = TextFont("Times New Roman")

# Loop through the text ranges in the paragraph
for textRange in paragraph.TextRanges:

    # Apply font to a specific text range
    textRange.LatinFont = newFont

    # Set font to Italic
    textRange.Format.IsItalic = TriState.TTrue

    # Set font size
    textRange.FontHeight = 25

    # Set font color
    textRange.Fill.FillType = FillFormatType.Solid
    textRange.Fill.SolidColor.Color = Color.get_Purple()

# Save to file
presentation.SaveToFile("output/ChangeFont.pptx", FileFormat.Pptx2019)
presentation.Dispose()
Apply for a Temporary License
If you'd like to remove the evaluation message from the generated documents, or to get rid of the function limitations, please request a 30-day trial license for yourself.
Setting the background colors for paragraphs and text in Word documents can significantly enhance the presentation and readability of content. Customizing background color is an effective approach to emphasize key information, categorize content, and add a personalized touch, thereby making it easy to create polished and professional documents. By carefully selecting and applying background colors, documents can be transformed into visually appealing works that effectively convey information and engage the reader. This article shows how to use Spire.Doc for Python to set background colors for paragraphs and text in Word documents, unlocking new possibilities for document styling and customization.
- Set Background Colors for Paragraphs Using Python
- Set Background Colors for Selected Text Using Python
Install Spire.Doc for Python
This scenario requires Spire.Doc for Python and plum-dispatch v1.7.4. They can be easily installed in your Windows through the following pip command.
pip install Spire.Doc
If you are unsure how to install, please refer to this tutorial: How to Install Spire.Doc for Python on Windows
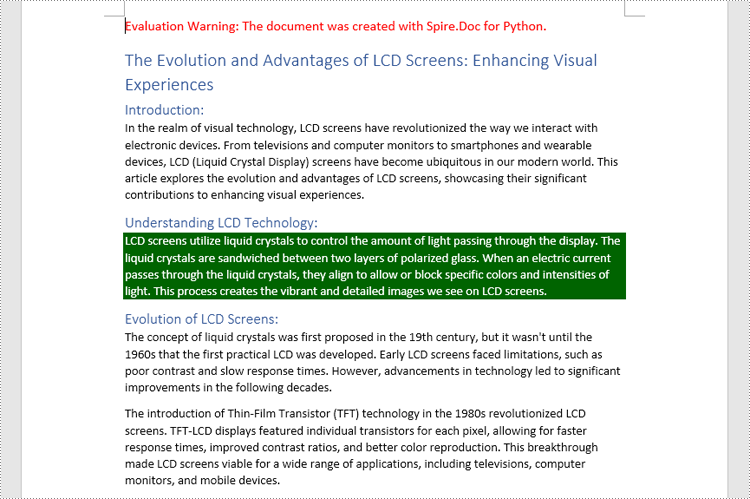
Set Background Color for Paragraphs Using Python
By using Spire.Doc for Python, developers can get any paragraph in any section. After getting a paragraph, developers can apply a background color to it by assigning a Color object to Paragraph.Format.BackColor property. Below are the detailed steps:
- Create an instance of Document class and load a Word document using Document.LoadFromFile() method.
- Get a section using Document.Sections.get_Item() method.
- Get a paragraph in the section using Section.Paragraphs.get_Item() method.
- Set the background color of the paragraph through Paragraph.Format.BackColor property.
- Save the document using Document.SaveToFile() method.
- Python
from spire.doc import *
from spire.doc.common import *

# Create an instance of Document class and load a Word document
doc = Document()
doc.LoadFromFile("Sample.docx")

# Get the first section
section = doc.Sections.get_Item(0)

# Get the fifth paragraph
paragraph = section.Paragraphs.get_Item(4)

# Set background color for the paragraph
paragraph.Format.BackColor = Color.get_DarkGreen()

# Save the document
doc.SaveToFile("output/ParagraphBackground.docx")
doc.Close()
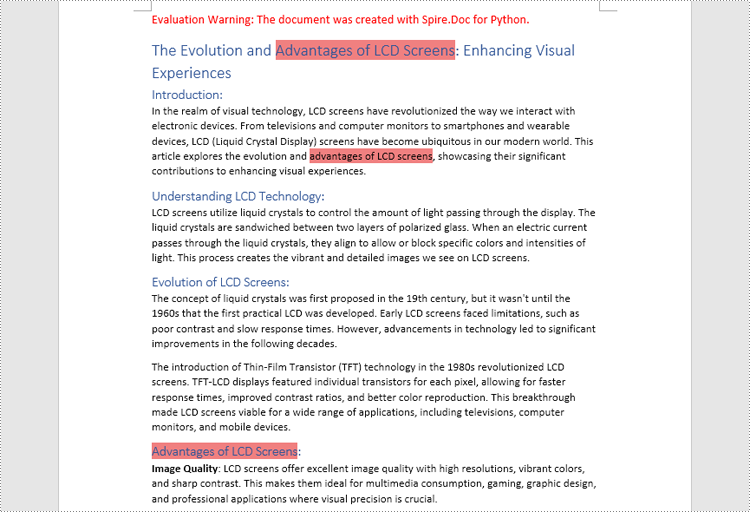
Set Background Colors for Selected Text Using Python
Spire.Doc for Python enables developers to find all the occurrences of specific text in a Word document with Document.FindAllString() method. After getting the finding results, developers can set the background for them through TextRange.CharacterFormat.TextBackgroundColor property. The detailed steps are as follows:
- Create an instance of Document class and load a Word document using Document.LoadFromFile() method.
- Find all the occurrences of specific text using Document.FindAllString() method.
- Loop through the occurrences, get each occurrence as a text range using TextSelection.GetAsOneRange(True) method, and set the background color of each occurrence through TextRange.CharacterFormat.TextBackgroundColor property. It is also possible to get only one occurrence from the result list and set the background color for the occurrence.
- Save the document using Document.SaveToFile() method.
- Python
from spire.doc import *
from spire.doc.common import *

# Create an instance of Document class and load a Word document
doc = Document()
doc.LoadFromFile("Sample.docx")

# Find text in the Word document
findResults = doc.FindAllString("advantages of LCD screens", False, False)

# Loop through the finding results to set background color for all occurrences
for text in findResults:
    # Get an occurrence as a text range
    textRange = text.GetAsOneRange(True)
    # Set the background color of the text range
    textRange.CharacterFormat.TextBackgroundColor = Color.get_LightCoral()

# Set the background color of a sepecified occurrence
# Get an occurrence as one text range
# textRange = findResults[1].GetAsOneRange()
# Set the background color of the text range
# textRange.CharacterFormat.BackgroundColor = Color.get_DarkCyan()

# Save the document
doc.SaveToFile("output/TextBackground.docx")
doc.Close()
Apply for a Temporary License
If you'd like to remove the evaluation message from the generated documents, or to get rid of the function limitations, please request a 30-day trial license for yourself.
